Below is a guide on the label designer, which provides complete customization options, including selecting which fields to display, choosing fonts, adjusting sizes, and setting positions. It also allows for uploading images, such as logos, to create a polished and personalized appearance.
-
Open Back Office.
-
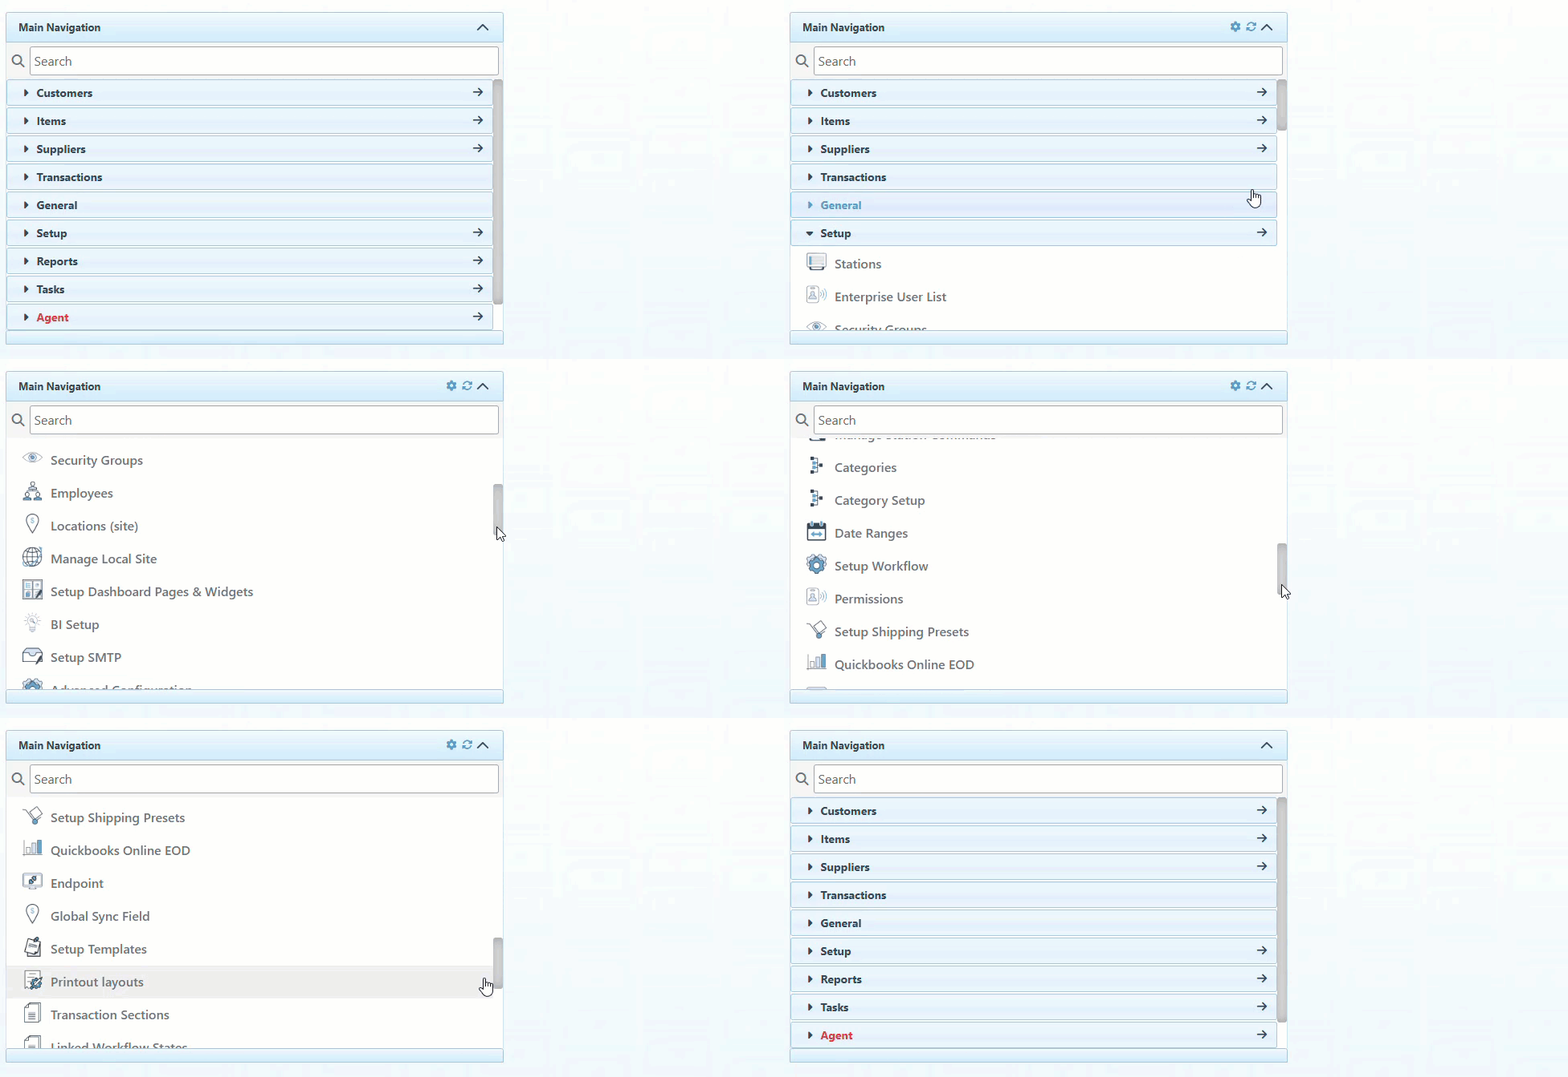
Click “Setup” in the Main Navigation menu and select “Printout Layout” from the scrollable dropdown.
-
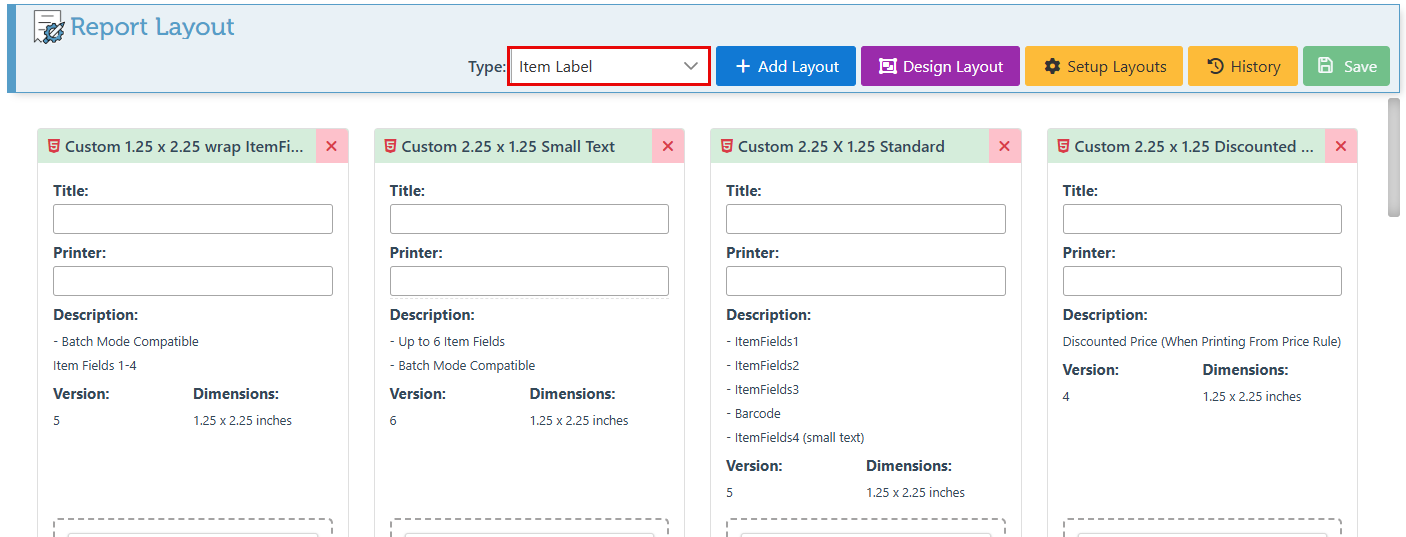
Select “Item Label” in the Type dropdown menu.
-
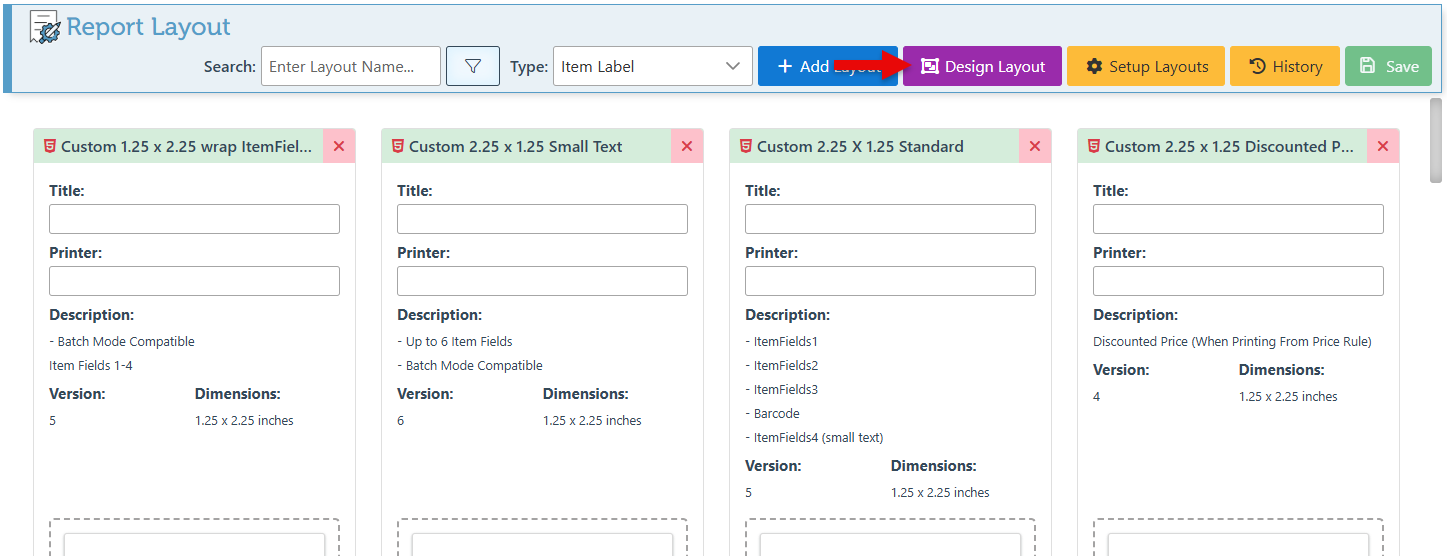
Click “Design Layout” to design a custom item label.
-
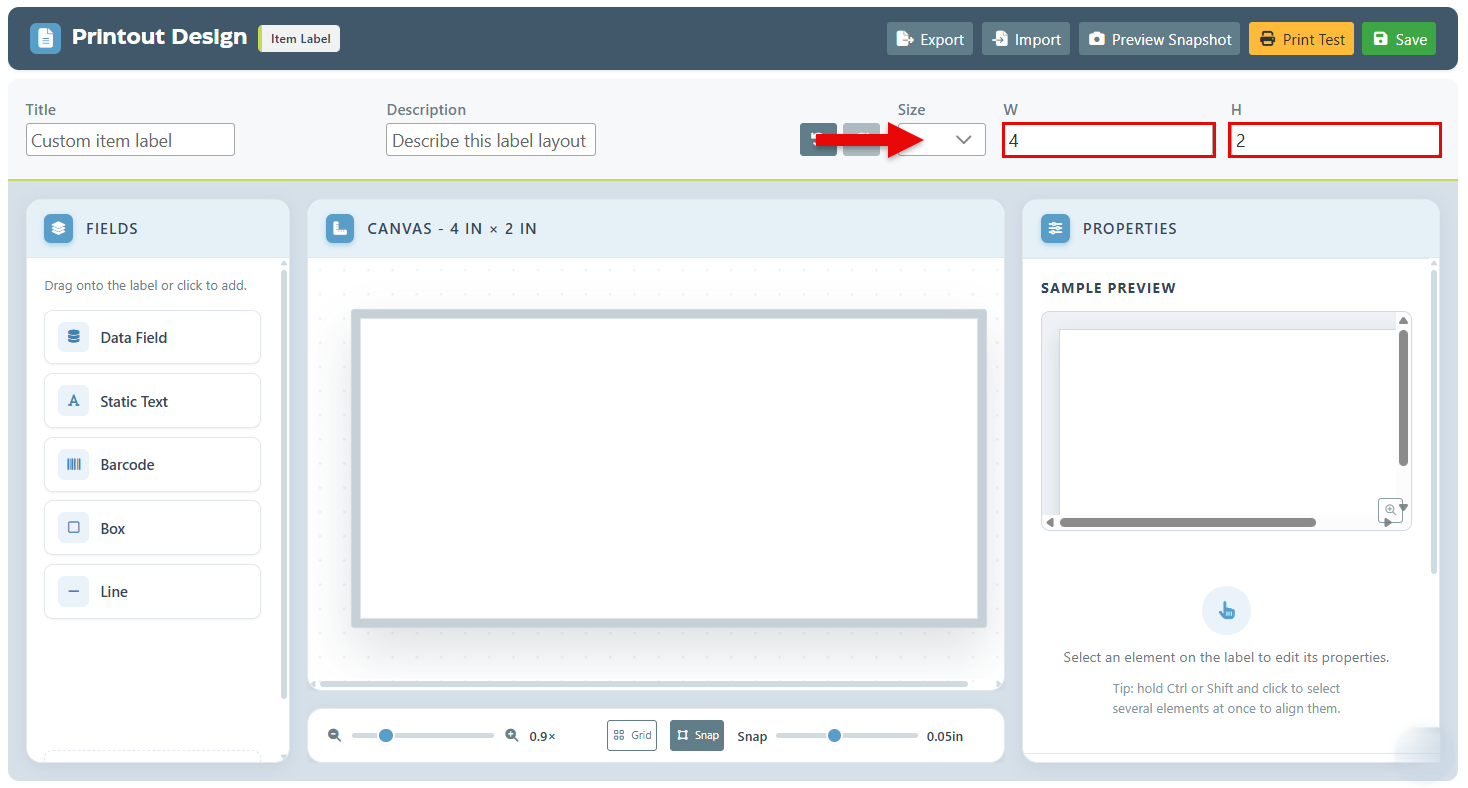
Begin by selecting the label size from the dropdown menu of options. Or for further customizations, enter specific label width and height in the designated fields.
-
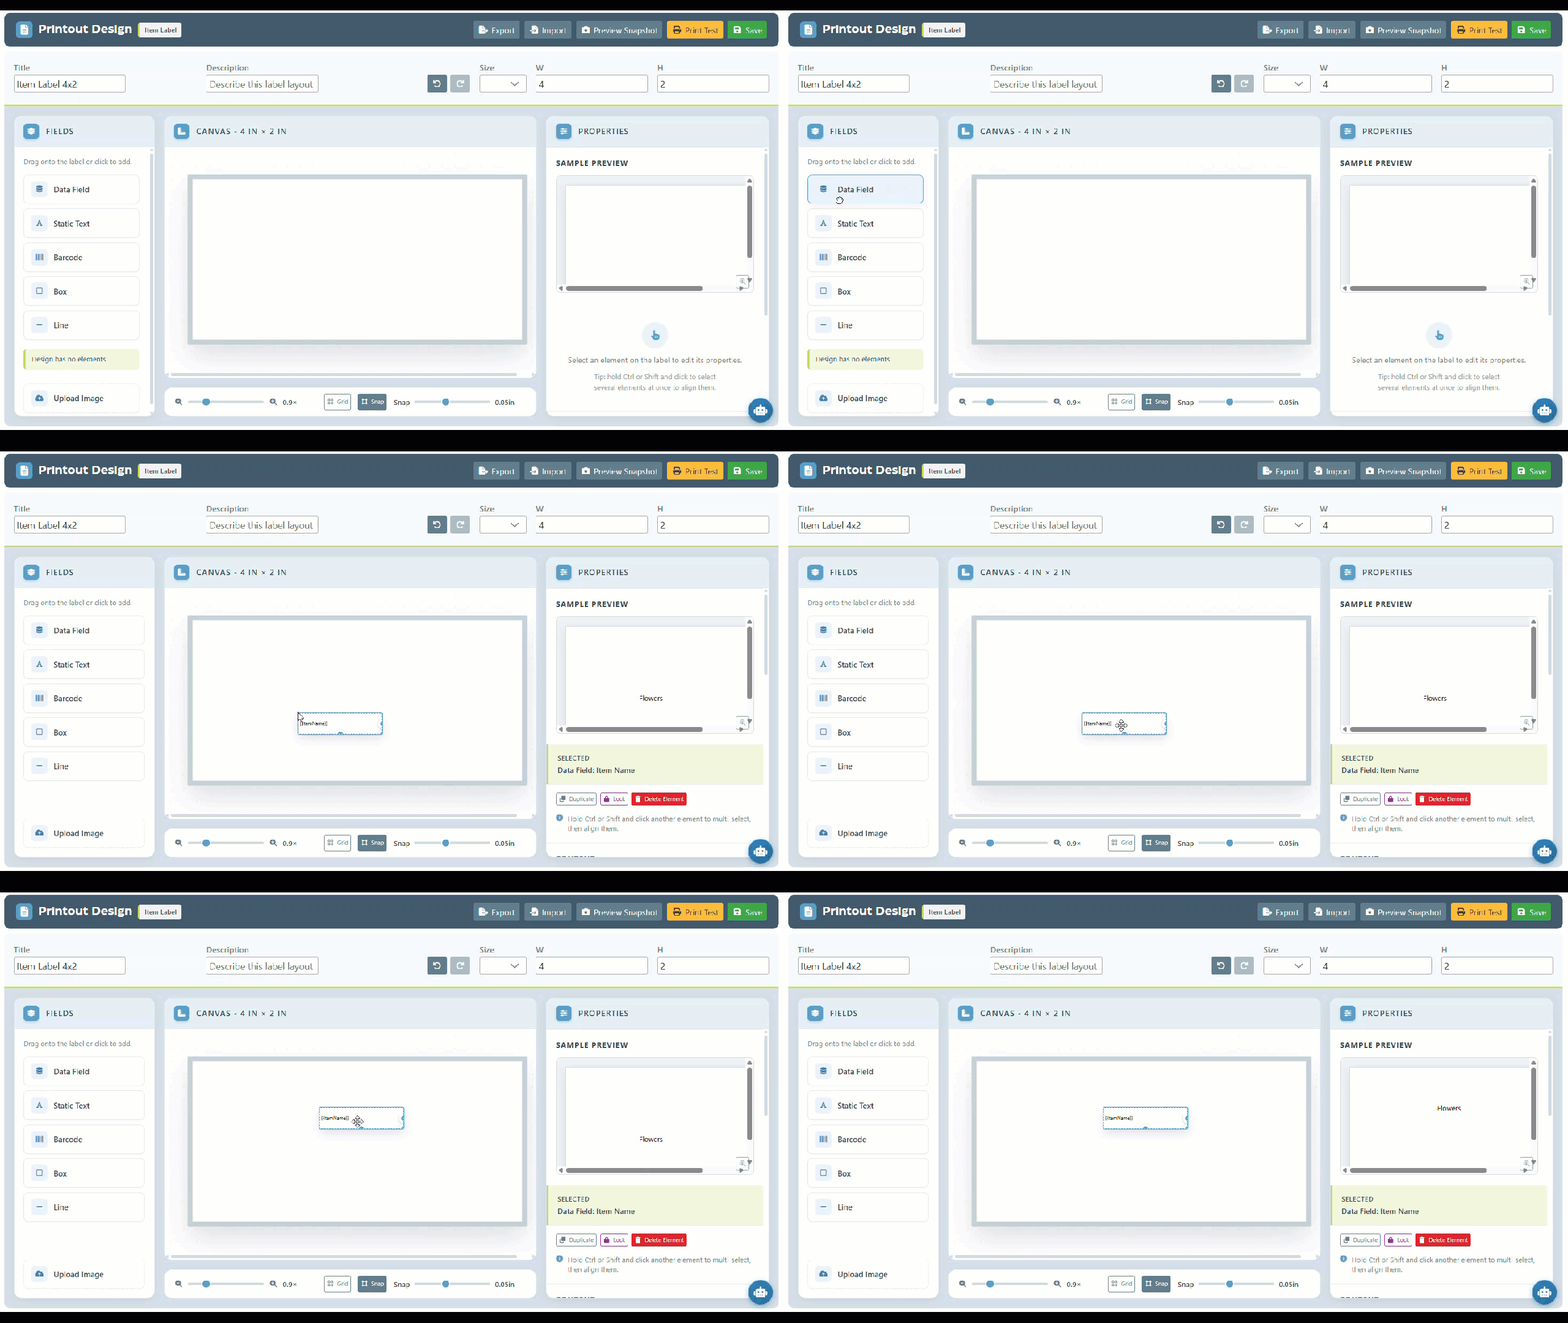
The left-hand menu features various fields that can be incorporated into the label layout. The available options include:
-
Data Field: A field that is updated according to the specific item, such as a Lookup code, name, etc. Furthermore, this option also includes the ability for multiple item fields to be added in a single field box.
-
Static Text: A basic text box designed for fixed content.
-
Barcode: Utilized for displaying the item’s barcode.
-
Box or Line: Used for enhancing design elements or creating divisions within the label.
-
Proceed to select a field to edit its properties in the right side panel. The field can be “Duplicated” to add a copy of the field on the layout, “Locked” to lock it into place to prevent confusion, or “Delete Element” to remove the element from the layout.
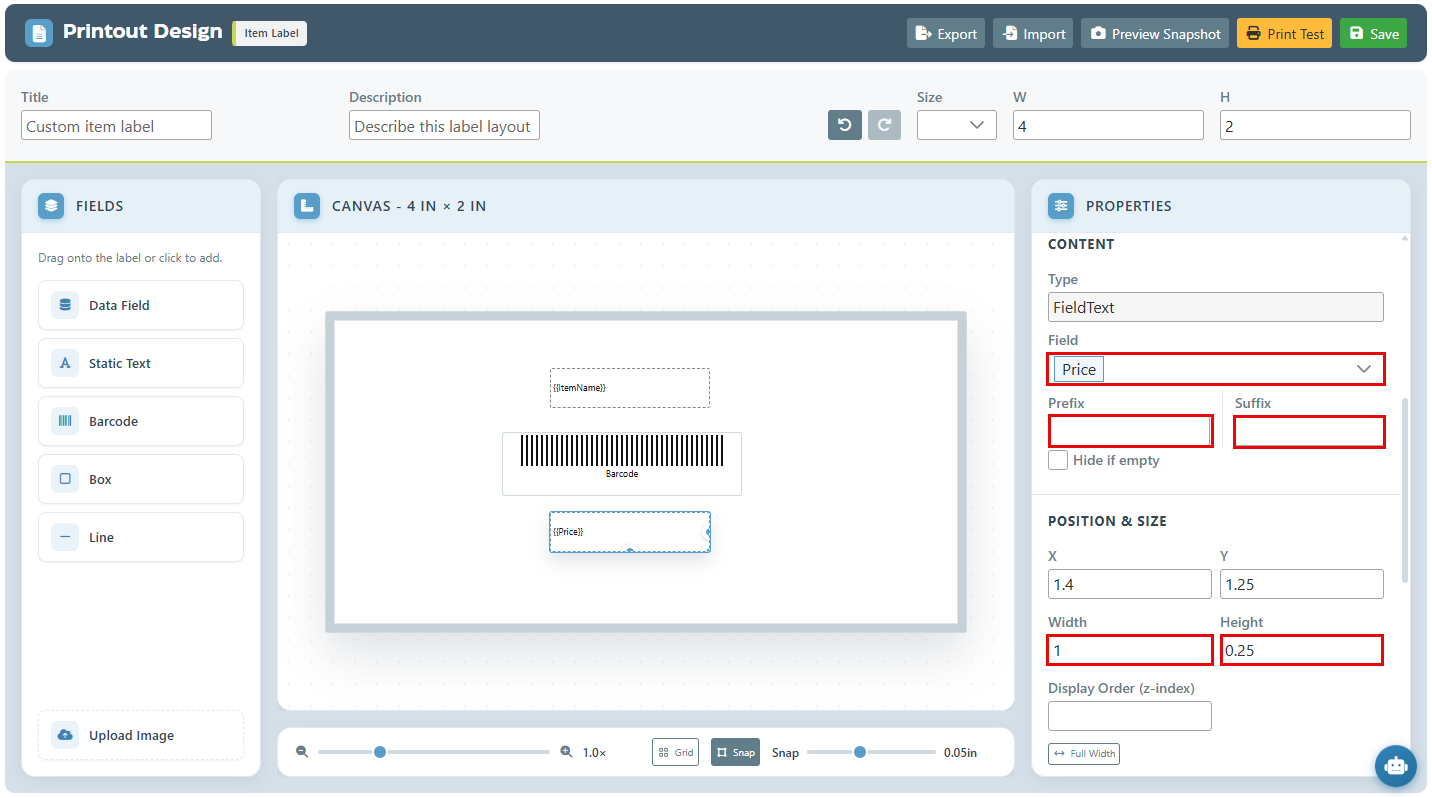
For Data or text fields, the specific field or text to display can be selected. Furthermore, a prefix or suffix can be entered to be attached to the field.
Additionally, the field size and font properties including, font type, size, bold, and position, can be adjusted and customized to meet personal preferences.
-
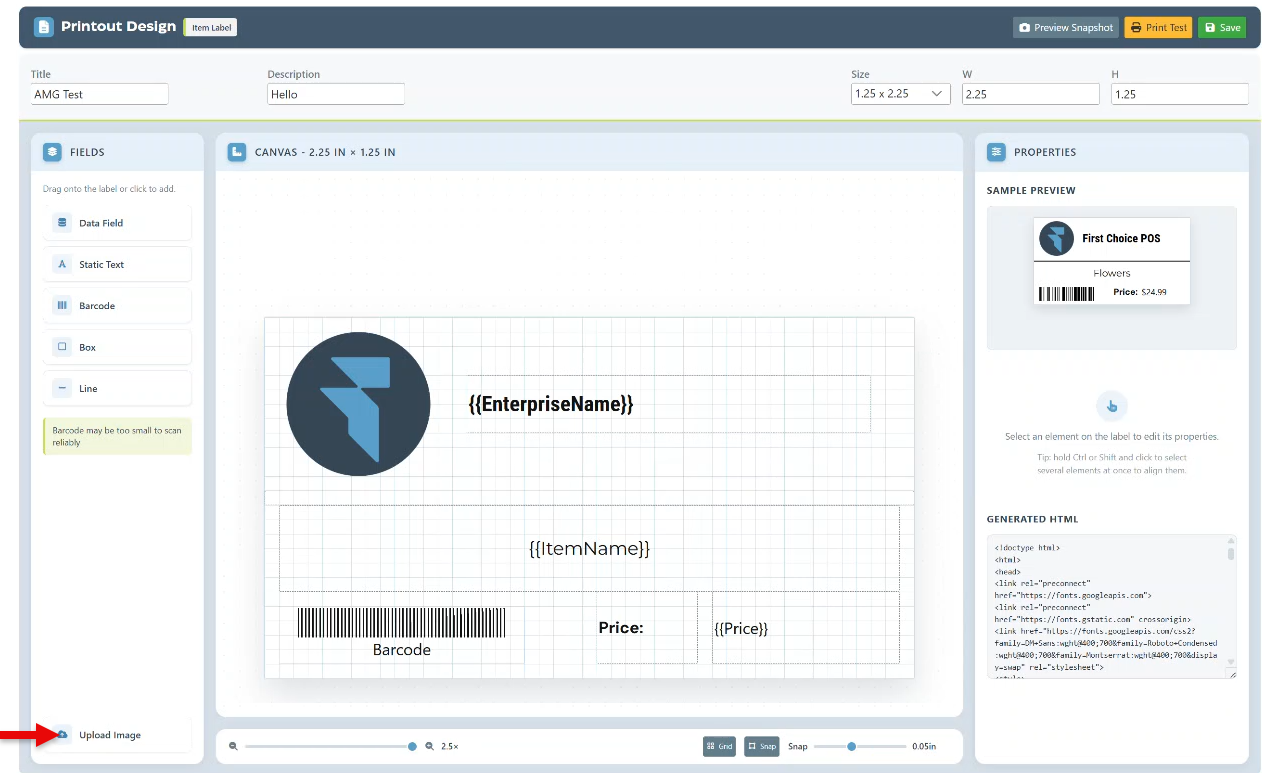
Click the “Upload Image” to upload an image on the label layout, such as business logos.
-
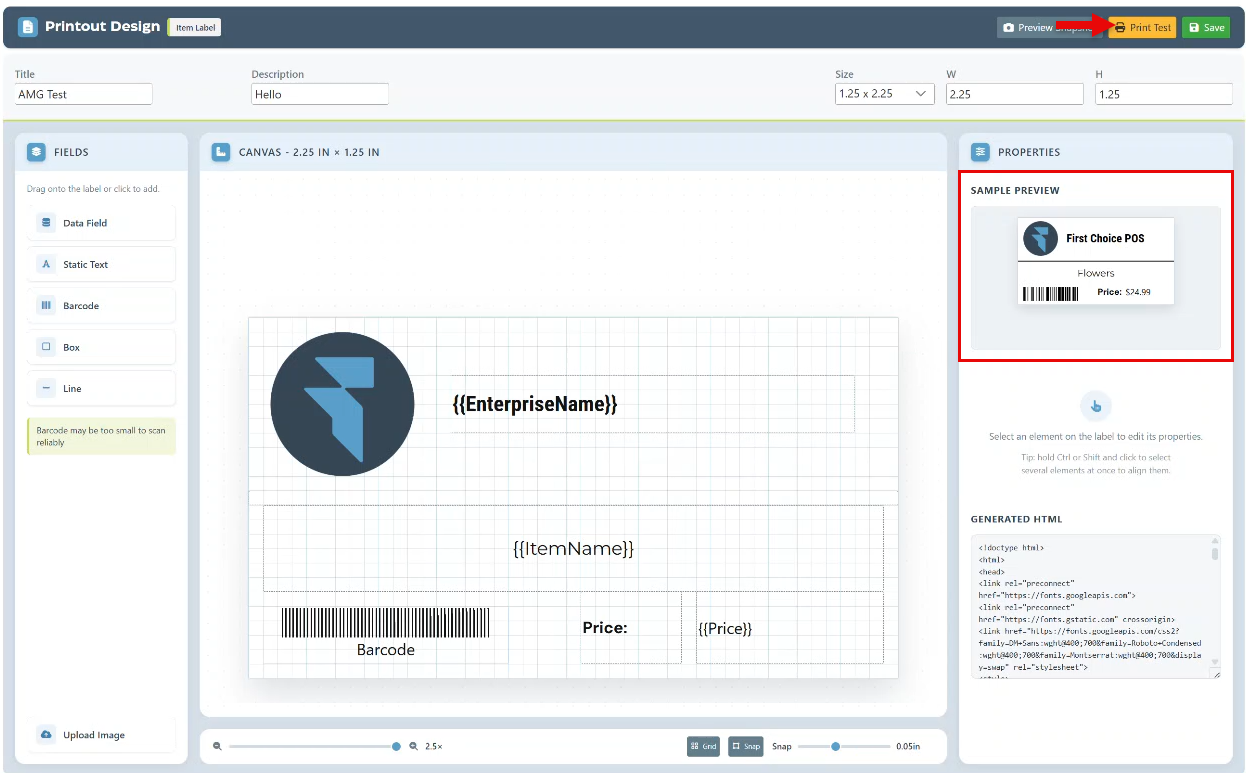
A preview of the layout selections will be displayed at the top of the side panel. Alternatively, use the “Print Test” option to print a preview for review.
10. Click “Save” at the top right to save layout.