Printout Layout
Printout layouts can be extensively customized to configure print settings. The level of customization available is significant, enabling users to personalize their printouts according to their precise needs and requirements. This feature provides flexibility in printout design and layout, making it a valuable tool for businesses.
Follow the steps below to configure or edit printout layouts:
Log in to app.firstchoicepos.com
Click “Setup” in the Main Navigation menu, and select “Printout Layouts” from the scrollable dropdown.
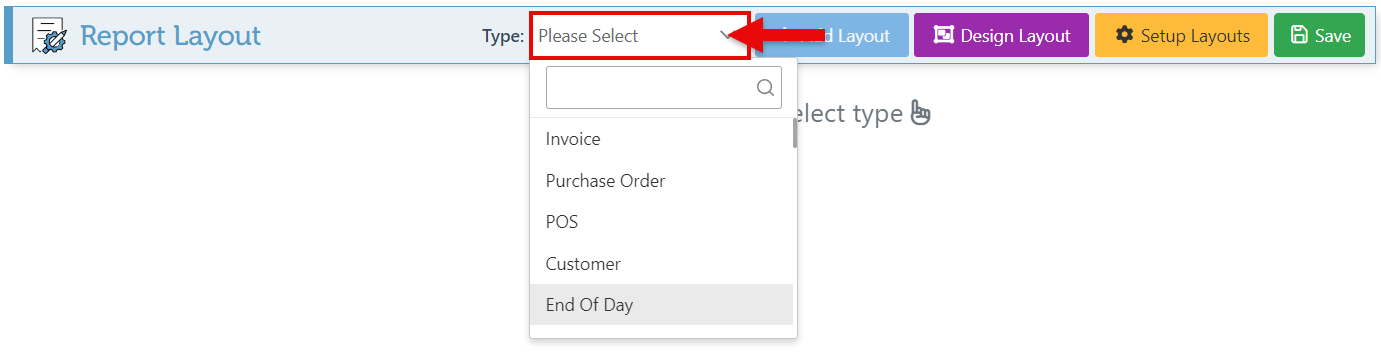
Select a printout type in the dropdown menu.
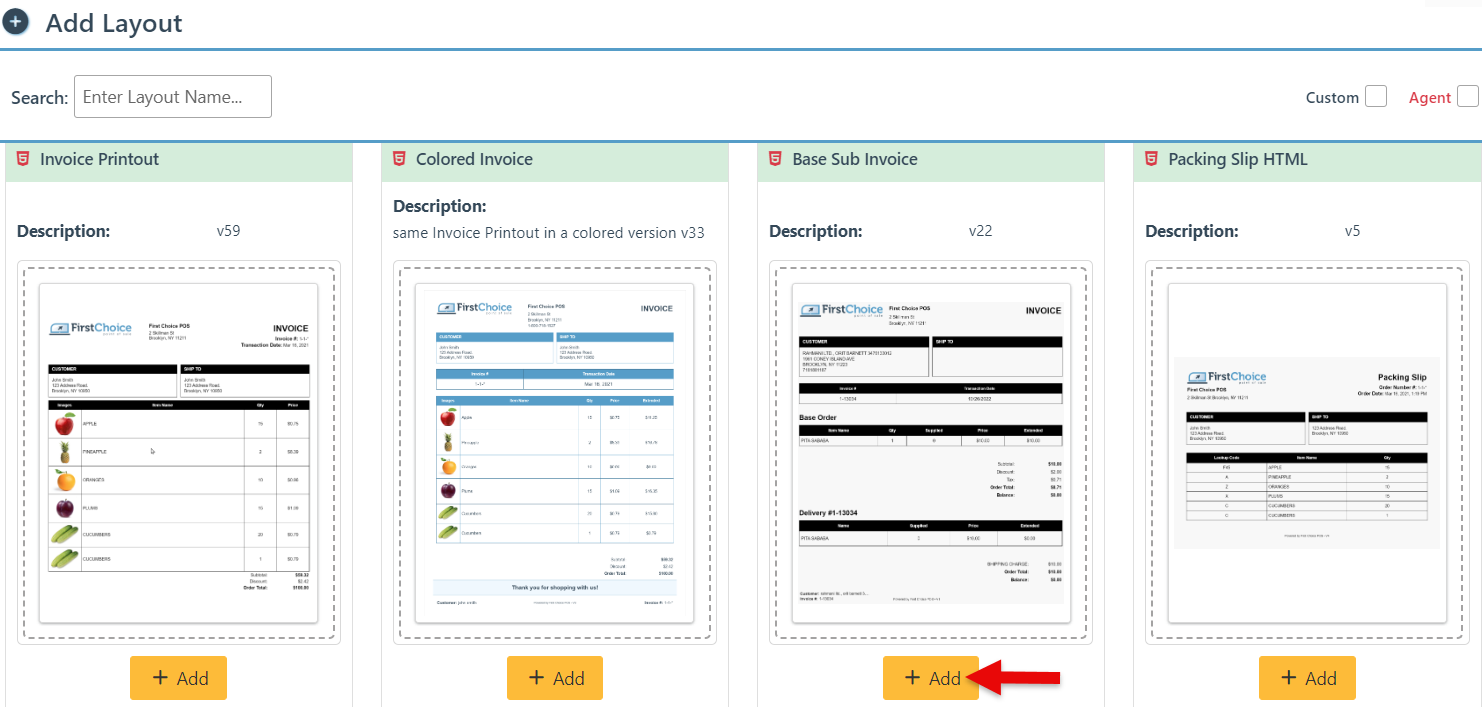
Click “Add Layout” and “Add” to select a layout from the appearing samples.

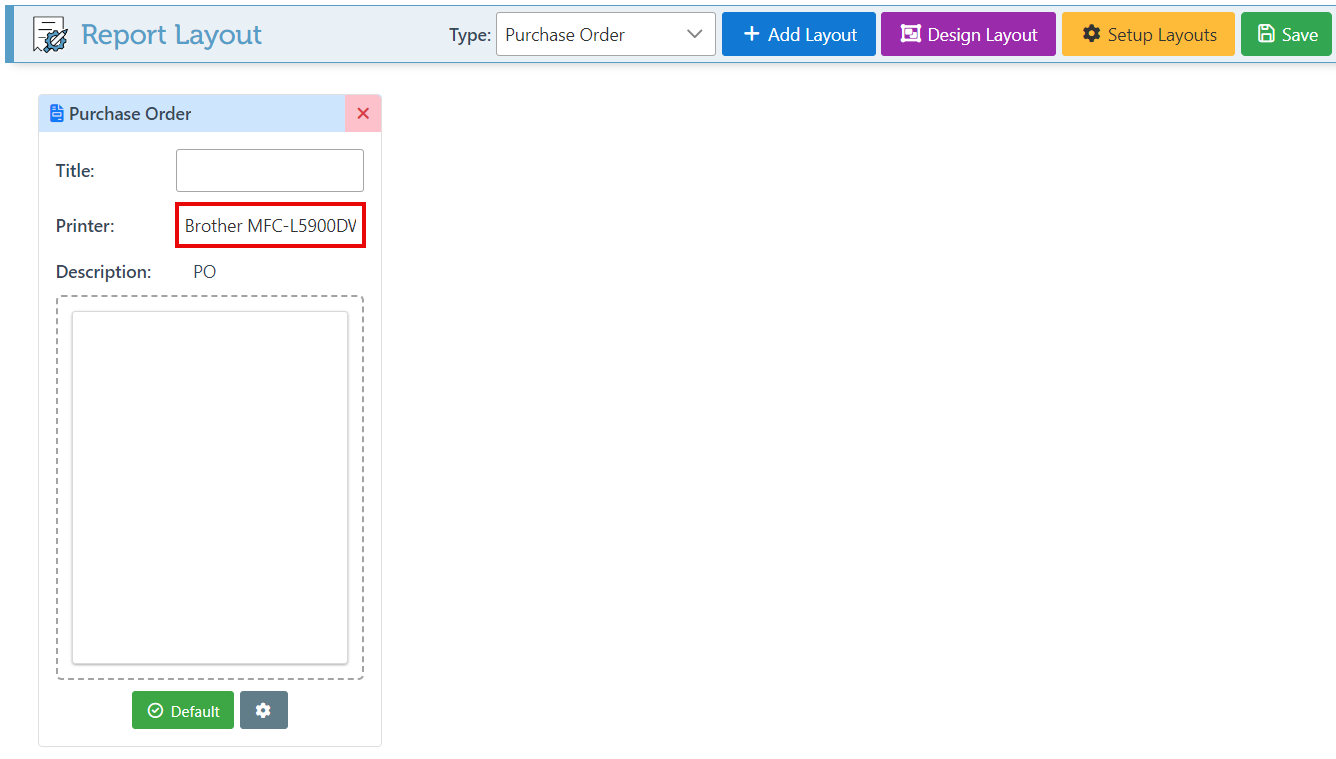
On the selected layout card, enter text in the title bar to add to or change the title.
The same layout can be used multiple times but with slight differences for different purposes. Enter a title in the title bar to differentiate between them.
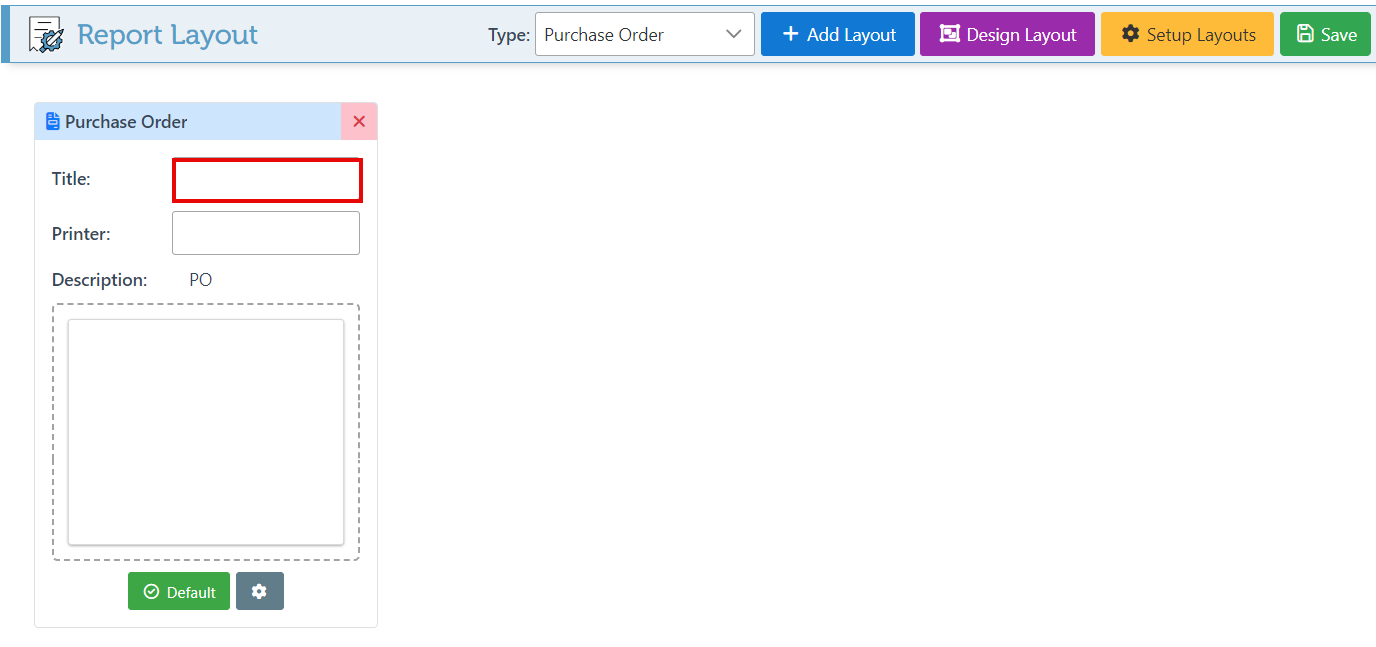
Enter a printer name in the designated bar to set a printer destination.
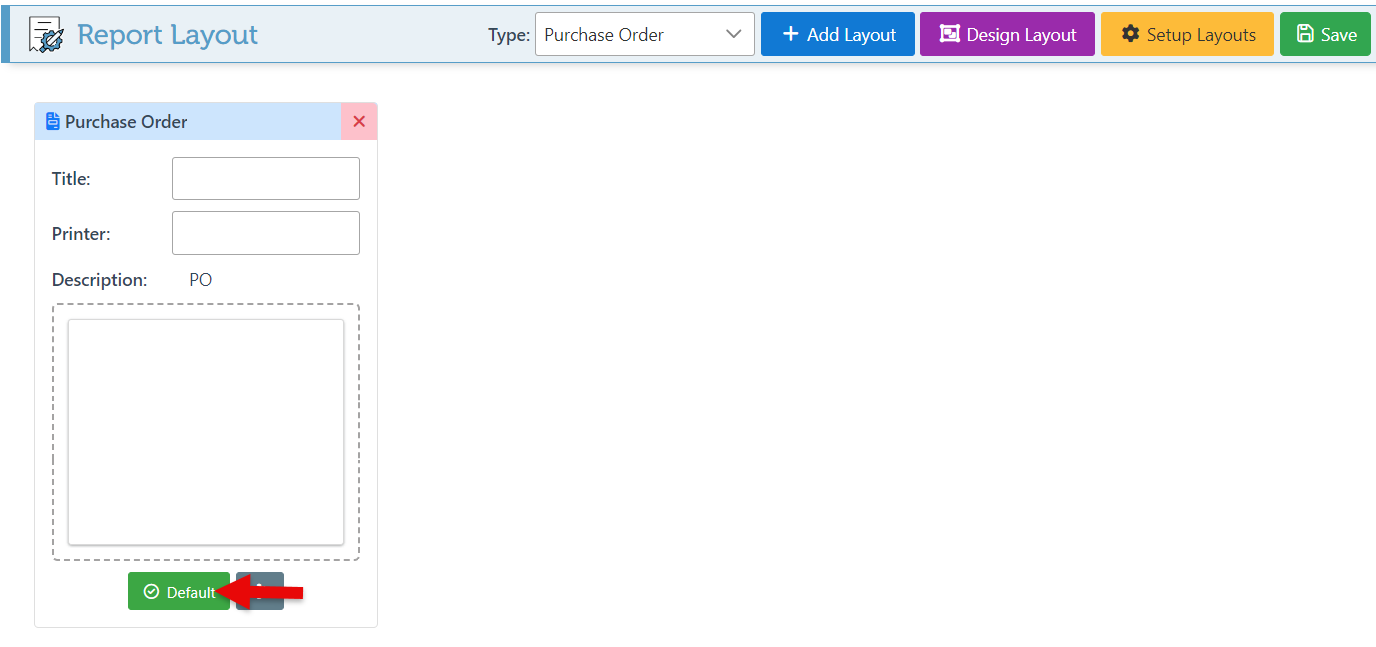
Click “Default” to set this layout as the default printout layout.
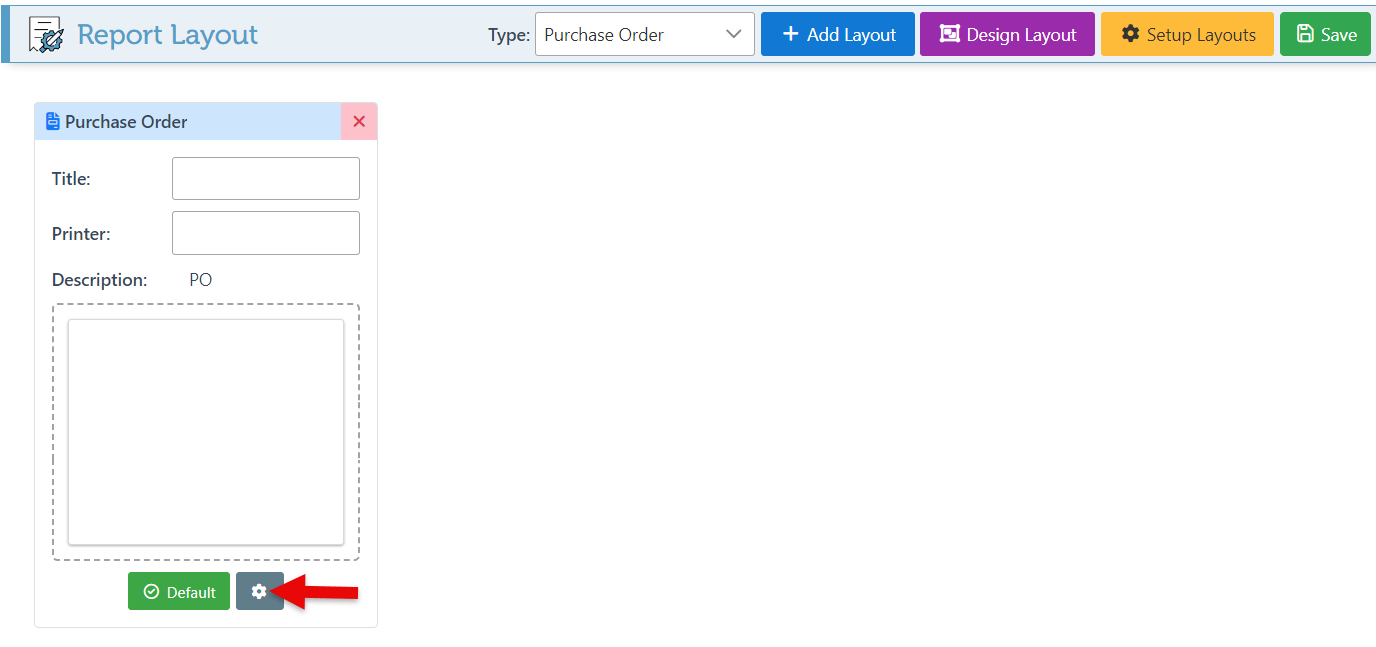
Click the setting icon to edit the printout layout.
Since there are multiple printout types, the settings will vary accordingly. Below is a guide on how to configure some sample printouts.
Invoice/ Purchase Order
Click here for more details on the Invoice/ Purchase Order Printout Layout.
Order Service/ Shipping
Click here for more details on the Order Service/ Shipping Printout Layout.
POS
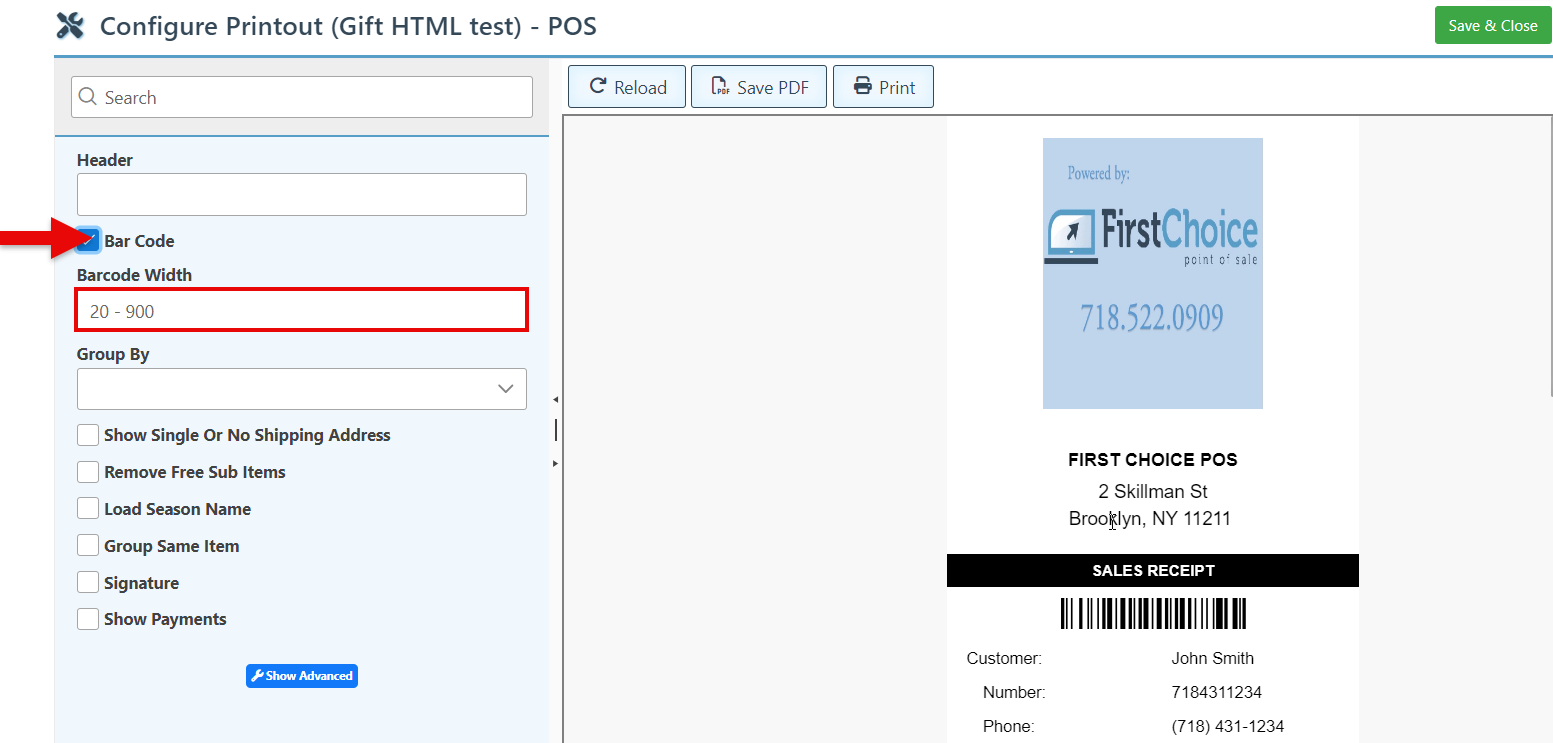
Enter text in the “Header” bar to change the Invoice title.
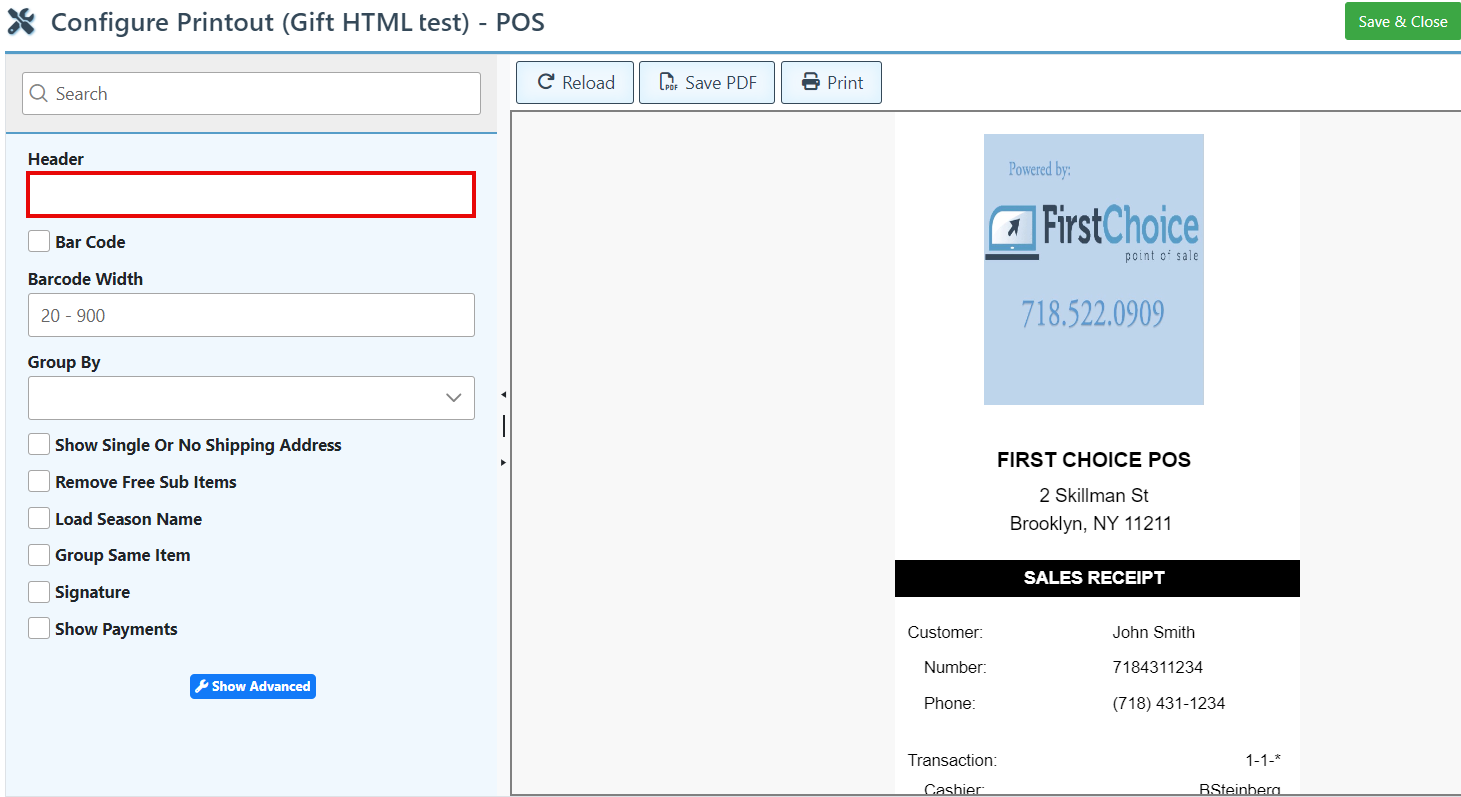
Check the “Bar Code” checkbox to add a barcode to the printout header, and adjust the width in the bar below, if necessary.
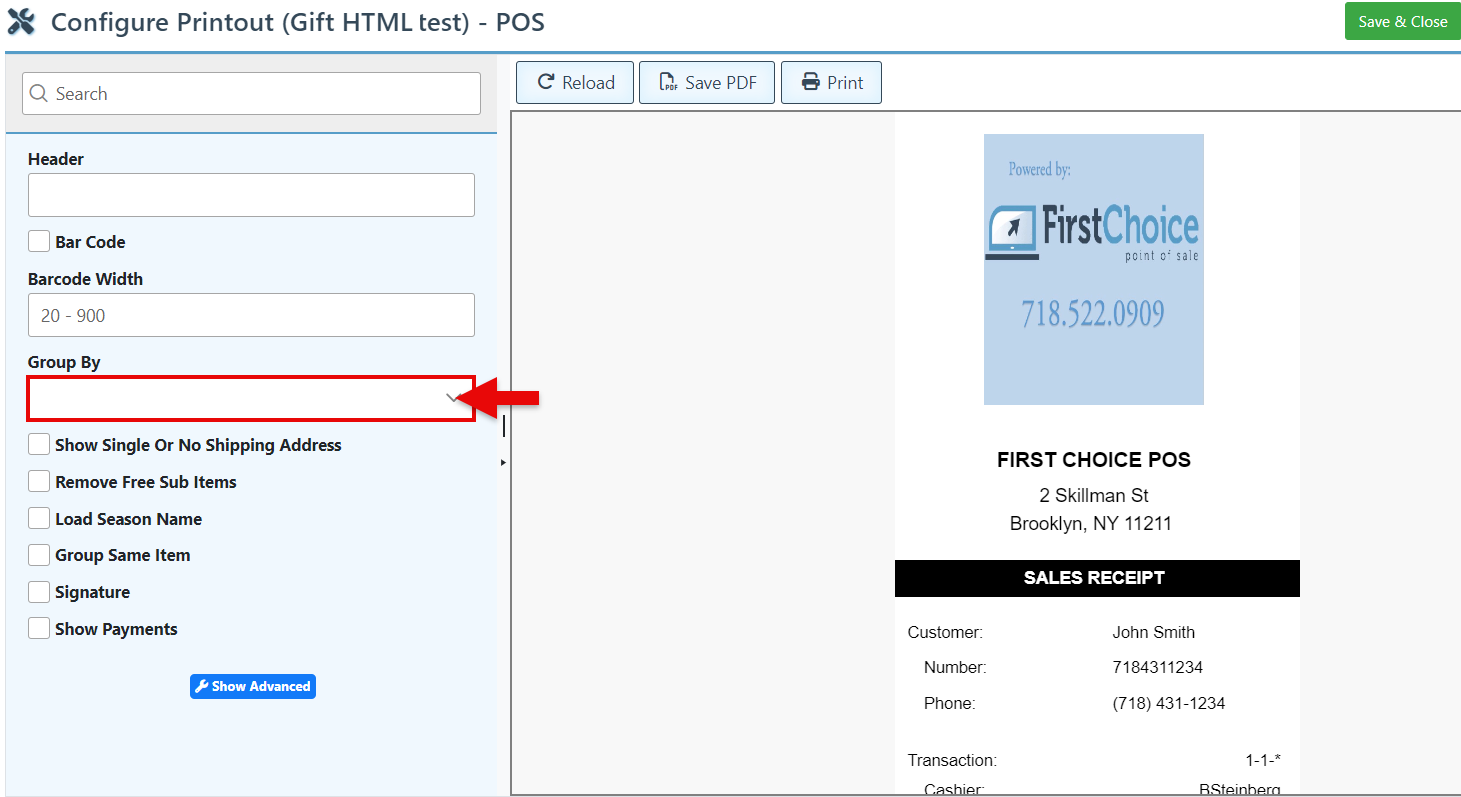
Select a header in the “Group By” dropdown to group the items in the list accordingly.
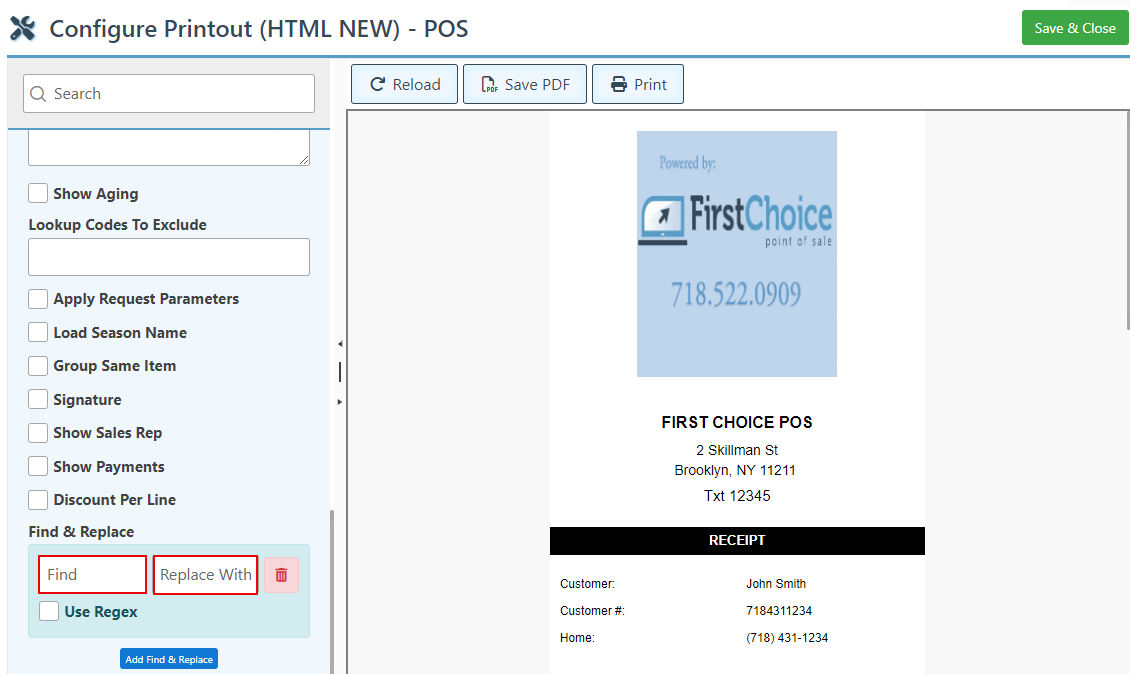
To customize the receipt by changing a specific field, Click “Show Advanced,” Select “Find and Replace,” and enter the text to find and the text to replace it in the designated bars.
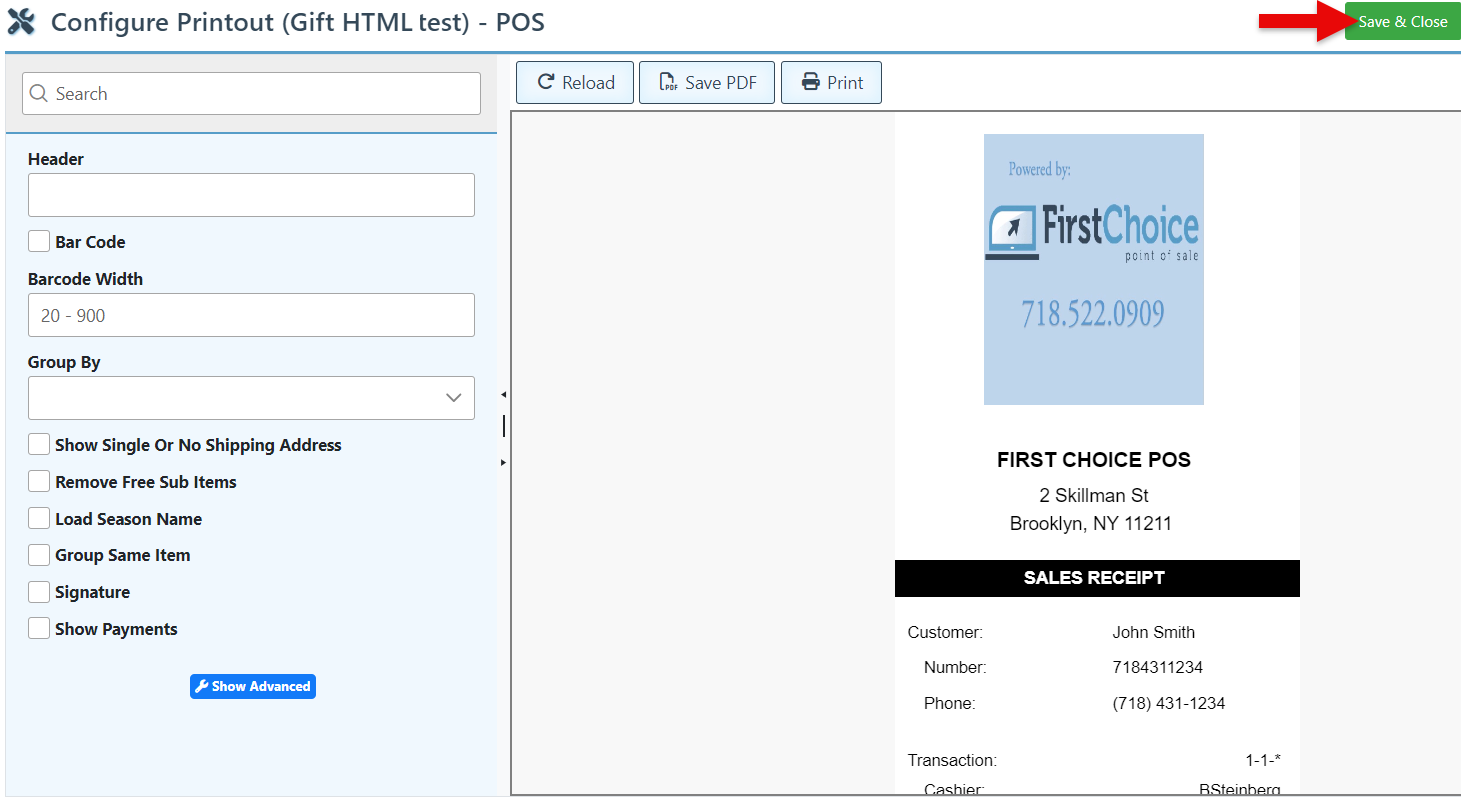
Click “Save & Close” at the top right to save changes.
Item Label
Use the arrows in the Barcode Width and height bars to adjust the barcode sizing.
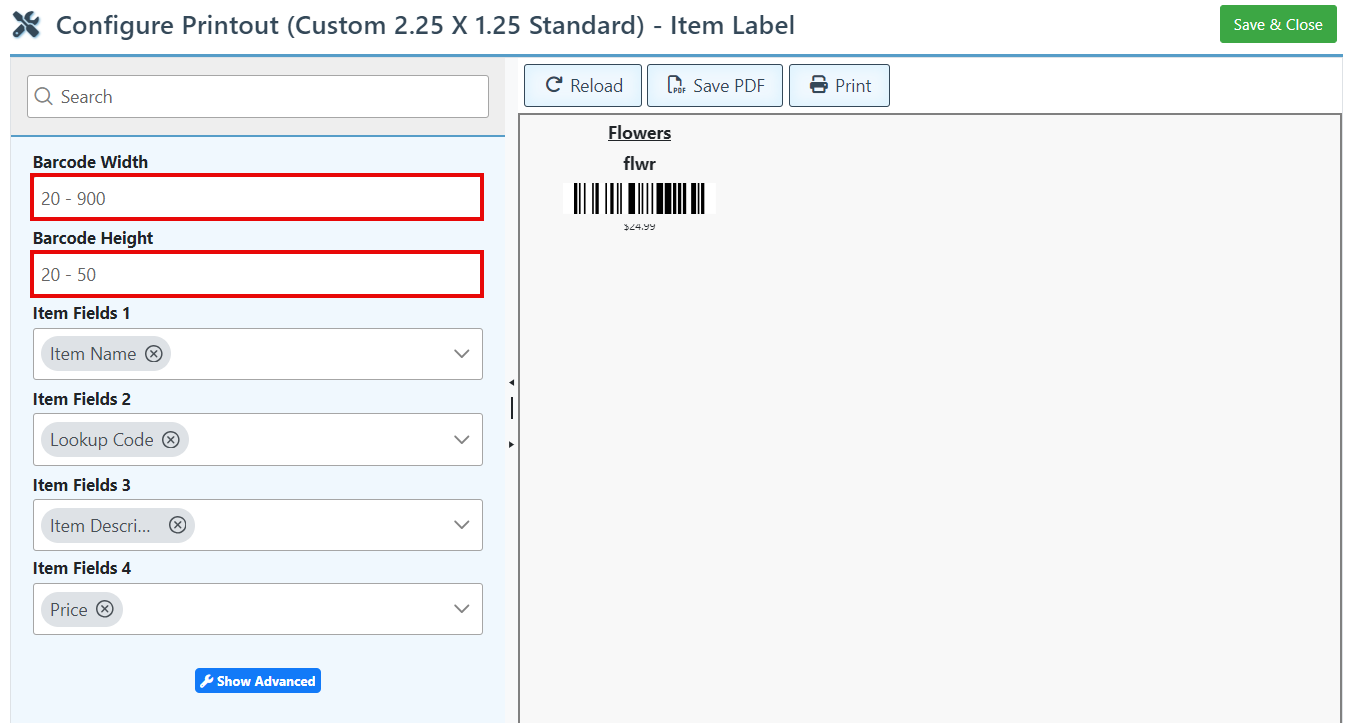
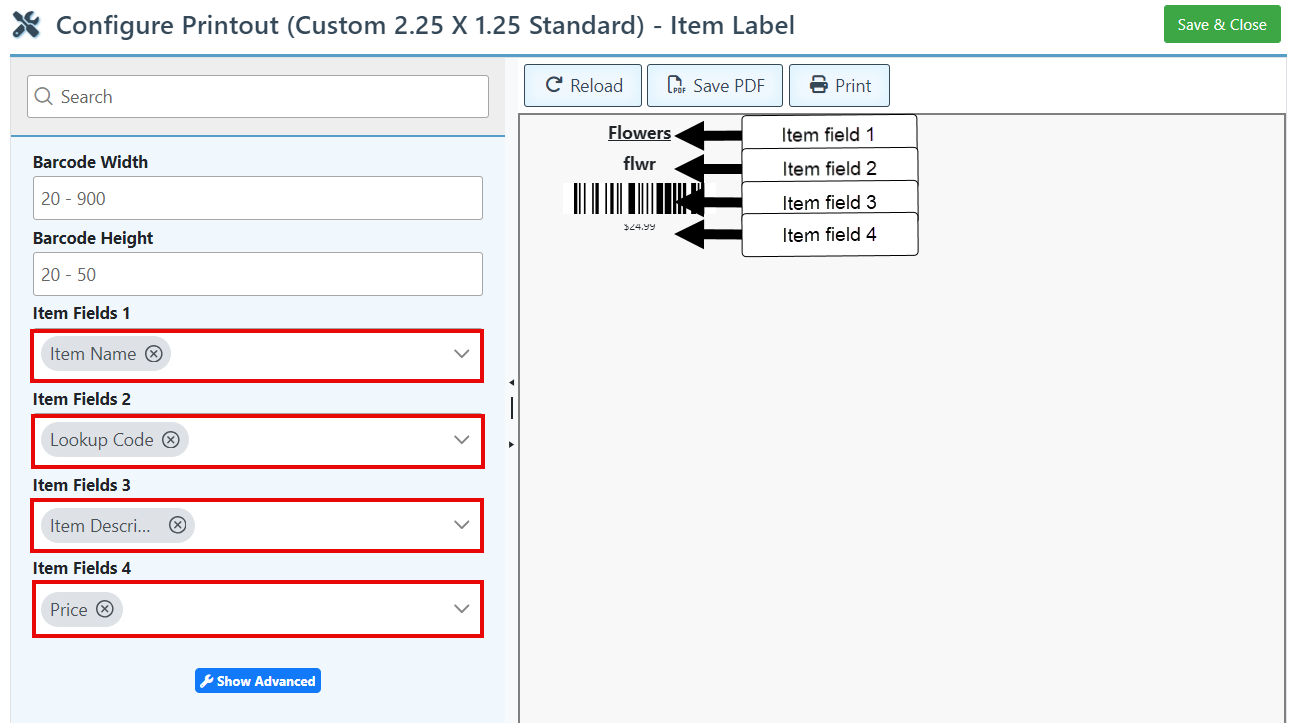
Select an item field in the dropdown menus to add the field on the item label.
The amount of Item Fields and their positions will vary on the Item label layout selected.
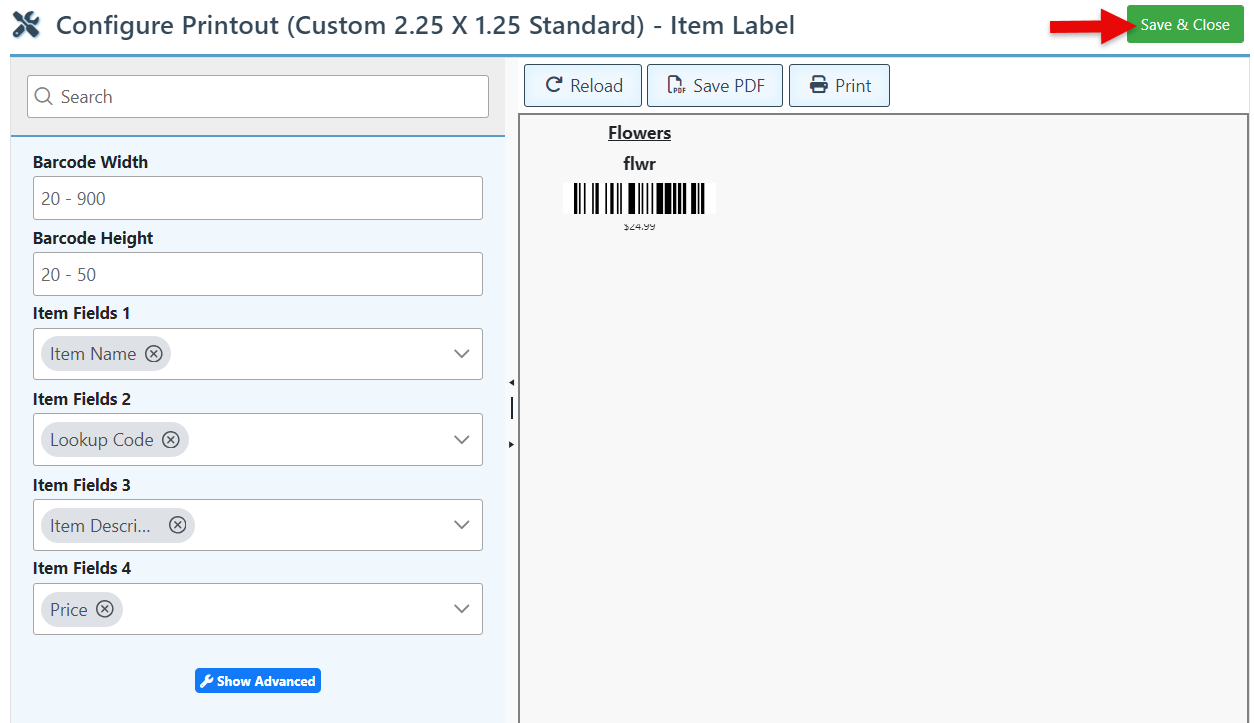
Click “Save & Close” to save changes.
Payment
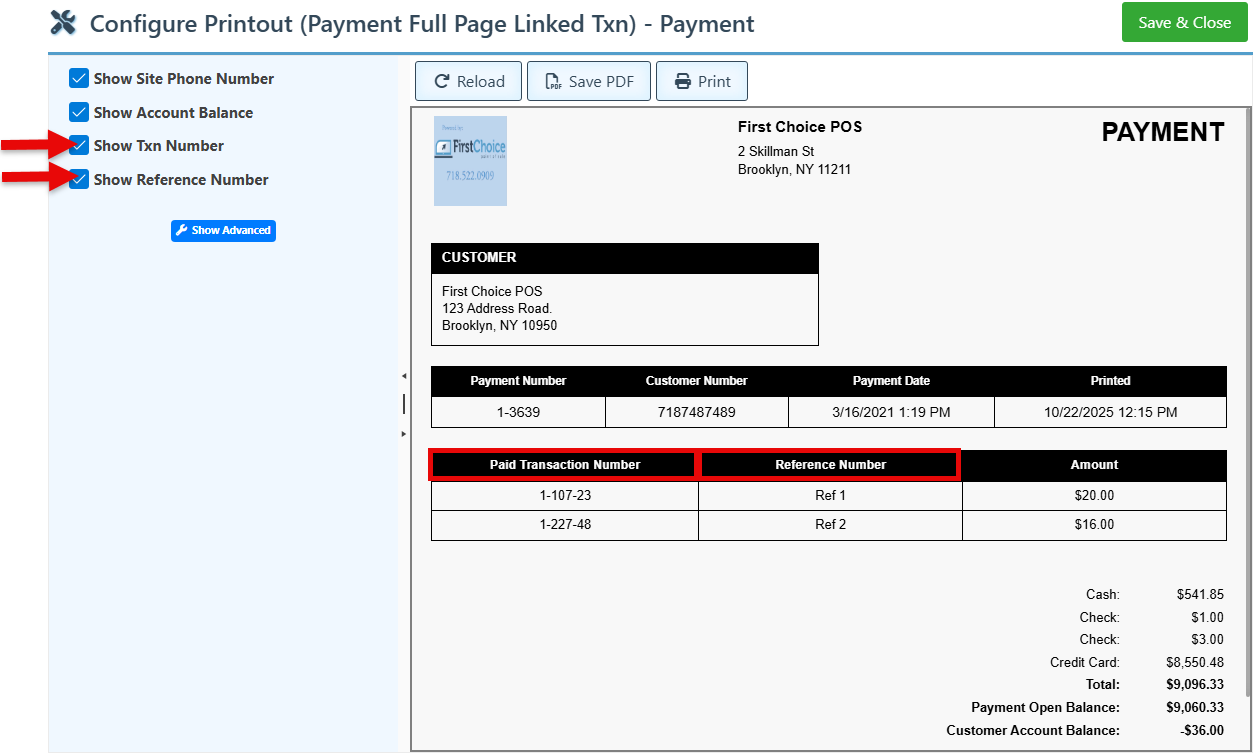
Select the “Show Account Balance” Checkbox to add the customer’s open balance to the printout layout.
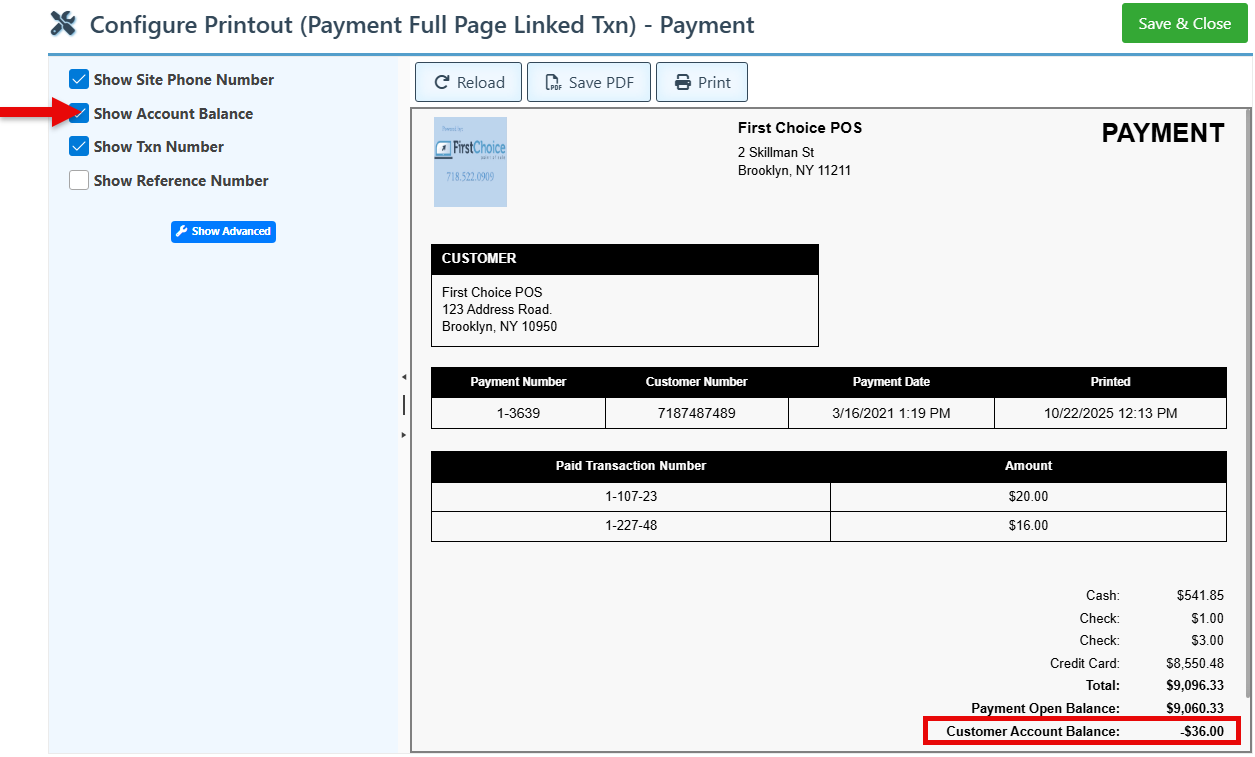
Select one or both options: “Show Txn Number” and “Show Reference Number” to include them on the payment printout layout.
This is helpful for businesses that frequently use the reference number, as it matches the vendor invoice number and is therefore more efficient.
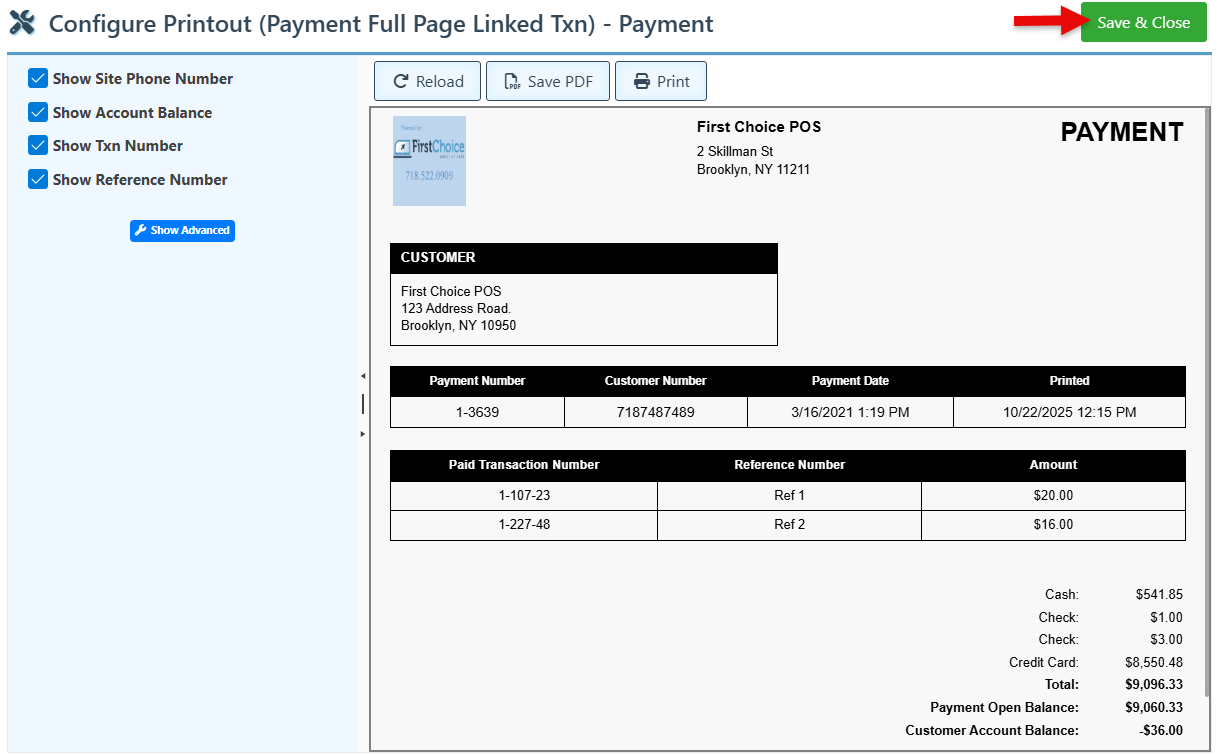
Click “Save & Close” to save changes.
Invoice Entry
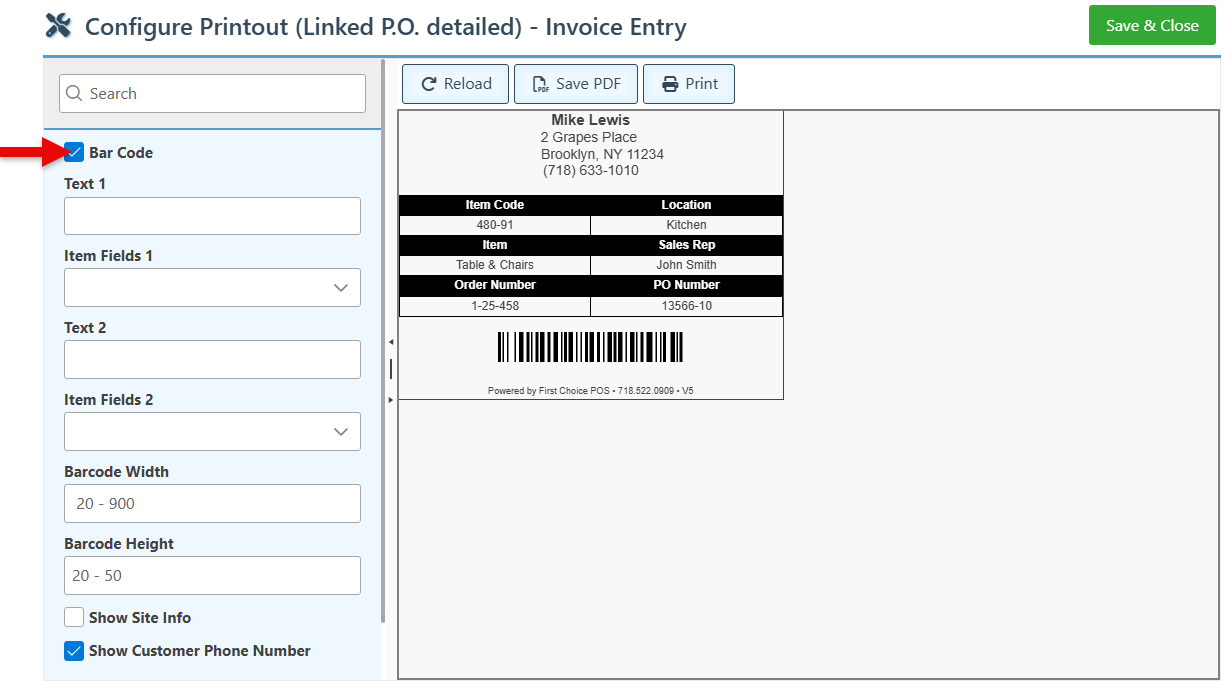
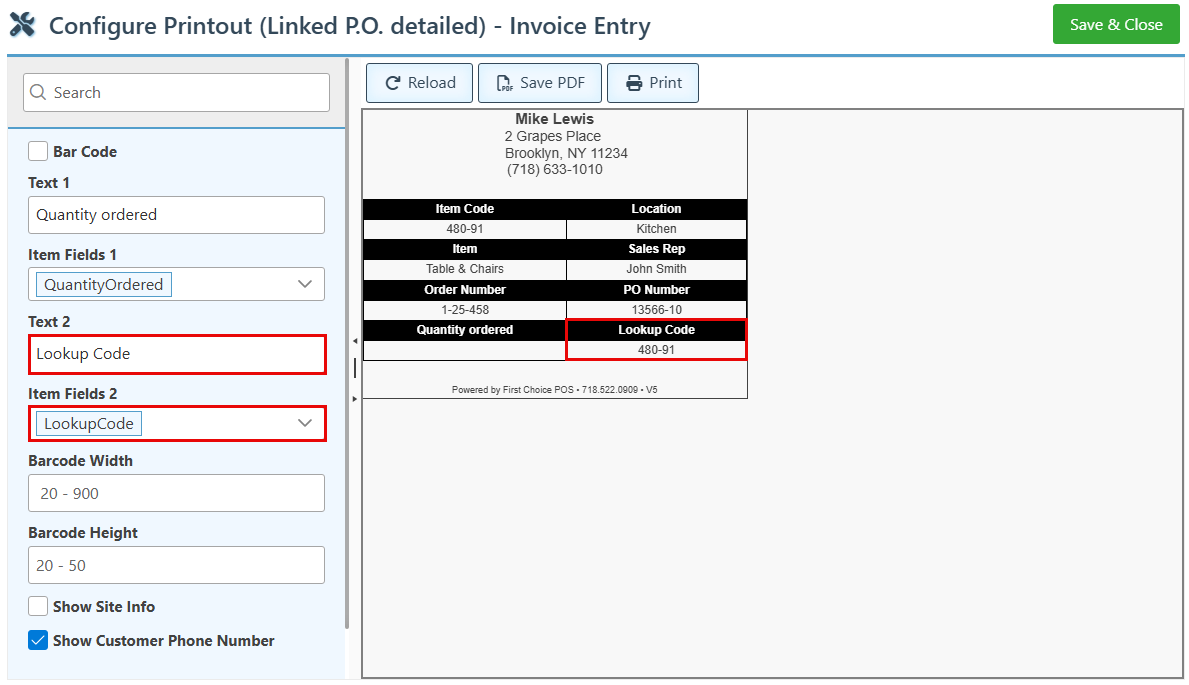
Select the “Barcode” Checkbox to add the item barcode to the printout layout.
To add a custom field to the printout layout, select the item detail to display from the “Item Fields 1” dropdown menu, and enter the header for the field in the “Text 1” field.
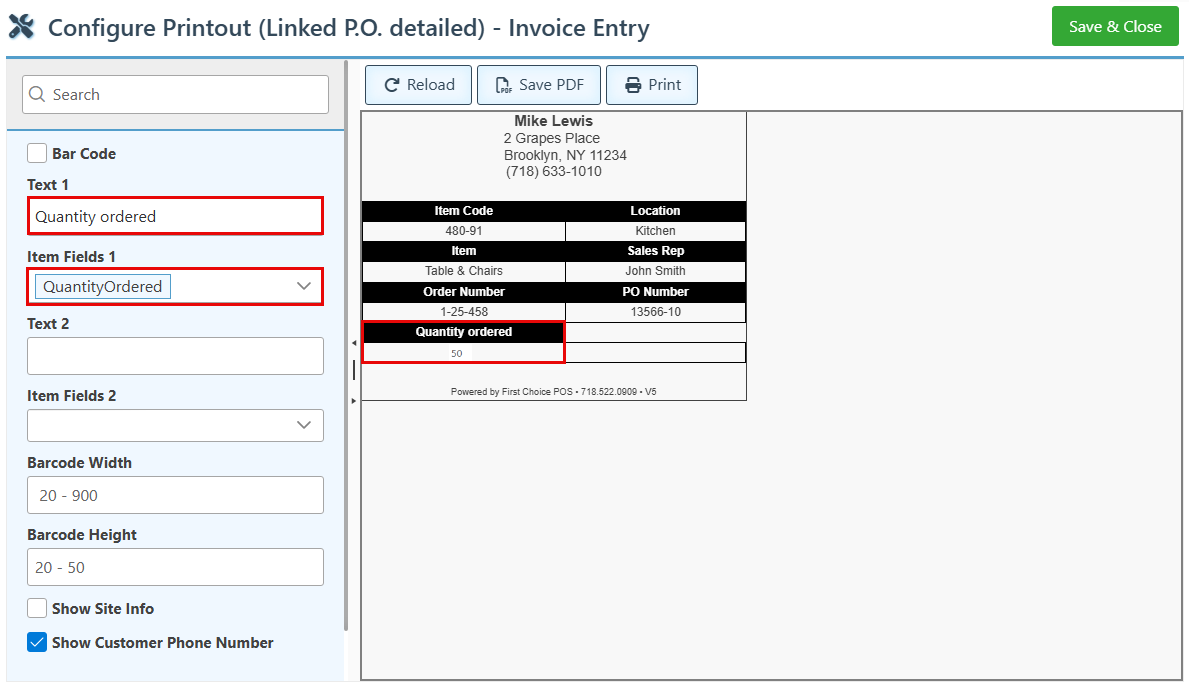
To add an additional item field, repeat the same process using the “Item Fields 2” and “Text 2” fields.
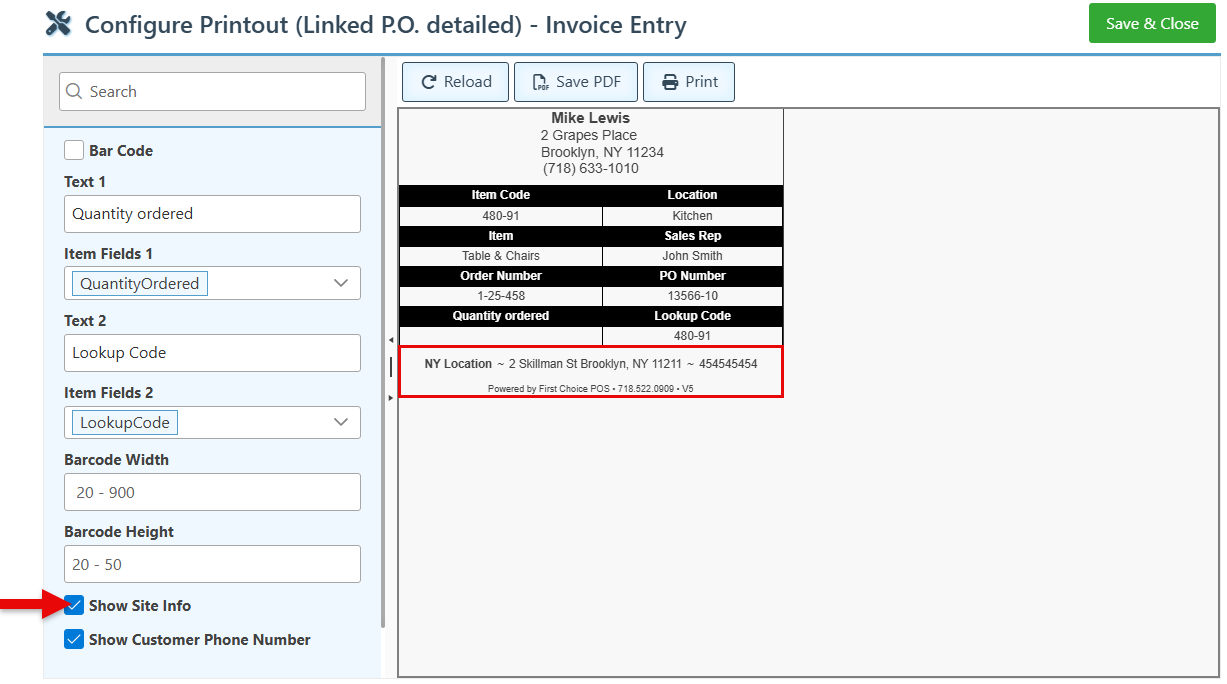
Select the “Show Site Info” checkbox to add the site information, such as the site alias and site address, to the printout layout.
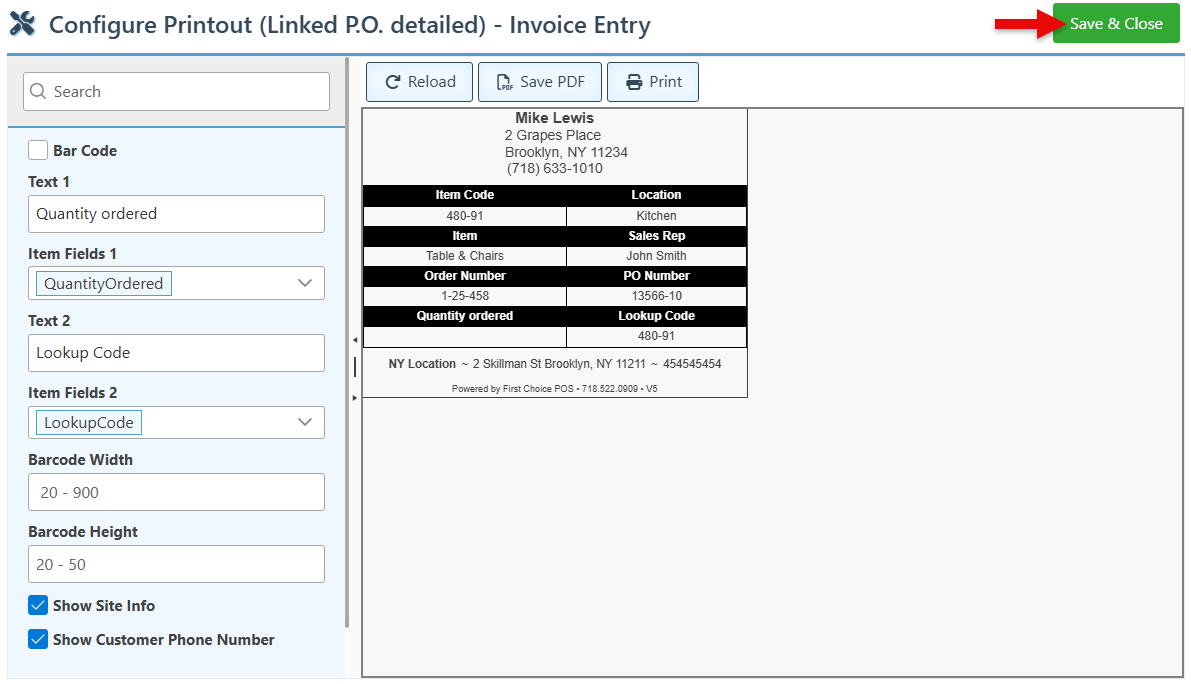
Click “Save&Close” at the top right to save changes.
The various printout layout options are designed to meet the diverse needs of different businesses. Selecting all options for one printout may lead to overflow in different fields.