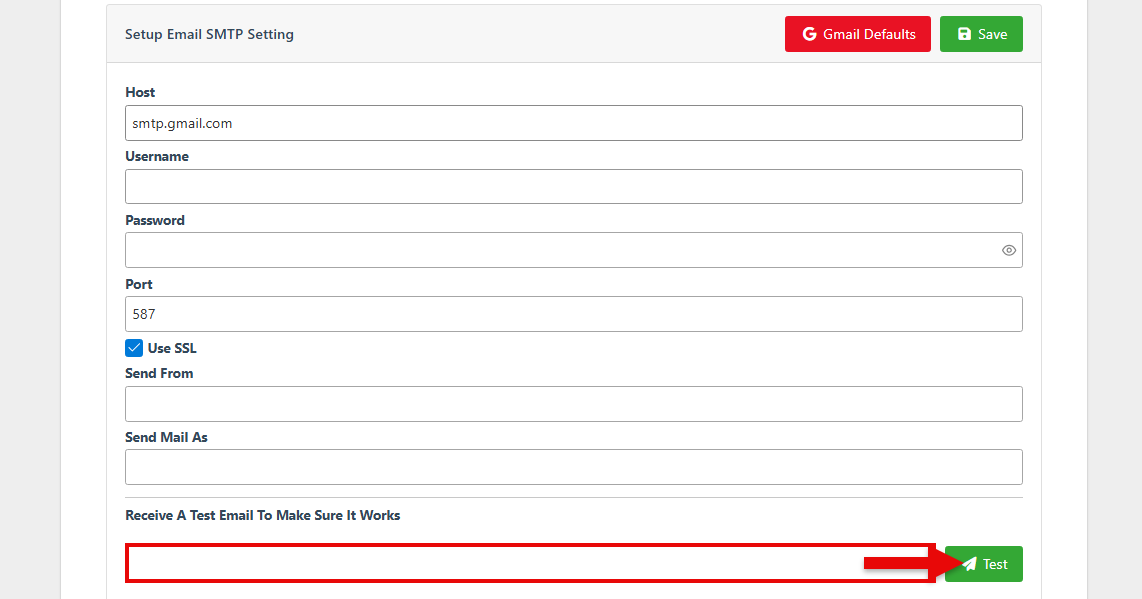
Follow the steps below to set up emails to be sent from within the POS system.
To ensure account security, follow the process outlined below, before setting up the email settings, to enable app access.
The following configurations may vary based on the email provider. For the purposes of this document, we will use Gmail to illustrate the setup. The steps will be similar but slightly different for other platforms."
Setup the app password
-
Sign in to the user's Google account.
-
Search “App passwords” in the search bar at the top of the homepage. (This option will only appear if two-factor authentication is enabled for the Gmail account. If it does not appear, proceed to enable the two-factor authentication before continuing with the SMTP setup.)

-
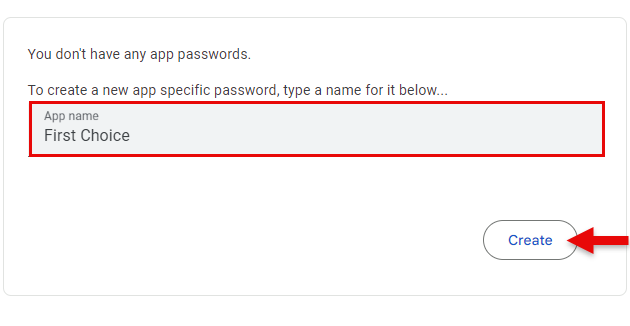
Type “First choice” into the App name bar and click “Create” to generate an app password.
-
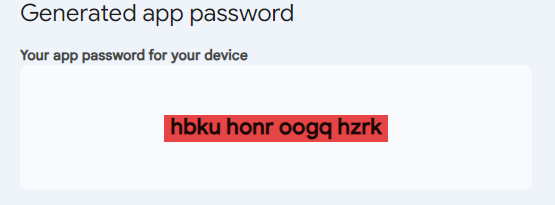
Copy the password for use as the SMTP email password.
SMTP email settings (Once access has been allowed.)
-
Log in to Back Office.
-
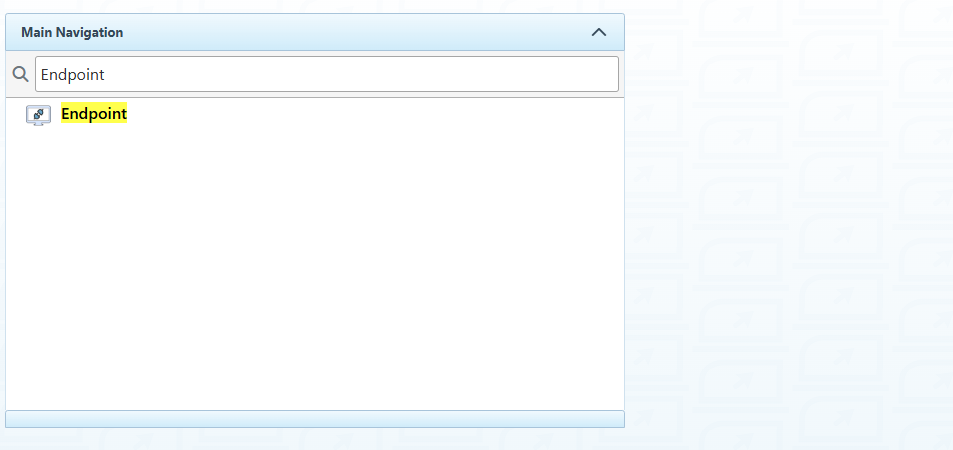
Search and select “Endpoint” in the Main Navigation menu.
-
Click “New” at the top right to set up a new a new endpoint.

-
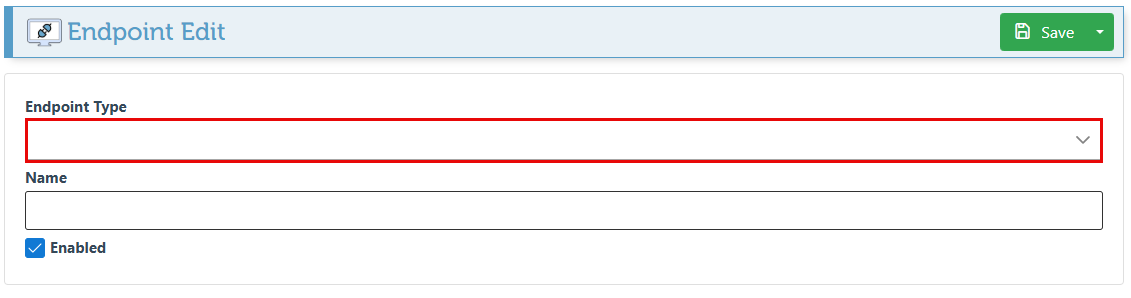
Select “Custom SMTP” in the Endpoint type dropdown.
-
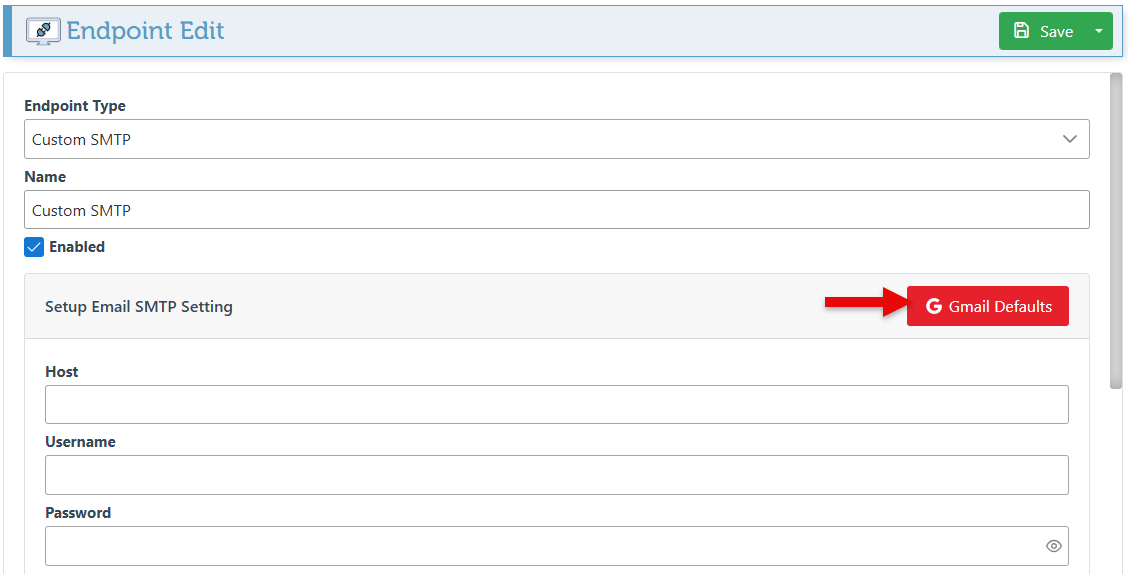
To automatically enter the hostname and port ID, click "Gmail Defaults.” Otherwise, manually enter the Host and Port details of your email provider.
-
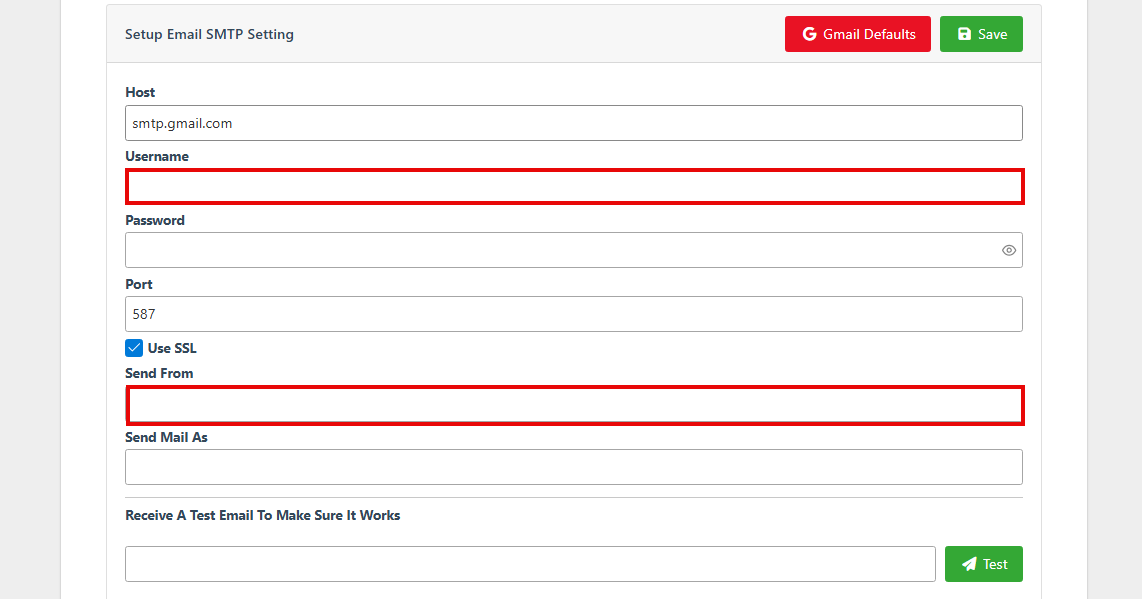
Enter the username and the email address from which the outgoing emails will be sent.
-
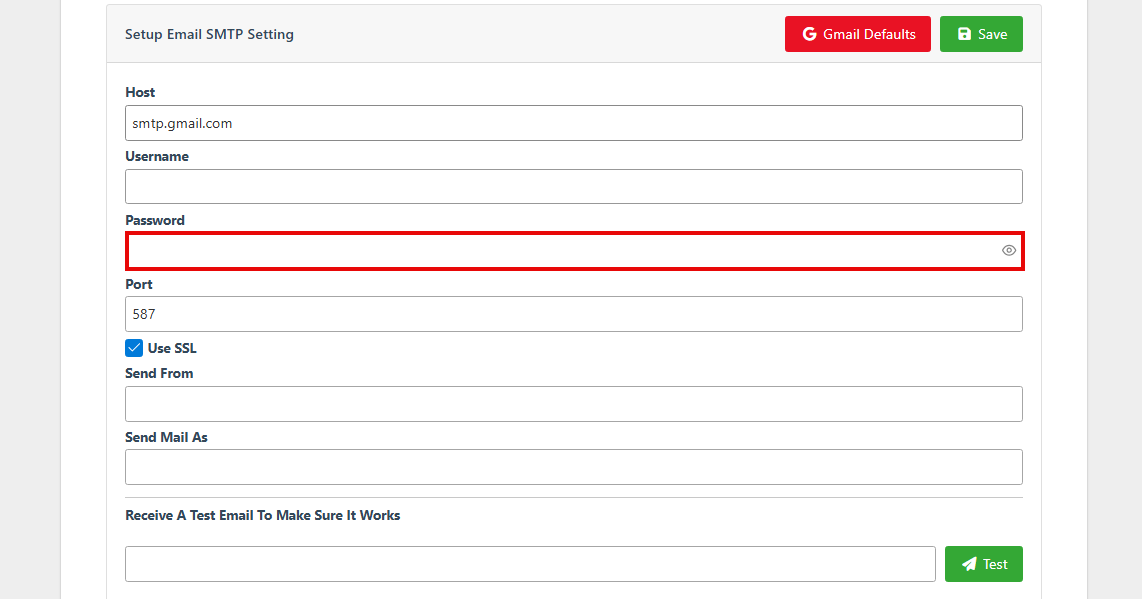
Enter the user’s password. If the account requires a two-step verification code, enter the app-generated password copied above.
-
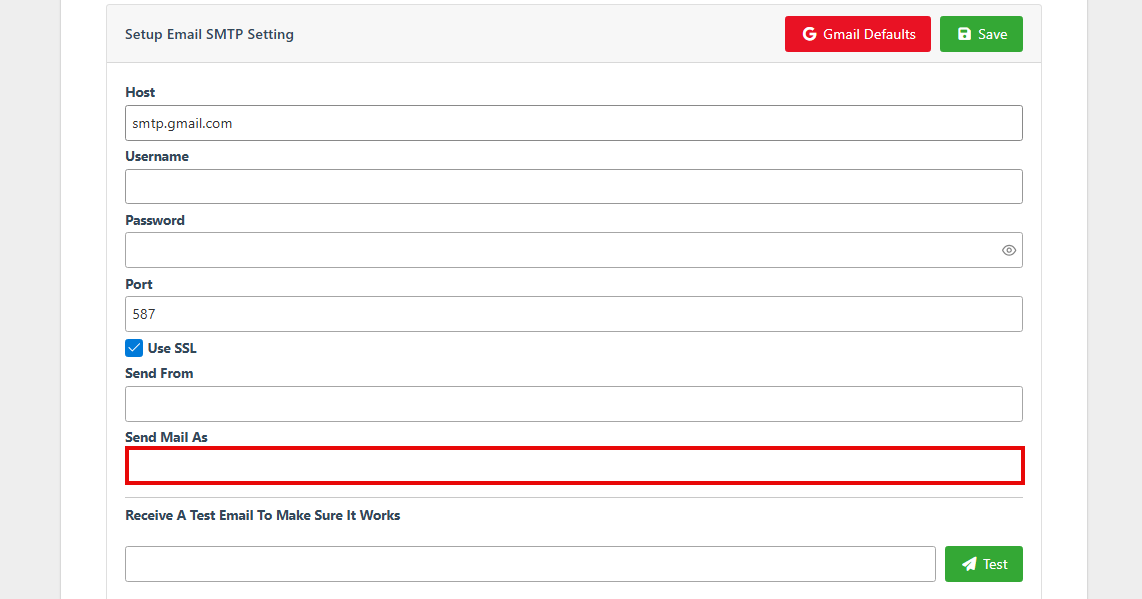
To send the emails from a specific name, instead of the general email address, enter the text in the “Send Email As” field.
-
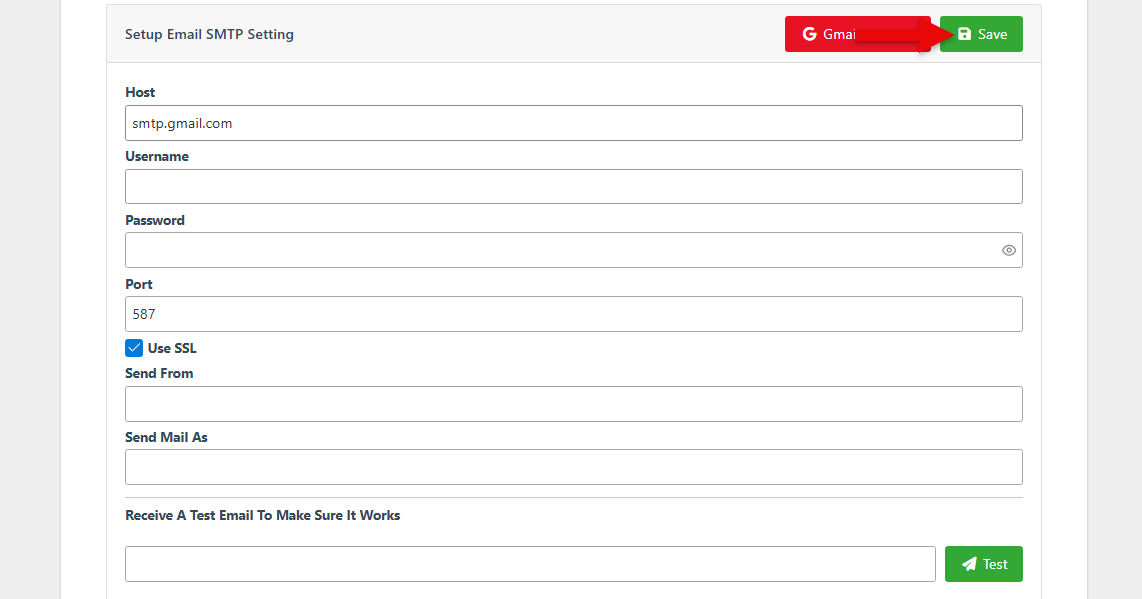
Click “Save” at the top right of the page.
-
To send a test email, enter an email destination and click “Test.”