Sale Rewards
Follow the steps below to set up a rewards program to apply rewards on account following a sale.
To enable rewards, set the “RewardsProgramEnabled” enterprise configuration to true, and select the state at which to apply rewards in the POS workflow rules.
Open BackOffice.
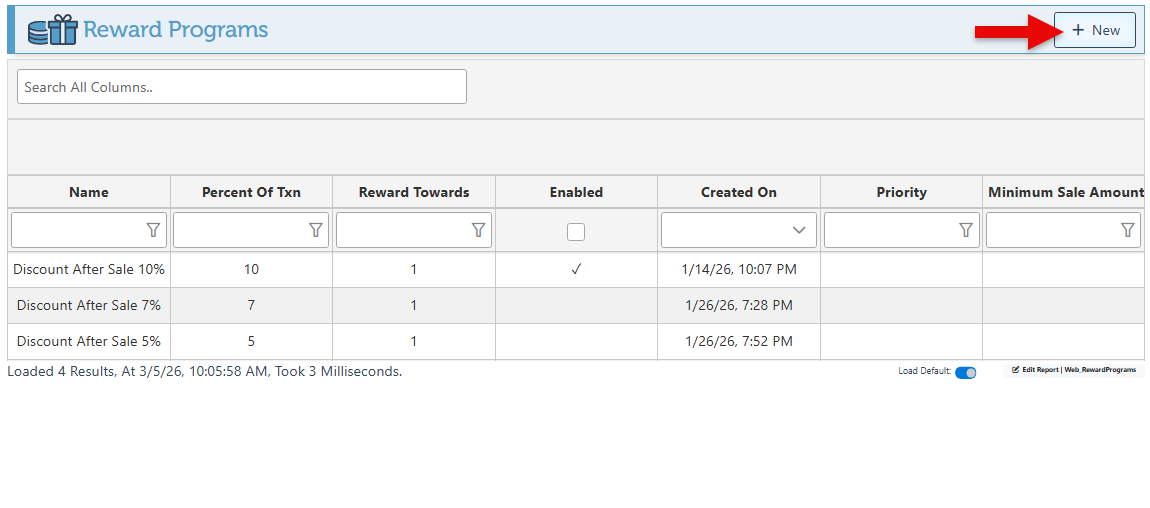
Click “Items” in the Main Navigation menu and select “Rewards Program” from the scrollable dropdown.

Click “New” at the top right to set up a new rewards program.
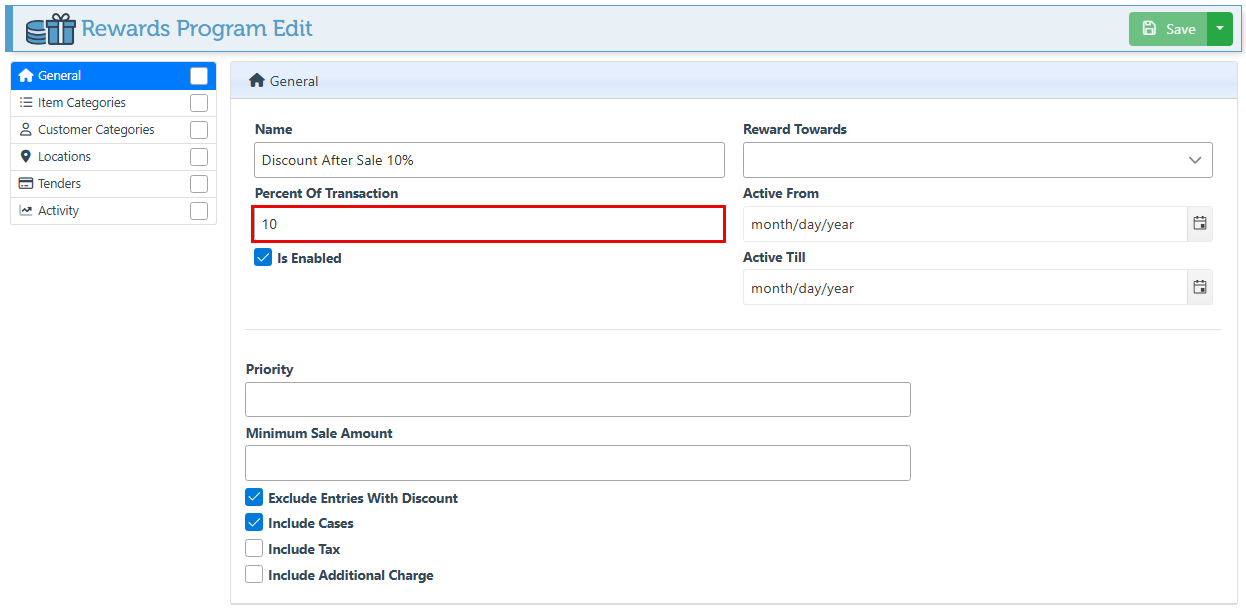
Enter a description of the reward in the “Name” field.

Select the percent of the transaction to be given as reward in the designated field.
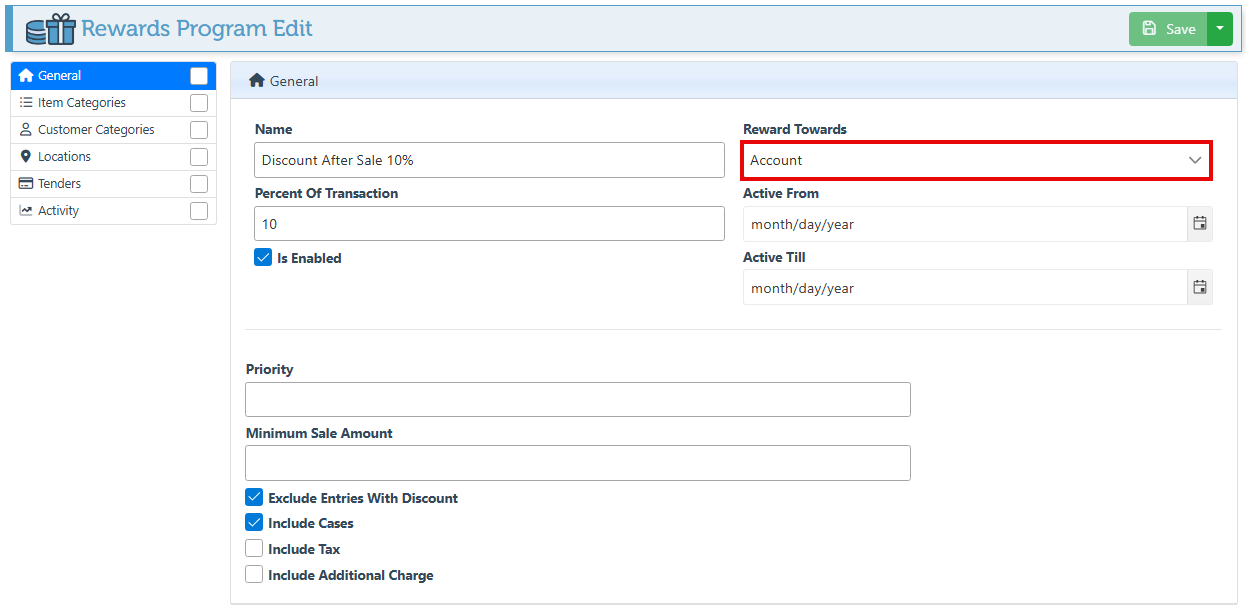
Select “Account” in the Reward Towards field, to apply the credit on account.
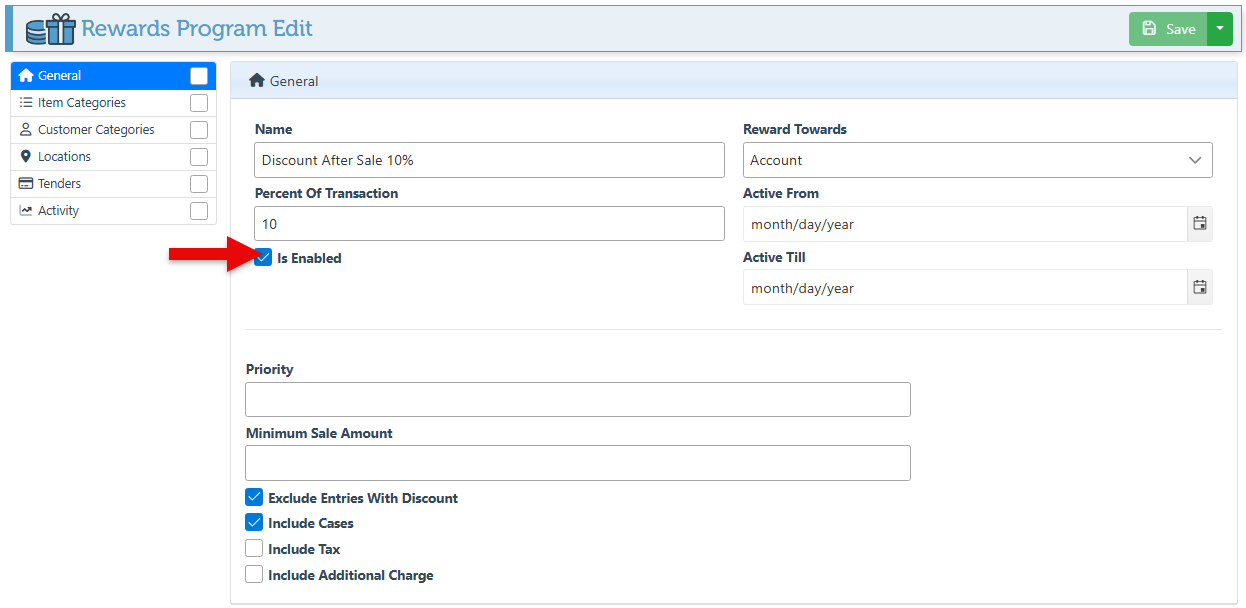
Select the “Is Enabled” checkbox to activate the program.
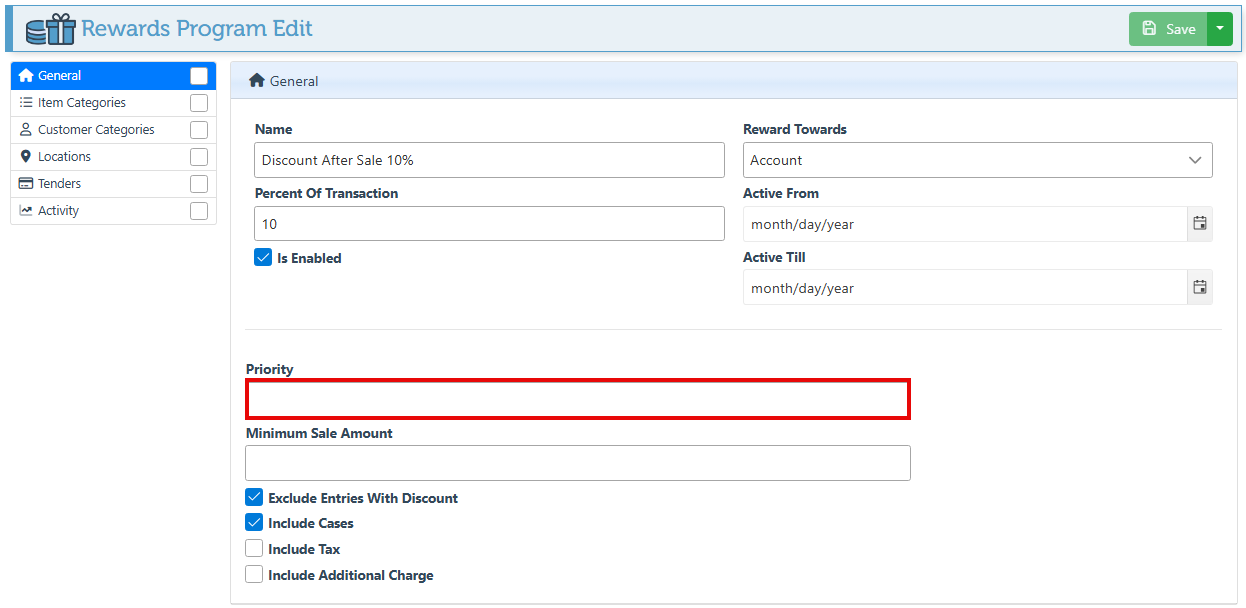
If multiple reward programs are active simultaneously, ensure you select a priority level; the program with the higher priority (lower number) will be applied.
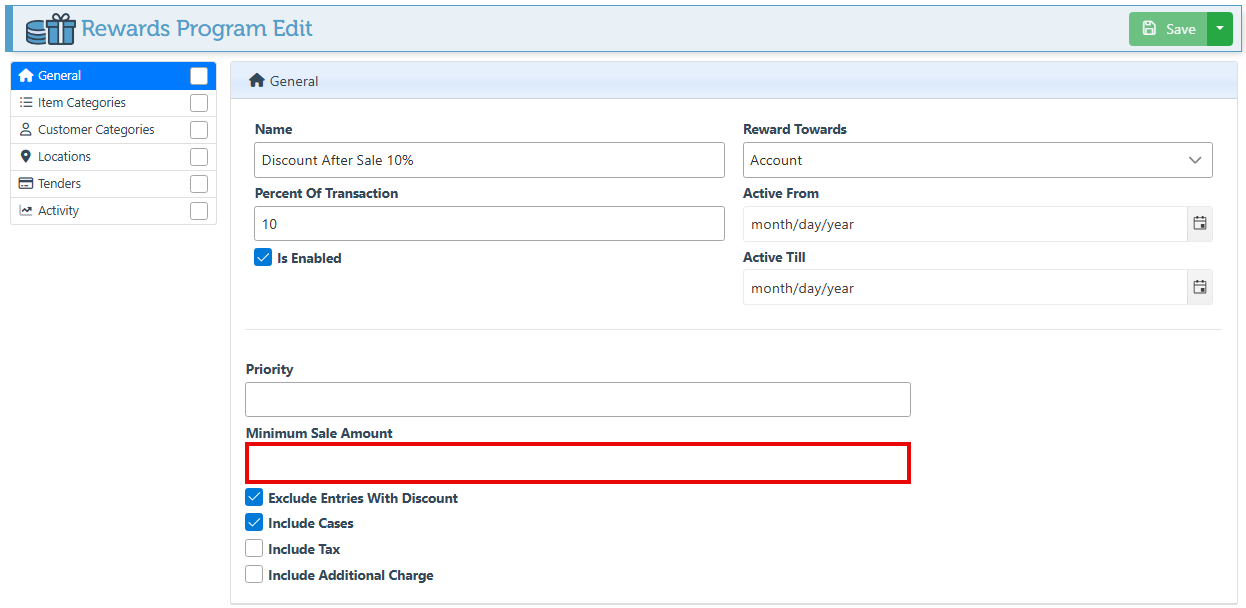
To set a required minimum sale amount to be eligible for rewards, enter a value in the designated field.
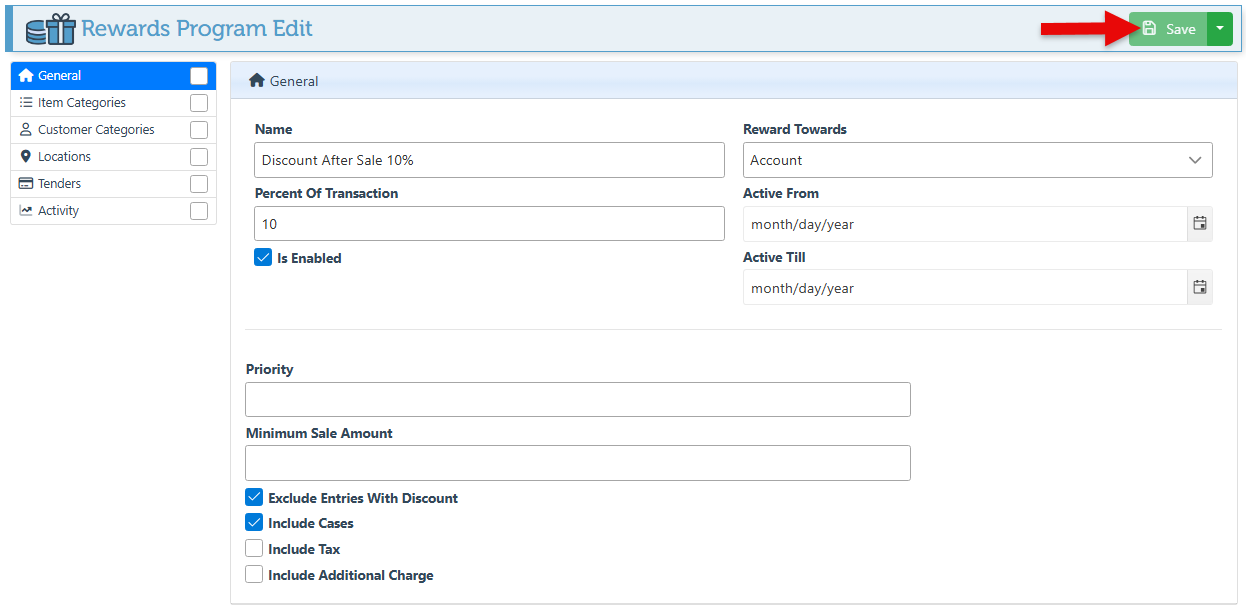
Select the relevant configurations to include or exclude specific charges in the rewards calculation, and click “Save.”
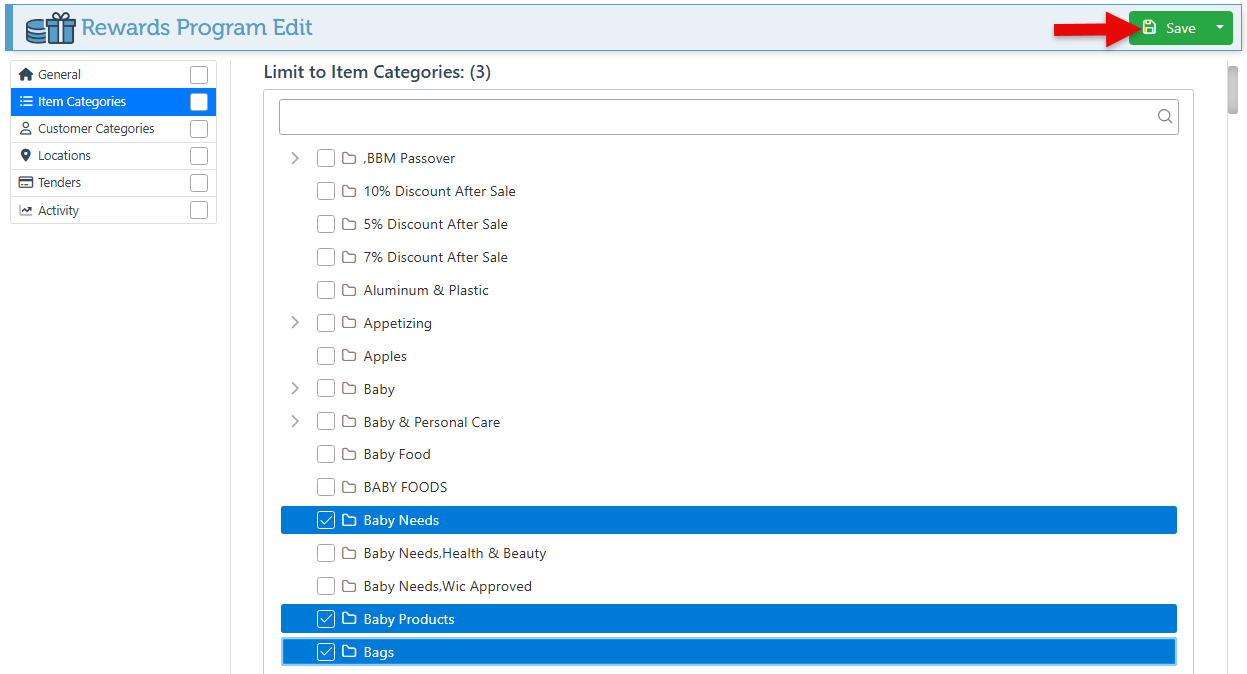
To apply the program to specific categories only, navigate to the Item Categories tab, select the desired categories, and click “Save.” To set these to be excluded, click the “Set Excluded Item Categories” button.
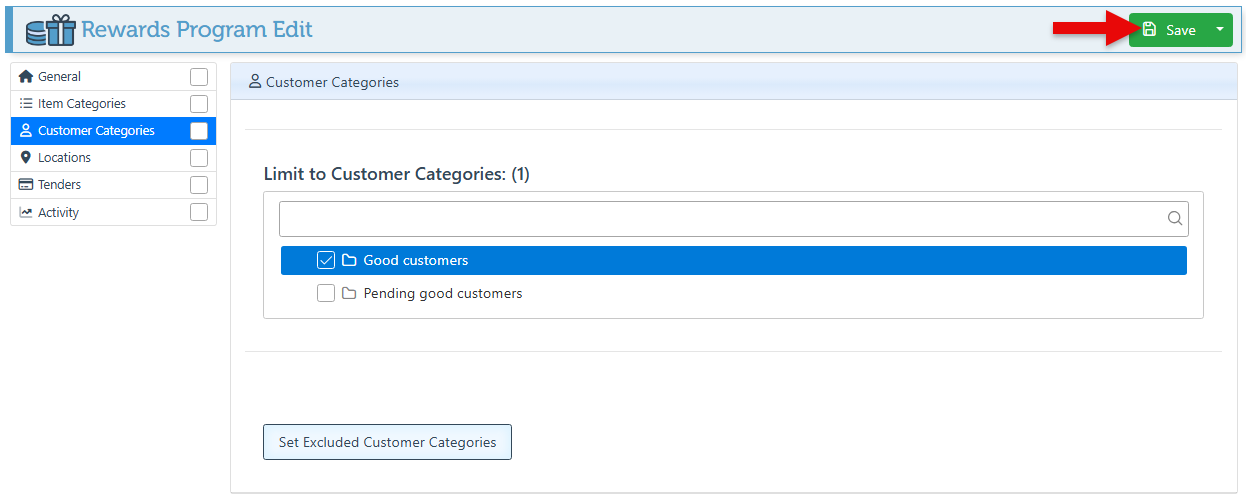
To apply the program for specific customer categories only, navigate to the Customer Categories tab, select the desired categories, and click “Save.” To set these to be excluded, click the “Set Excluded Customer Categories” button.
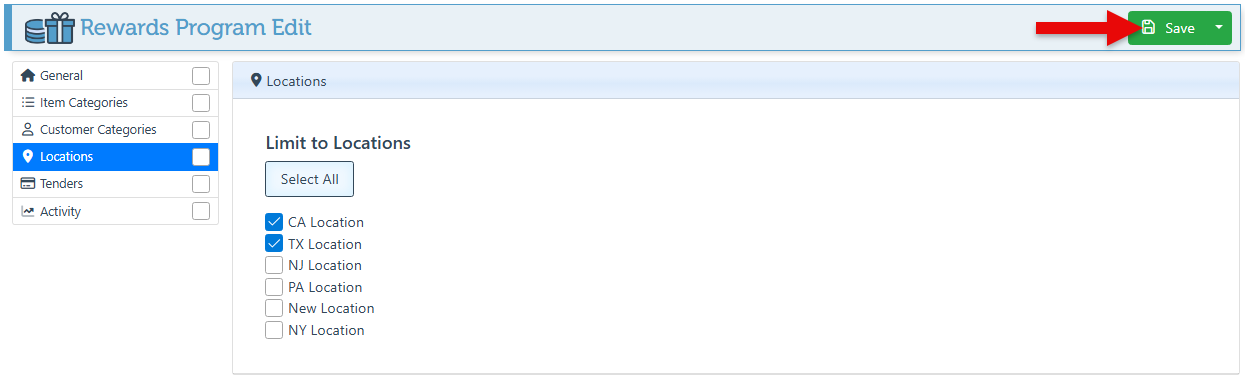
Select specific locations in the “Locations” tab to limit the program to those locations.
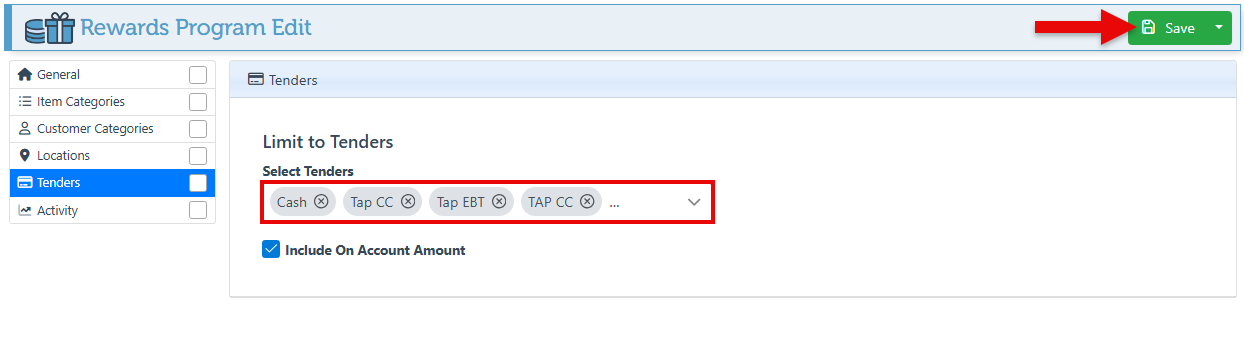
To apply the rewards only when paying with specific tenders, navigate to the “Tenders” tab, select specific tenders, and click “Save.” This is mostly used to prevent rewards from being applied if the customer is paying on account, using WIC, etc.
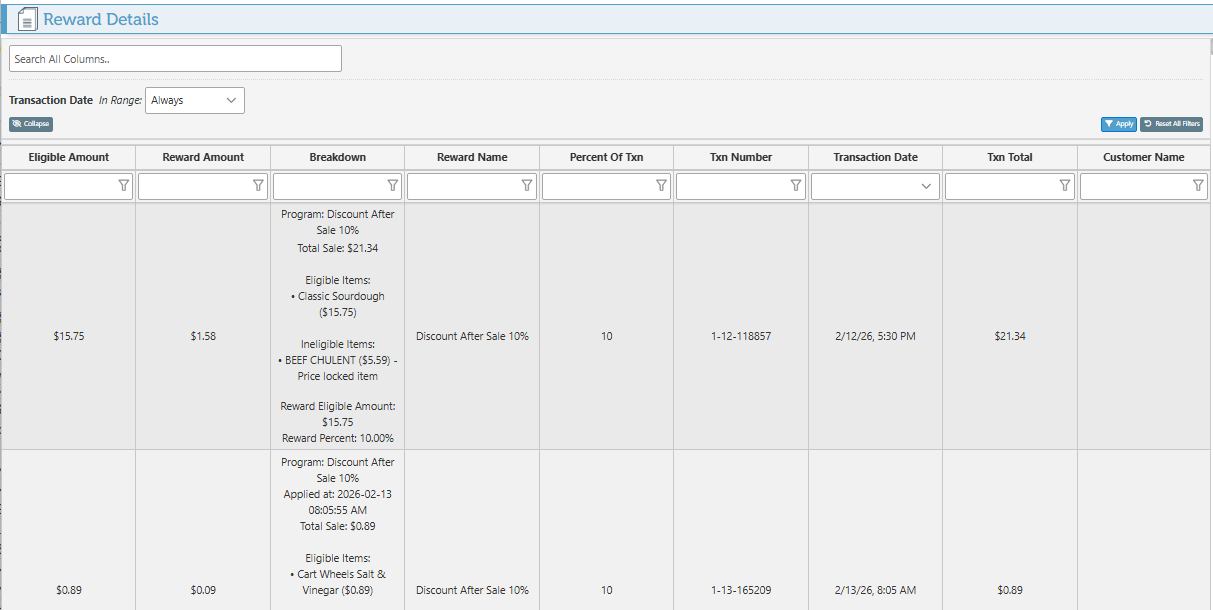
For a detailed breakdown of all rewards applied, see the “Reward Details” report.