Create New Item
Items can be created using either of the two processes. "Quick Create Item" -Includes basic item information and Description, while "Create Item” provides a more detailed setup of the item.
Below is a guide on how to Create Items, including detailed information. For more details on how to Quick Create Items, by entering and saving basic information only, see Quick Create Items.
Open Backoffice.
Click “Items” in the Main Navigation menu and select “Create Item” from the scrollable dropdown.
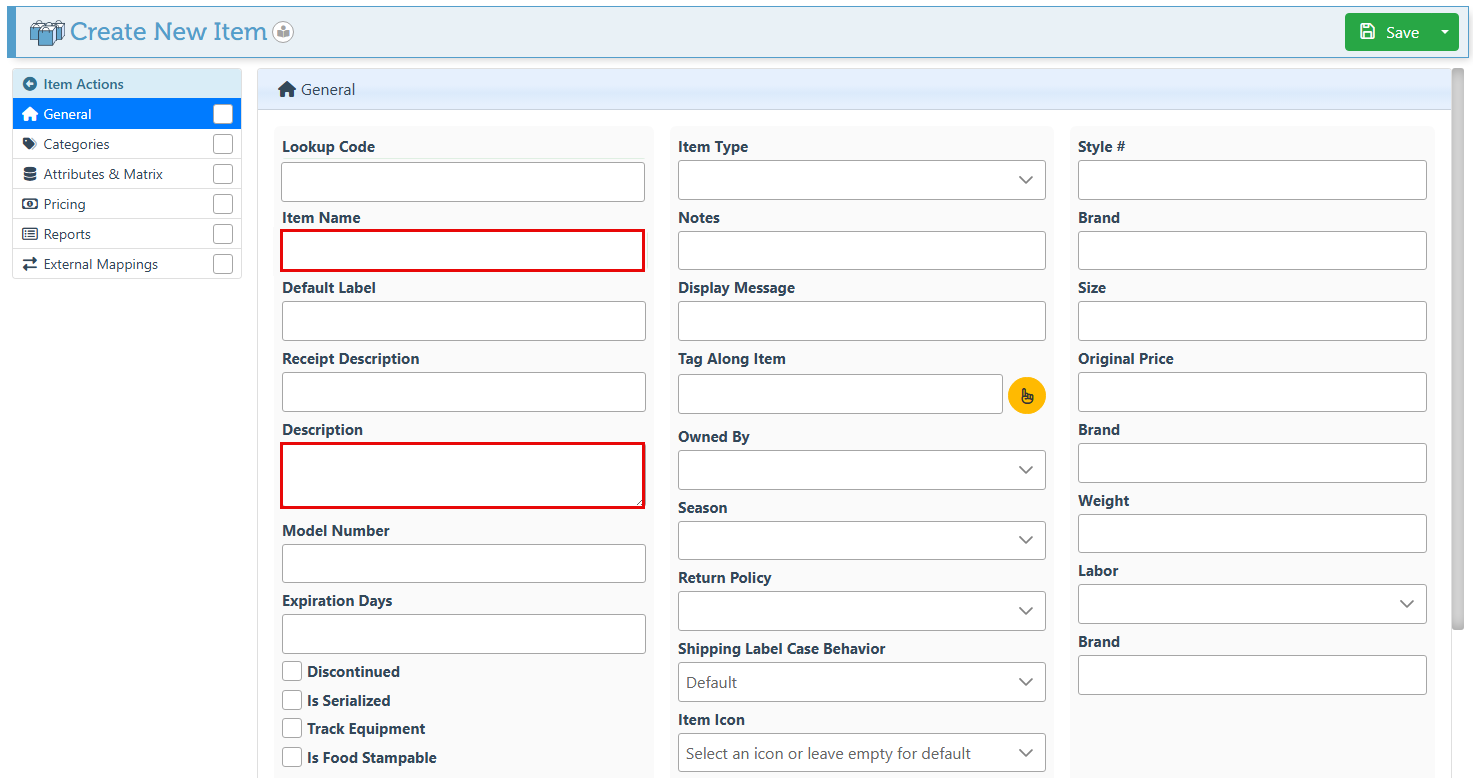
In the general tab, enter the Item Name and Description.
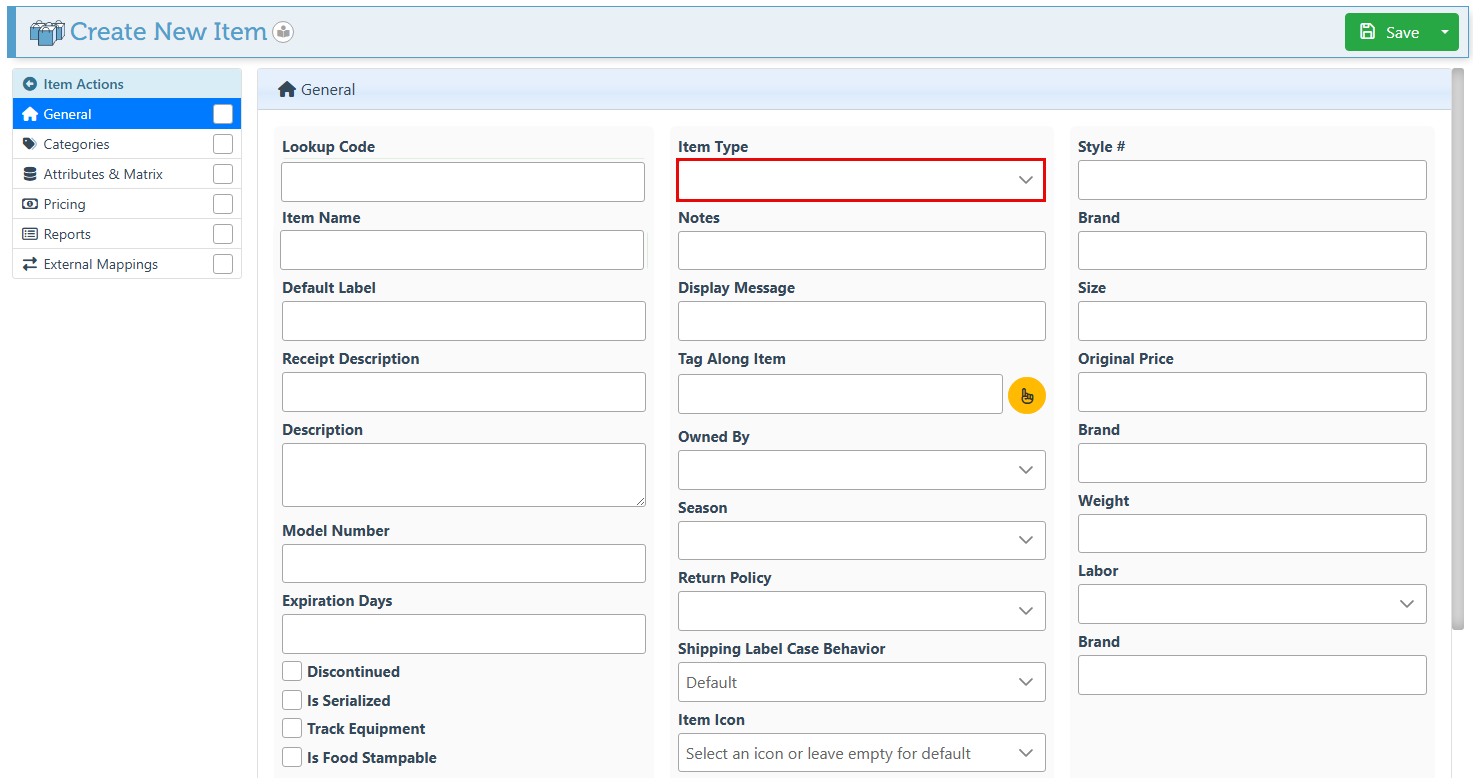
Select the item type in the dropdown. If this field remains empty, the item will be automatically entered as standard.
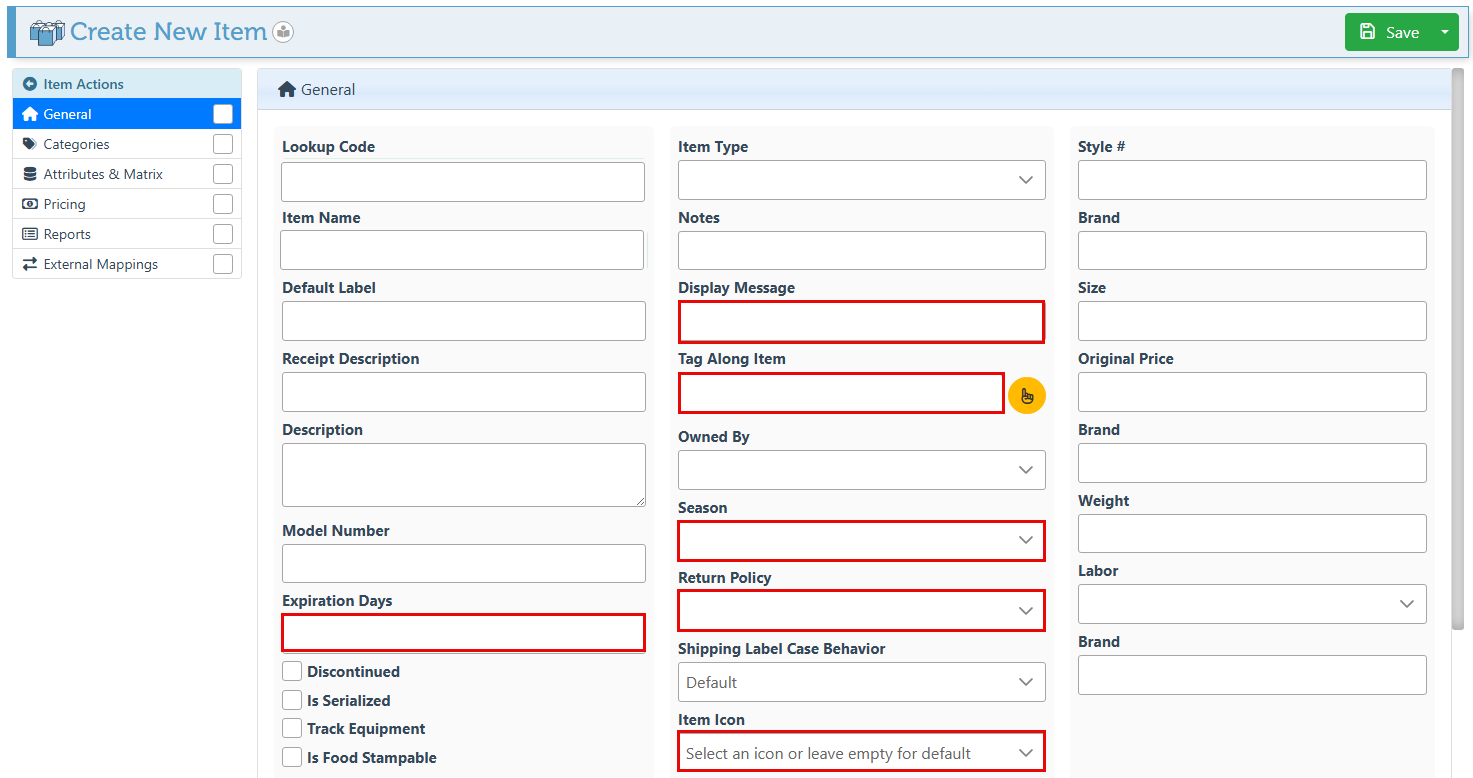
Enter applicable item fields, such as Item Expiration Date, Display Message- Item description to be displayed with the item, Tag Along Item- Item to be automatically added to a transaction whenever this item is selected, Season, Return Policy, Item Icon, or more.
Click "Save" at the top right to save changes.
Once saved, additional item details can be entered.
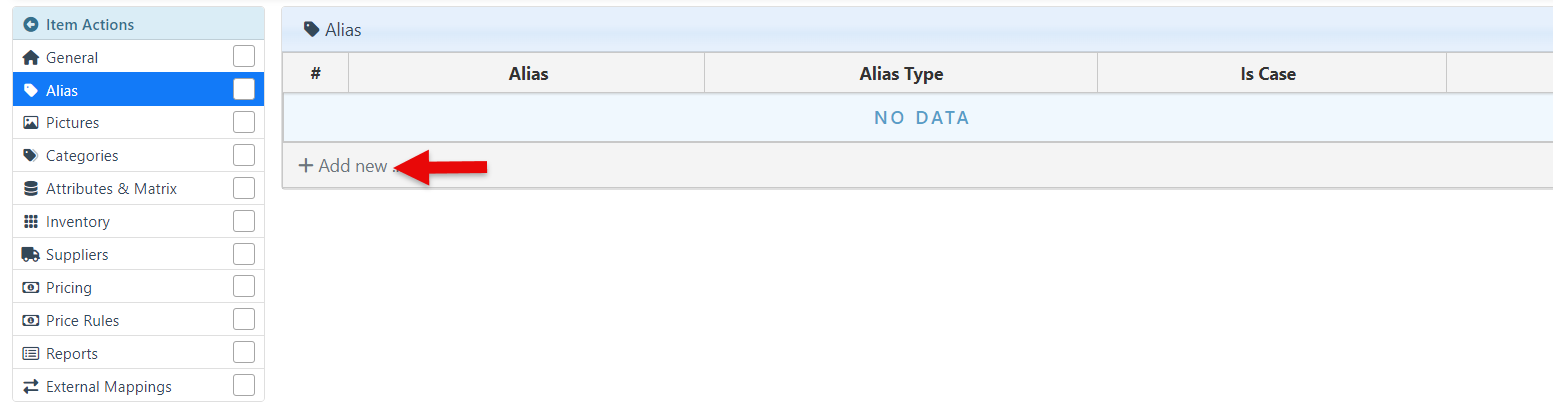
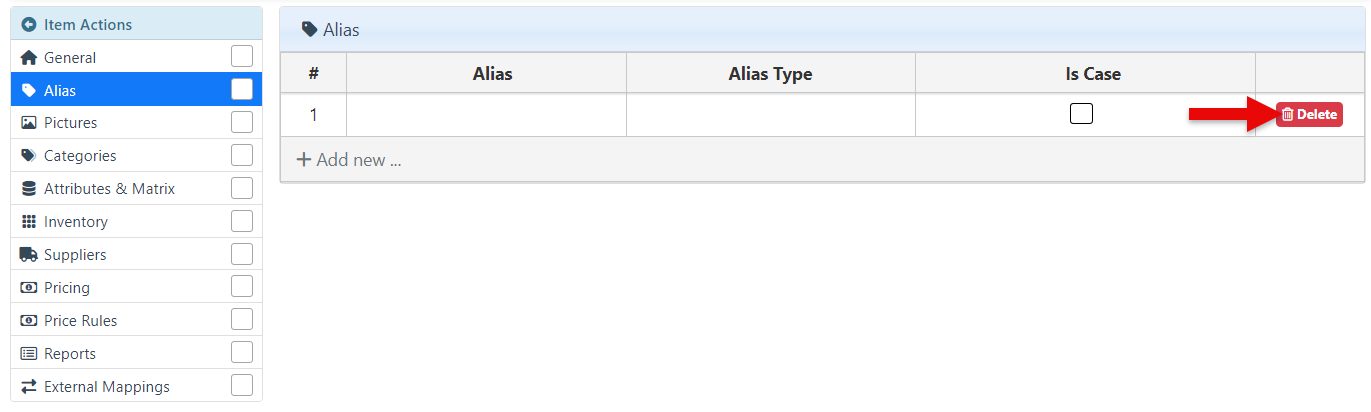
Alias Tab
This is used to attach an existing item lookup code to the item. If this field is left blank, the lookup code will auto-generate.
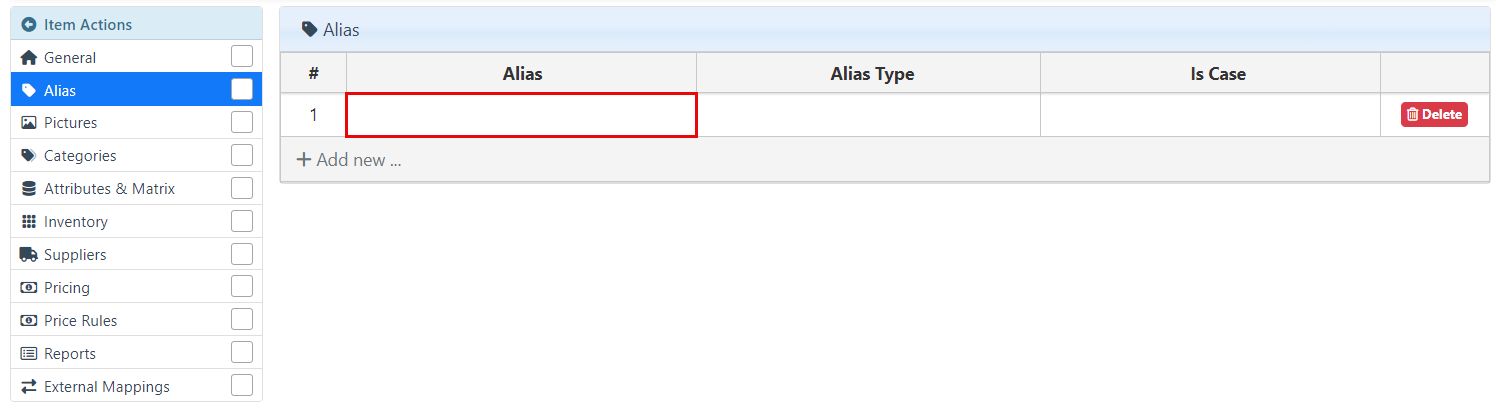
Click “Add New” to create an alias (a specific lookup code) for the item.
Enter the item lookup code in the Alias tab.
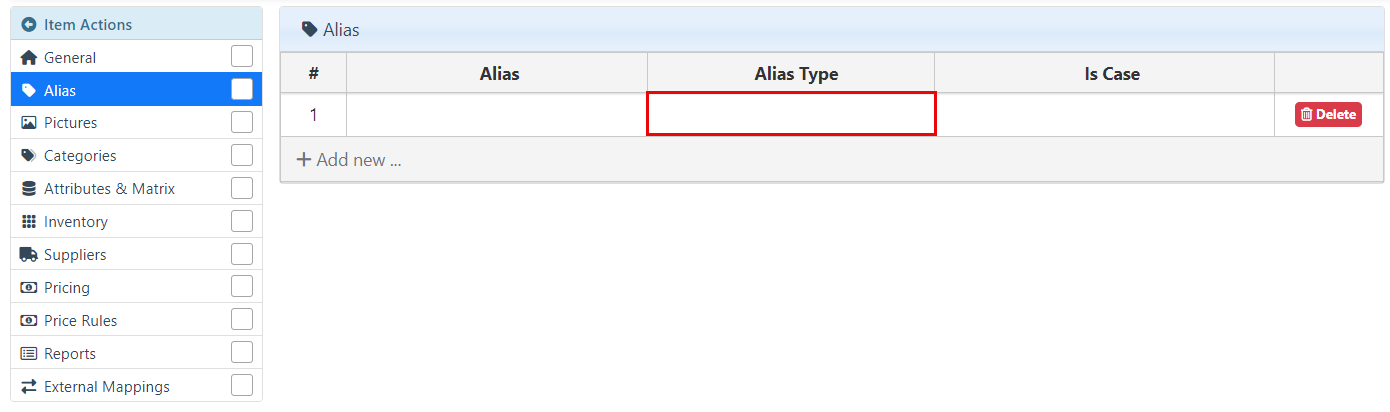
Select the lookup code type in the Alias Type dropdown.
Select the “Is Case” checkbox to indicate that this lookup code represents a case of the item.
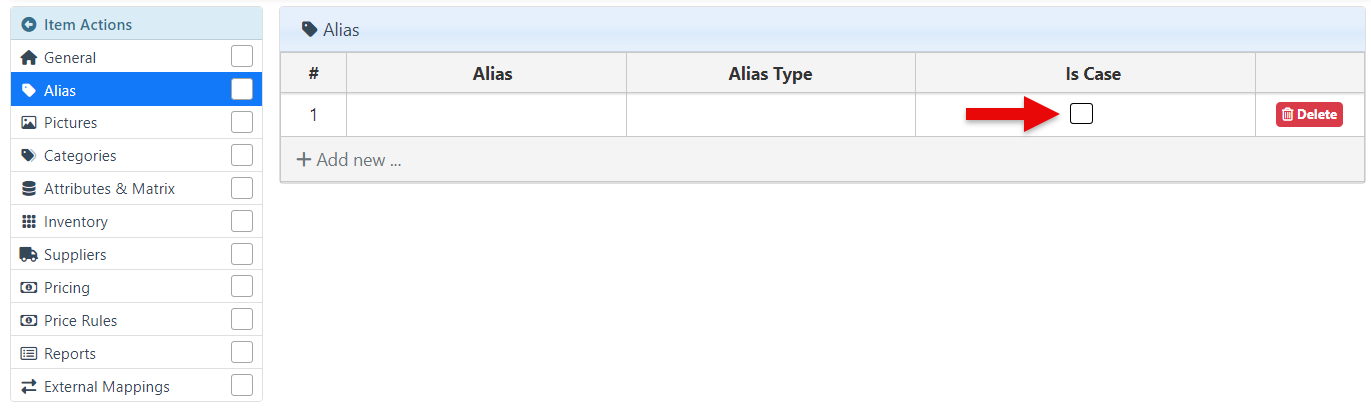
Click “Delete” at the right of the alis row to delete it.
Click save at the top right of the page to save.
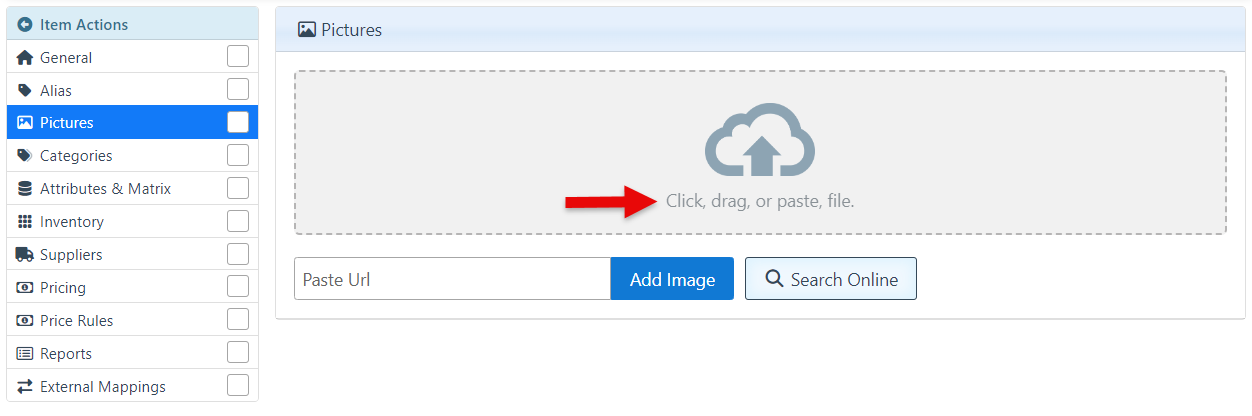
Pictures Tab
To attach an item image saved on the computer to the item, click the "Click, drag, or paste file." area and select the file containing the image from the appearing folders popup.
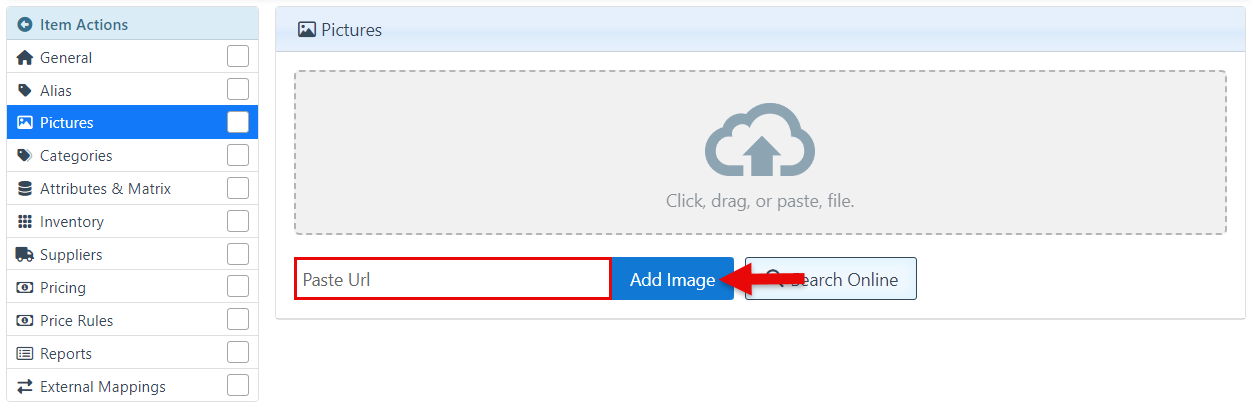
To add an online image, enter the URL in the bar and click "Add Image."
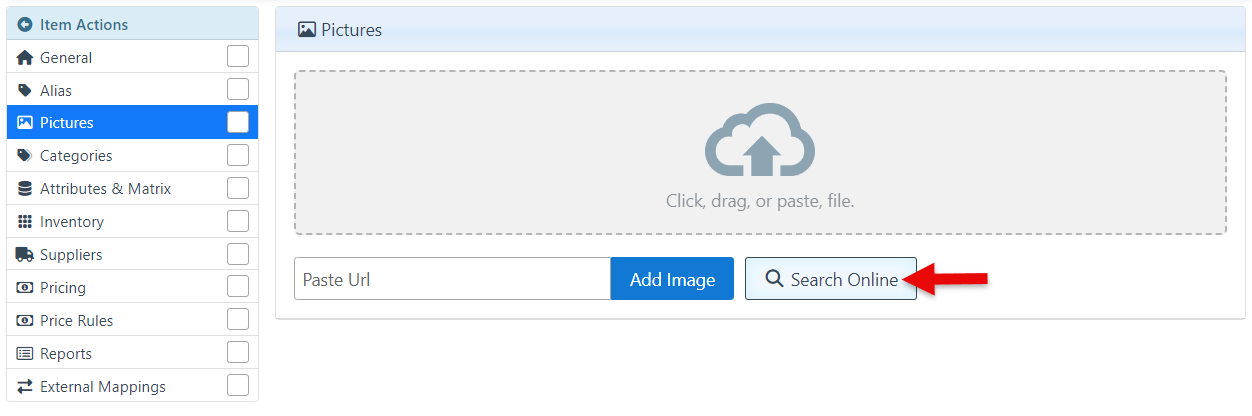
To search for an image of an item online, click "Search Online."
Click save at the top right of the page to save.
To link other attachments to the item, such as Detailed Images, Instruction Guides, Etc., see Attachments.
Category Tab
Categories are used to group items into specific sets or levels. They are commonly used to view items by category or to apply discounts based on the category.
For more information on Categories, Click here.
Attribute Tab
Attributes provide item-related information such as tags, colors, sizes, etc. Enterprises can create custom attributes, which can then be selected while creating new items. In addition, attributes can be used to create a matrix, a grid displaying the various options regarding the item.
For more information on how to create and use attributes, Click here.
For more information on how to create and use the Matrix feature, Click here.
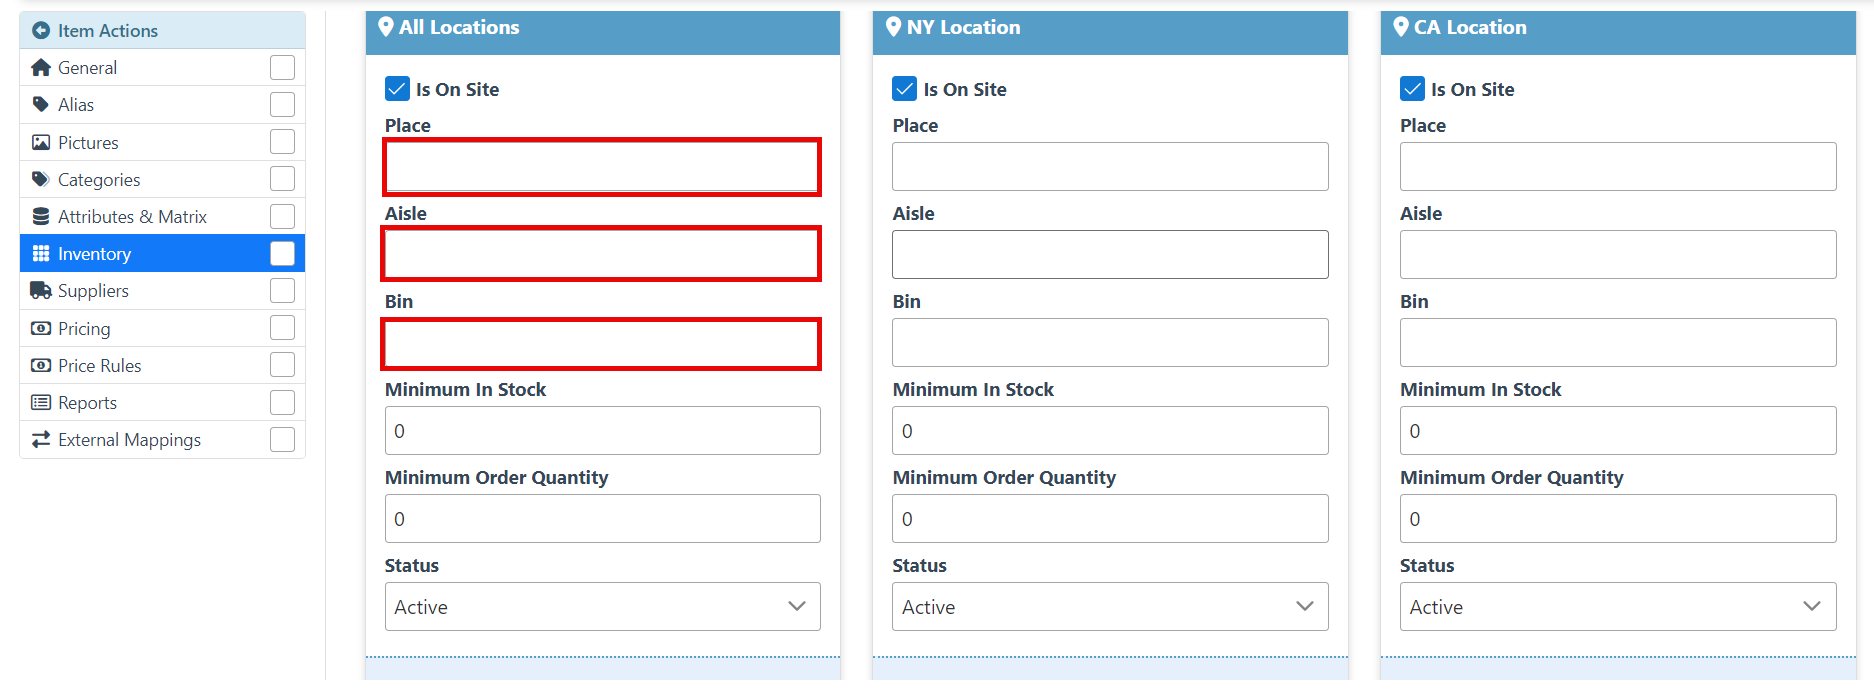
Inventory Tab
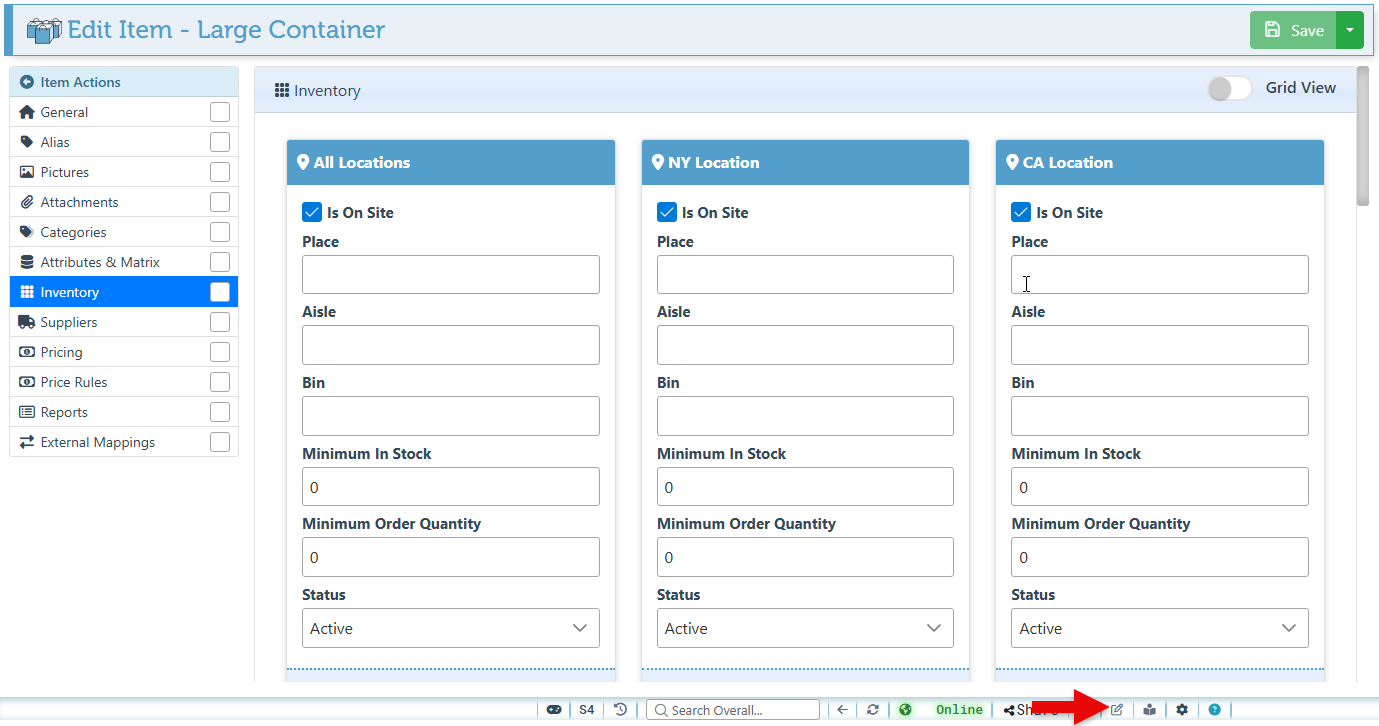
Inventory management can be set in 2 ways: General inventory for all locations or specific inventory according to location. Navigate to the desired location tile for a specific location, or go to the “All Locations” tile to apply the inventory changes to all locations.
Enter the item’s location details, including Place, Aisle, and Bin. (Optional)
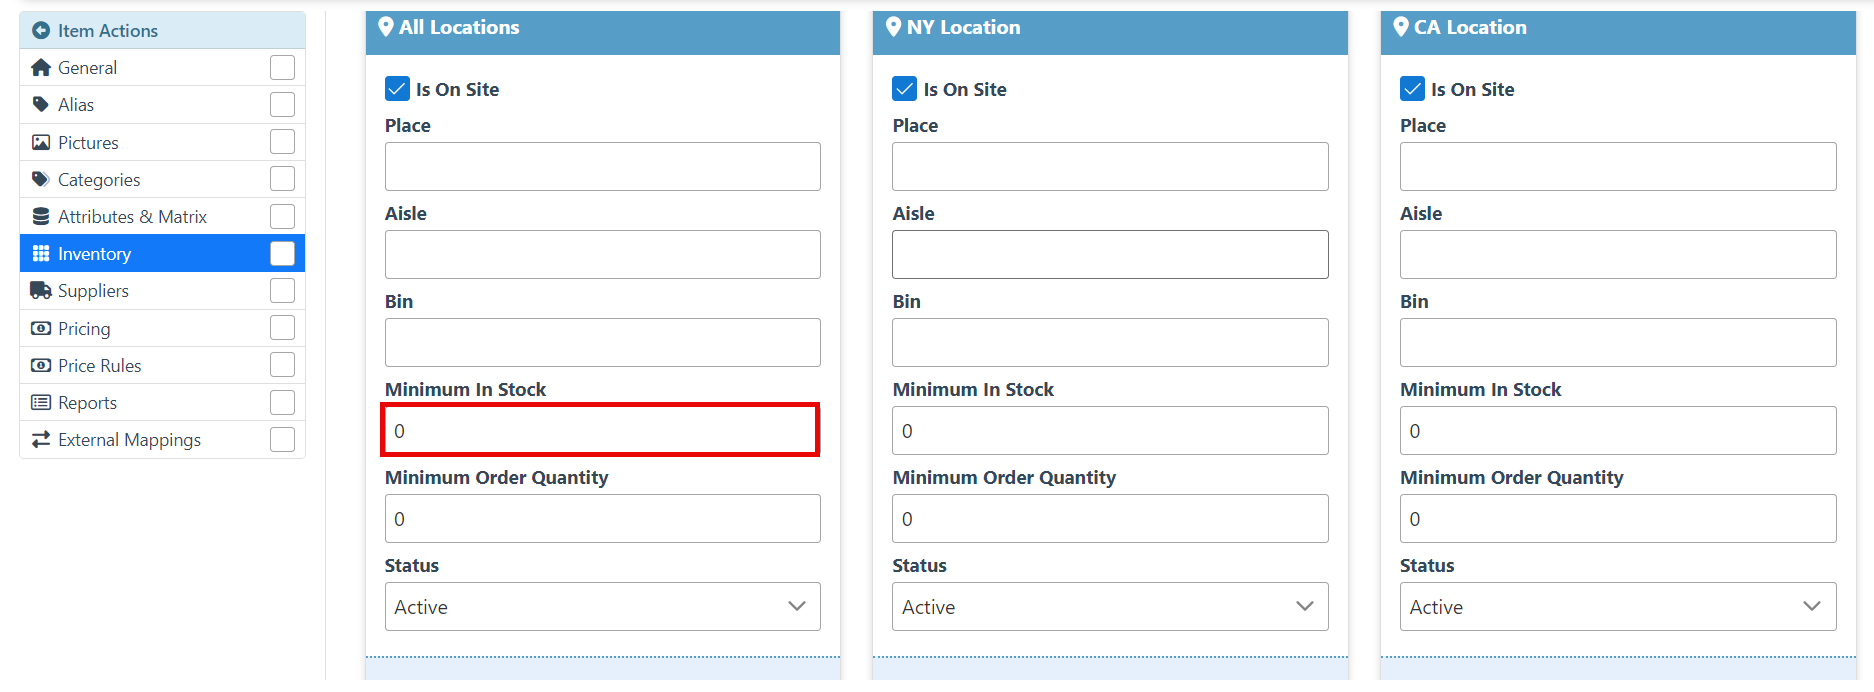
Enter a “Minimum in stock” to create a minimum item inventory. When inventory drops to the selected amount, the item will be marked as “out of stock” in the report.
Enter the Minimum amount that must be ordered per purchase from the supplier in the “Minimum order Quantity.”
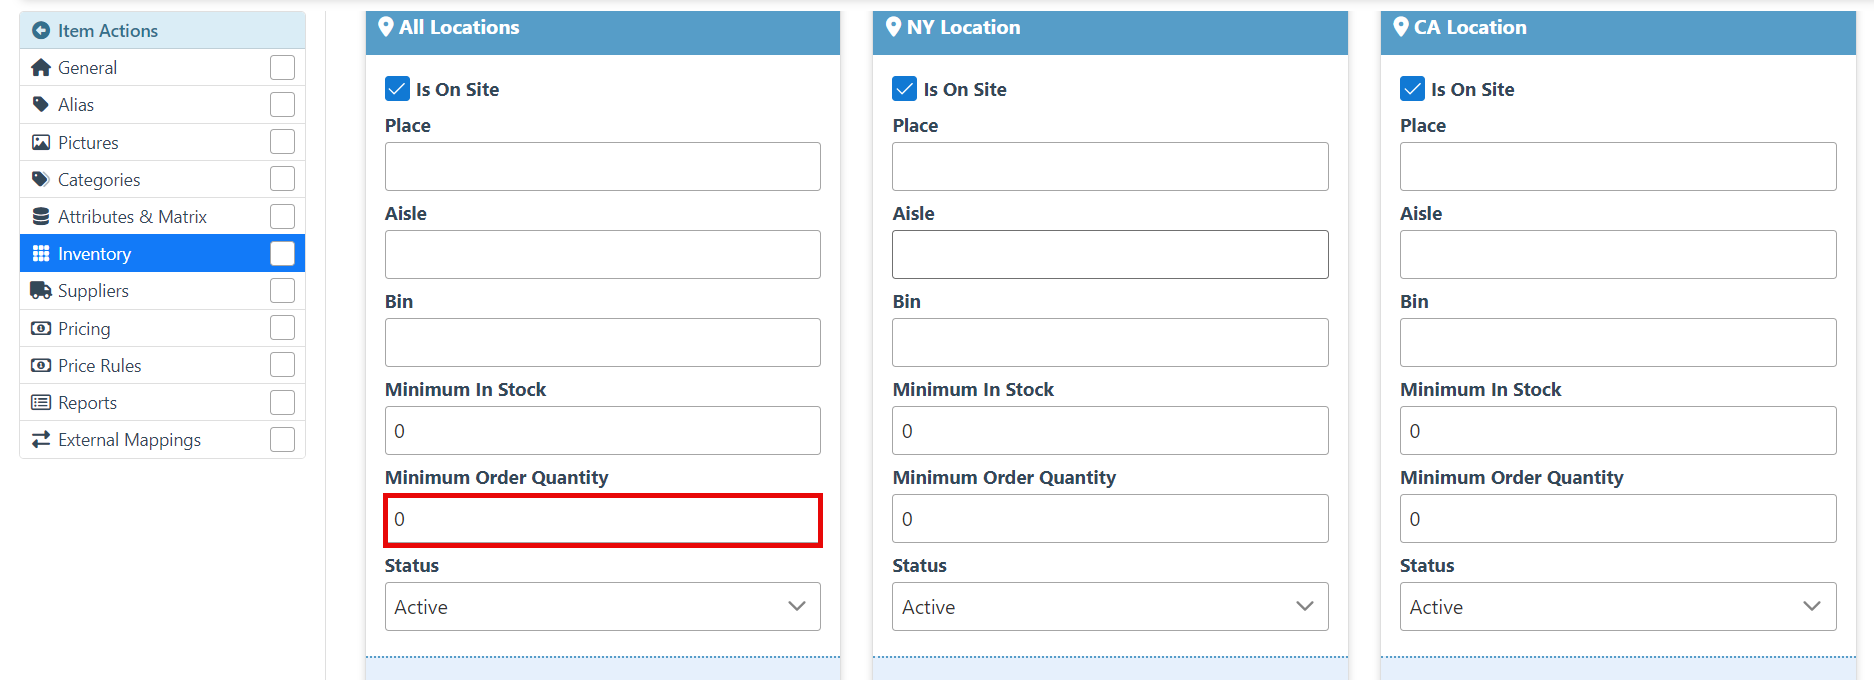
Select an item status from the status dropdown menu. ( Status may be Active, Blocked, Block Sell, or Block Buy.) When an item with a blocked status is sold, the order's sale or purchase will be blocked.

At the bottom of the page, select the “Master pack” value. (The item count per case)

If applicable, enter the item weight.

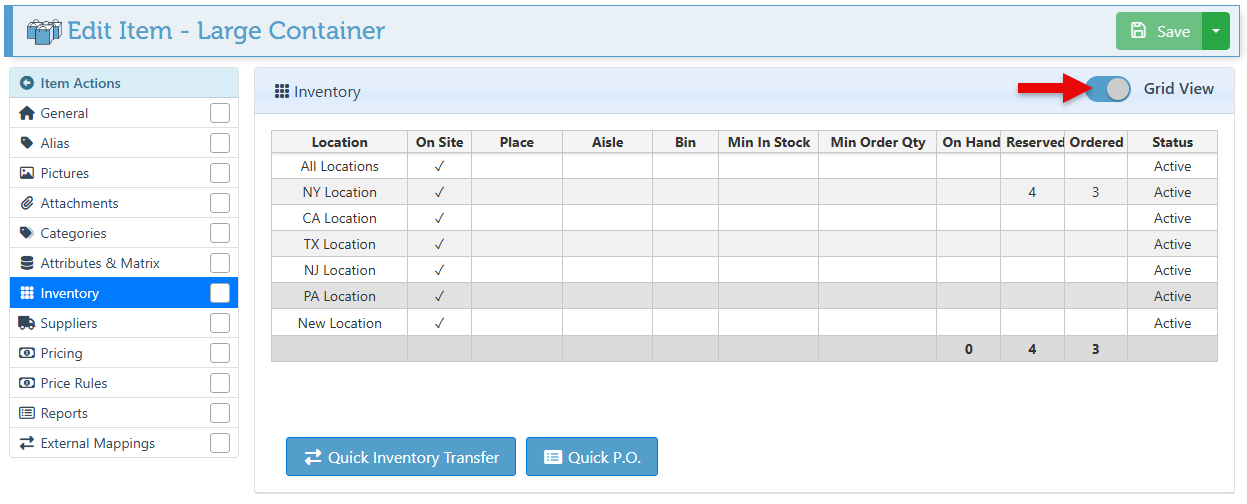
By default, the item inventory is displayed in separate tiles according to location. This layout can be changed to a grid view, which is generally more useful for enterprises with multiple locations. To view the inventory in grid form, select “Grid View.”
To set the inventory grid view as the default layout, follow the steps below.
Click the Page Layout Configurations icon at the footer of the page.
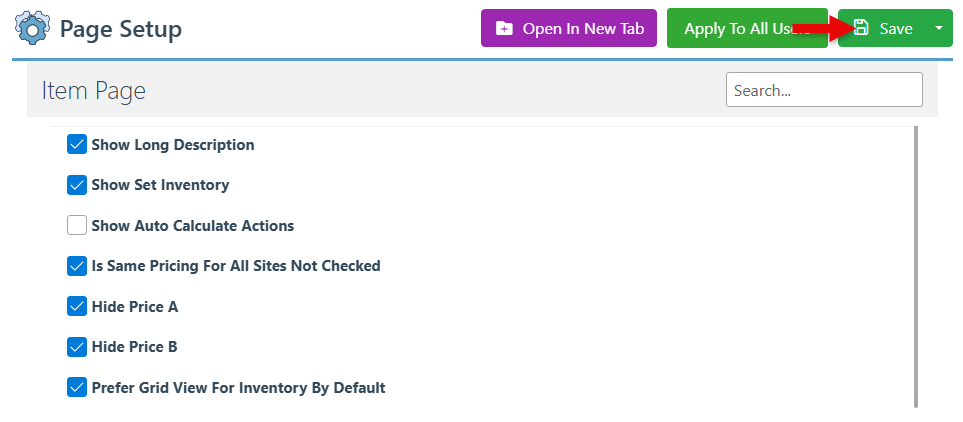
Select the “Prefer Grid View For Inventory By Default” Configuration checkbox.
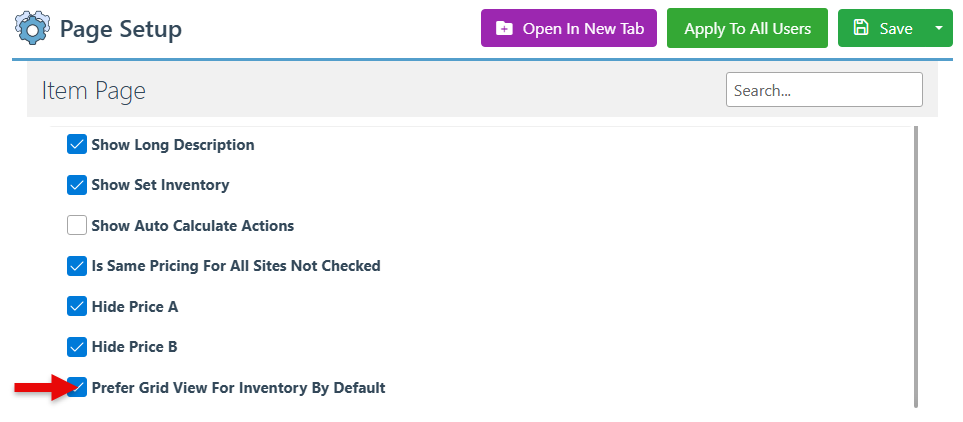
Click “Save” at the top right.
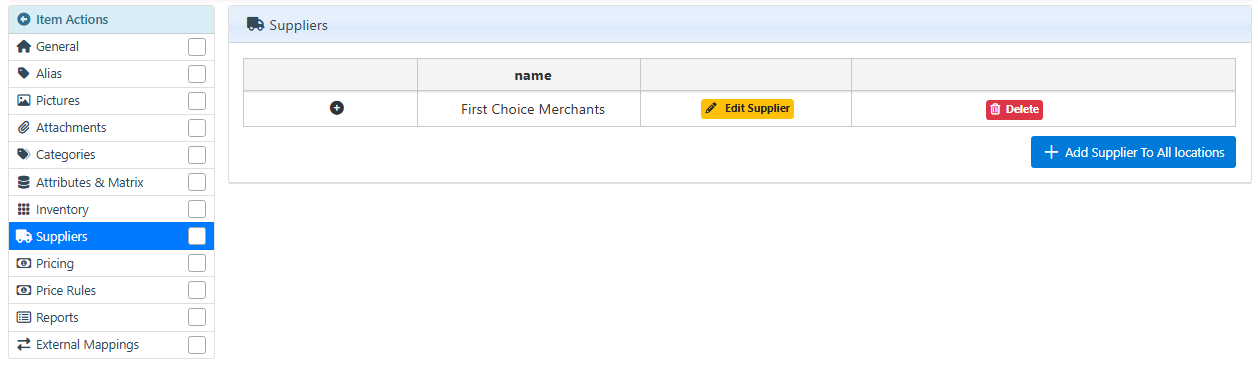
Supplier Tab
To link a supplier to the item, click “Add Supplier To All locations” and select the relevant supplier in the popup.
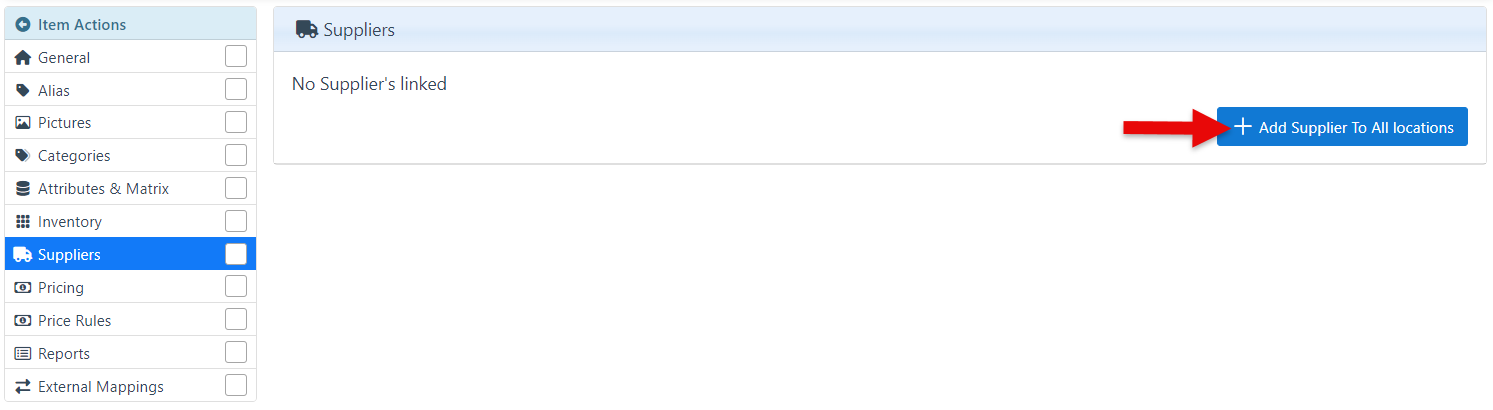
To link an additional supplier to the item, click the “Add Supplier To All Locations” button again and select.
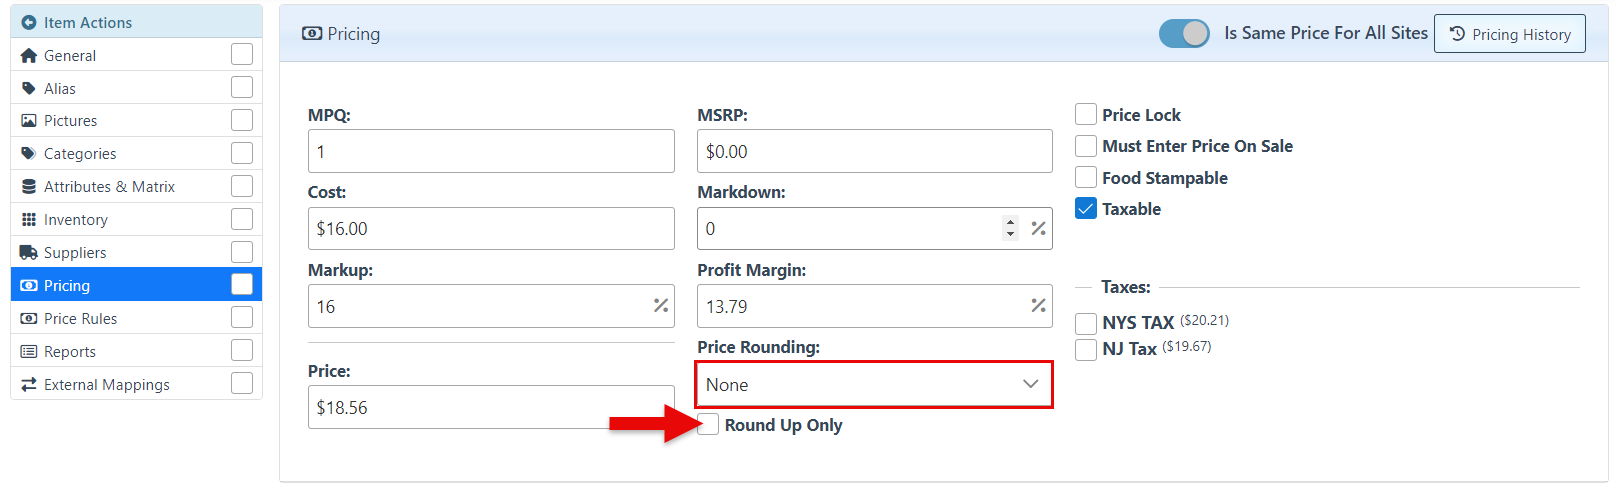
Pricing Tab
Enter the MPQ ( Minimum purchase quantity) of the item.

Enter the item’s cost and Price. This will automatically generate the markup of the item.

To set a unique item price to be applied for specific customers or transactions, enter an item price in the Price A and (optionally) Price B Fields.

Select a desired rounding value in the “Price Rounding” dropdown menu. Additionally, it is possible to select the round up only option.
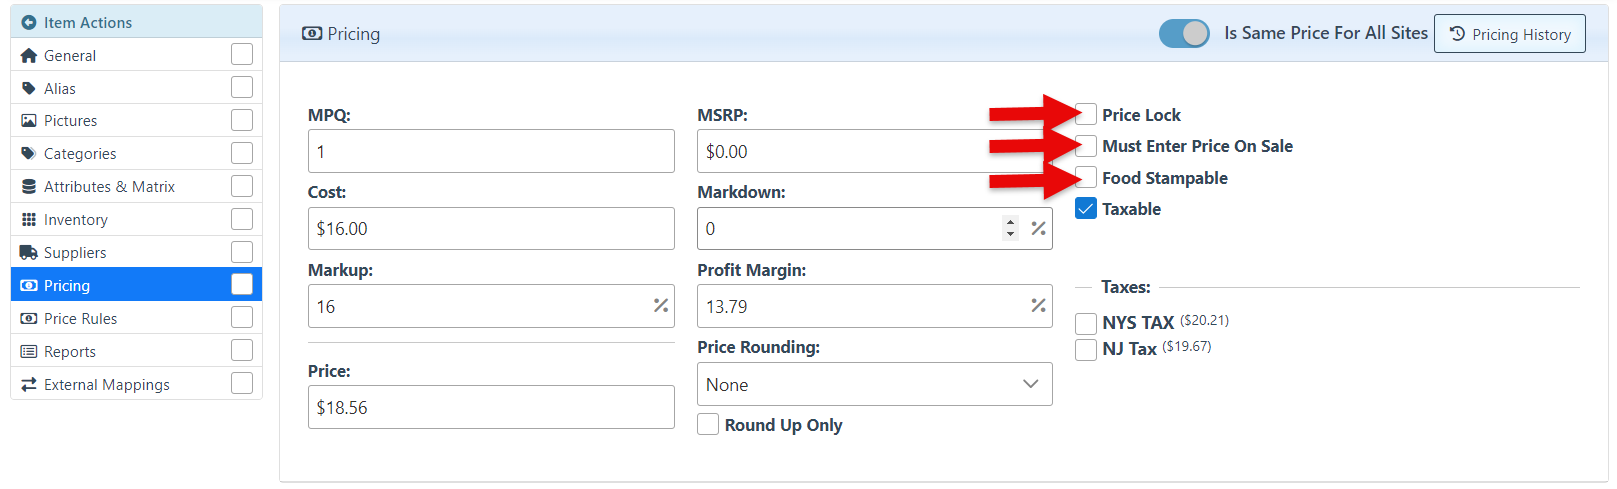
Select desired options, including “Price Lock” (Prevents price from being changed by discounts, etc.), Must Enter Price On Sale, and Food Stampable.
To apply taxes to the item, select the “Taxable” checkbox and the applicable state tax.
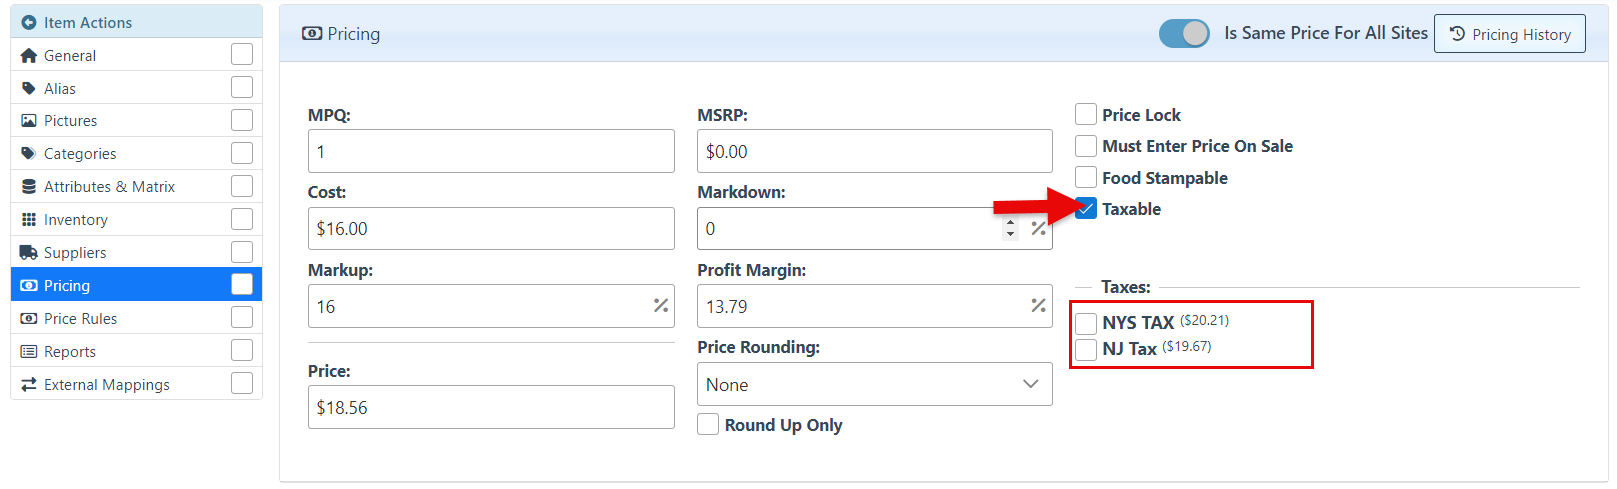
To view the pricing history of the item, click the “Pricing History” button.
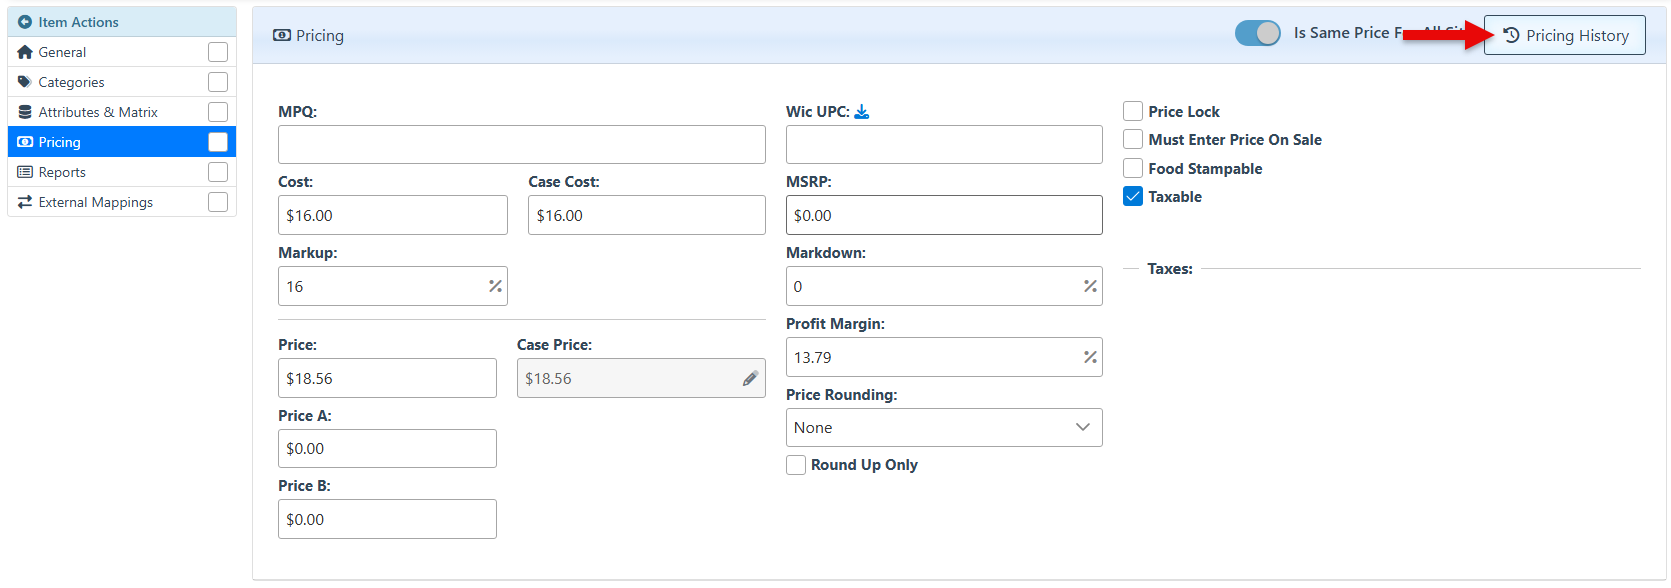
Click “Save” at the top right of the page to save changes.
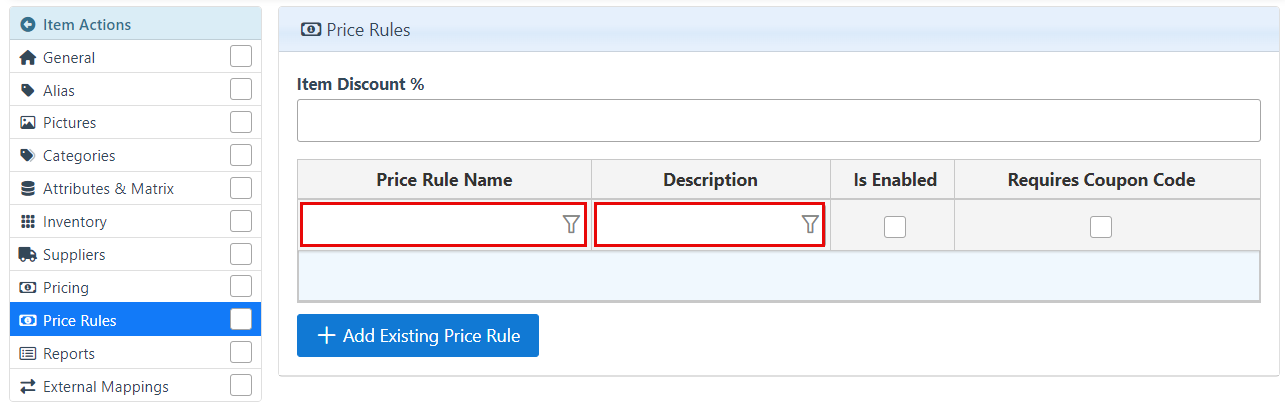
Price Rules Tab
Price rules are used to create preset sales and discounts for the items.
Enter a percentage value in the designated bar to create an item discount.

Enter the Price Rule Name and Description.
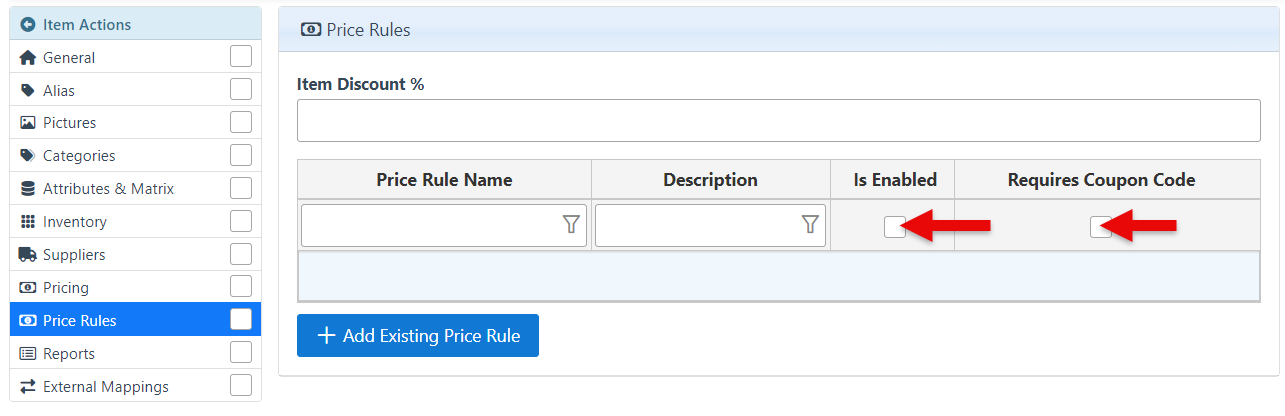
Select the “Is Enabled” checkbox to activate the discount and select whether it requires a coupon code. If the “Requires coupon code” checkbox is selected, the customer must provide a coupon code to receive the discount.
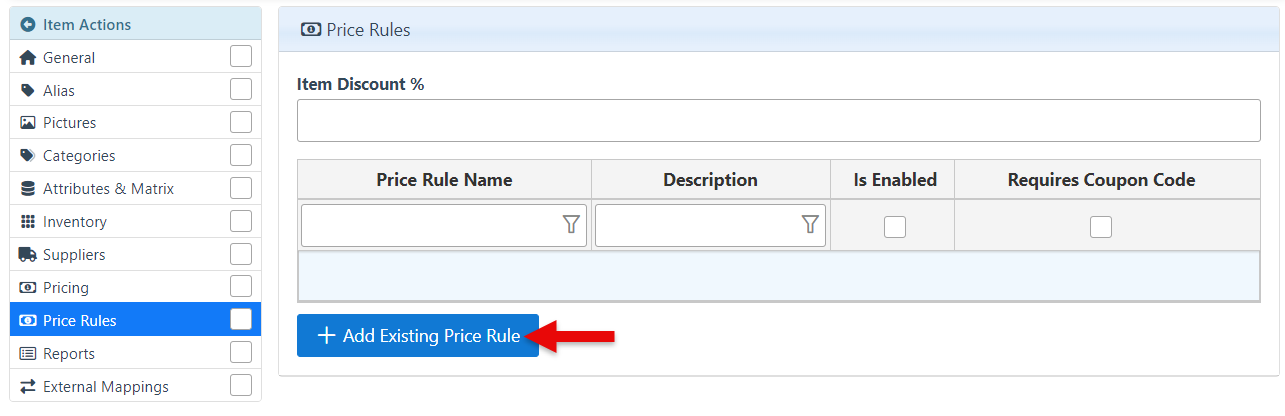
To add an existing price rule, click “Add existing price rule” and select the desired one in the popup.
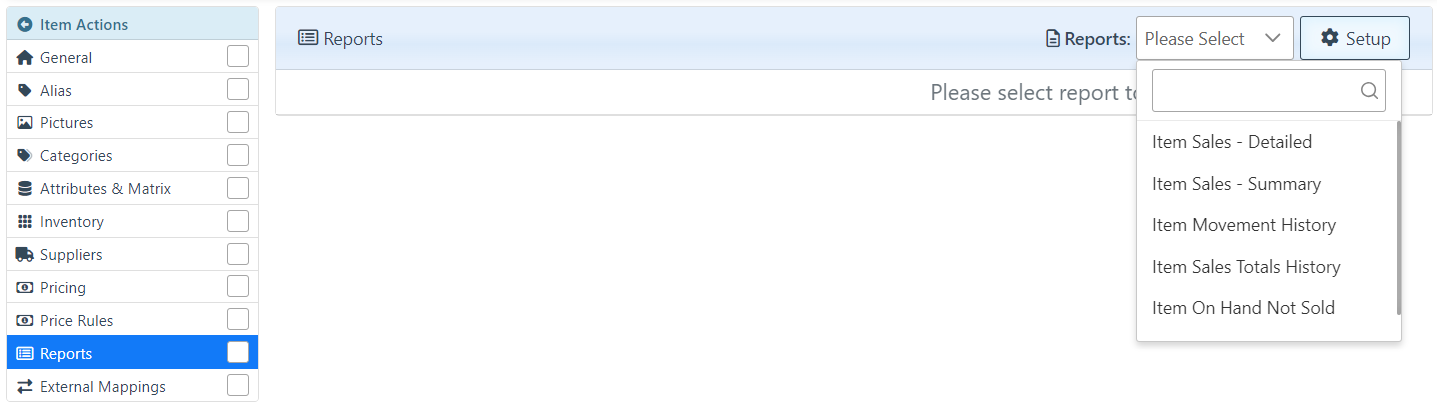
Reports Tab
The reports tab provides an overview of item details that can be generated. Report options include Item sales- detailed, item sales- summary, items on hand, item movement, etc.
For more information on Item Reports, Click here.
For more information on how to set a report to appear in the dropdown, click here.
Resetting the item page's SQL will greatly improve its loading speed. For more information on resetting the SQL of a page, click here.