Create Categories
Categories enable the organization of data into levels or related groups. This helps in applying price rules and exporting marketing lists. Enterprises can create custom categories as per their specific requirements, which can be selected while creating new items, customers, and suppliers. The usage of categories varies as per the field they are used for and their applications may differ accordingly. For instance, item categories include seasons, item types, etc., while customer categories may include information such as VIP buyers, teachers, etc.
Follow the steps to create a new category:
Open Backoffice.
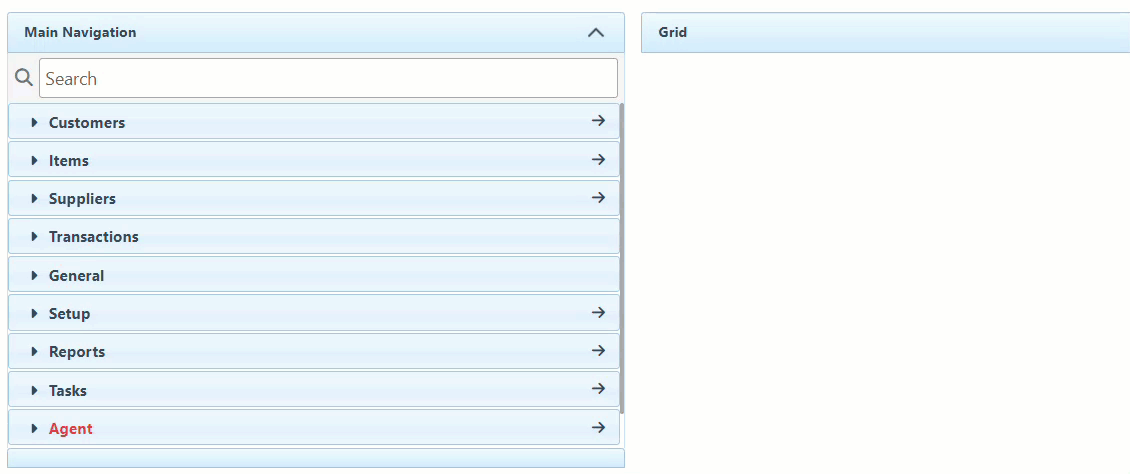
Click “Setup” in the Main Navigation menu and select “Categories” in the scrollable dropdown.
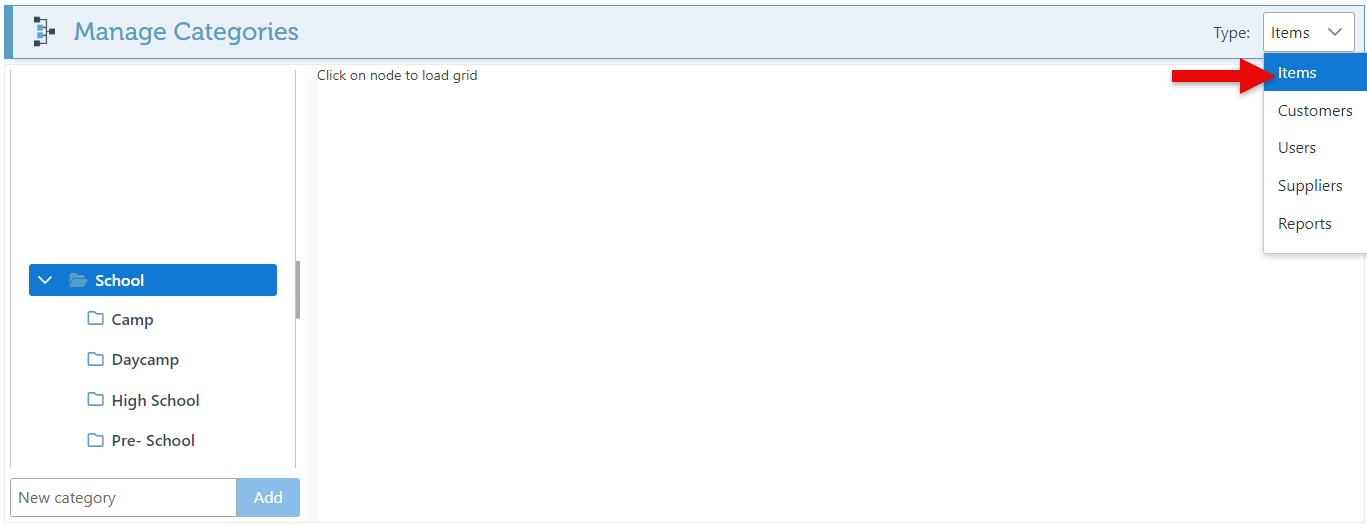
In the Type dropdown at the top right, select the field this category is created for.
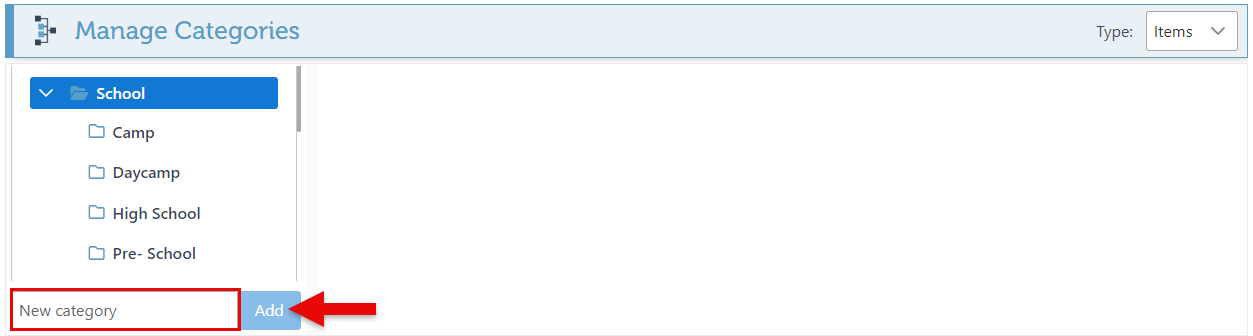
Enter the new category name in the bar and click “Add.”
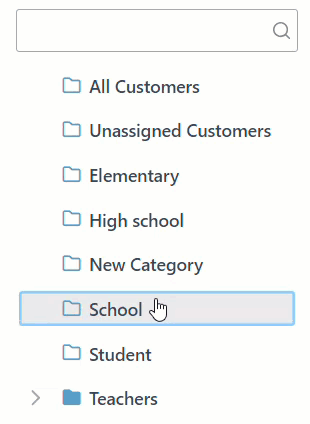
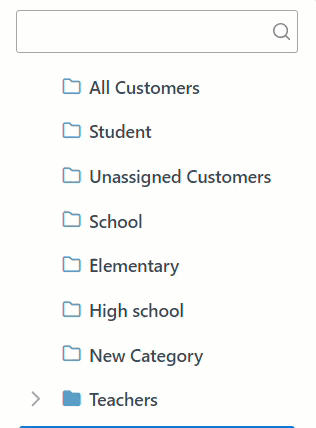
The new category will appear in the category list; drag and drop to relocate or make a subcategory.
Drag and drop a file on the blue line to move the category.
To create a subcategory, drag and drop a category onto another category.
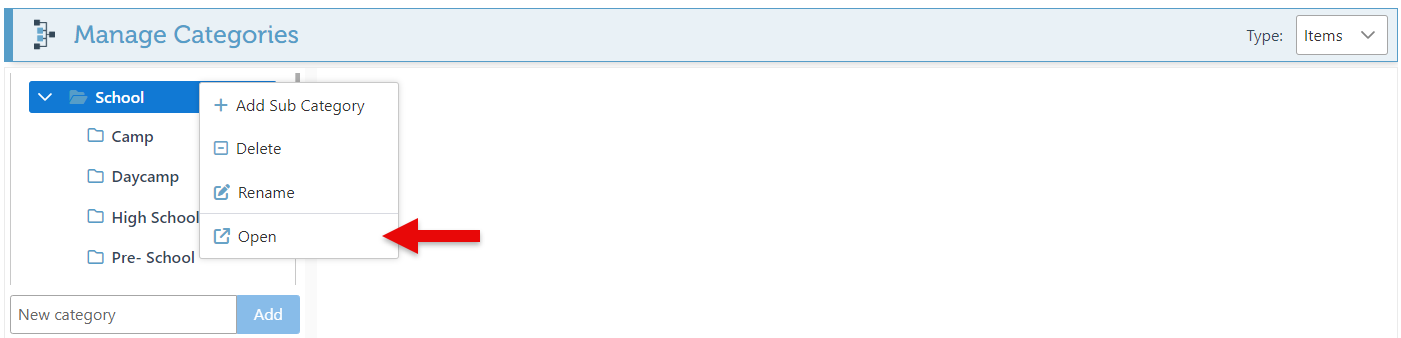
Right-click on the new category, and click “Open.”
Navigate to the “Category Picture” tab in the left side menu.

Click on the attachment file and select an image from the file popup. This will appear on all category buttons or panels.

For a guide on how to use categories, Click here.