Customize Item fields
Follow the steps below to customize the item fields:
Open Backoffice.
Click “Items” in the Main Navigation menu and select “Custom Fields” from the scrollable dropdown menu.
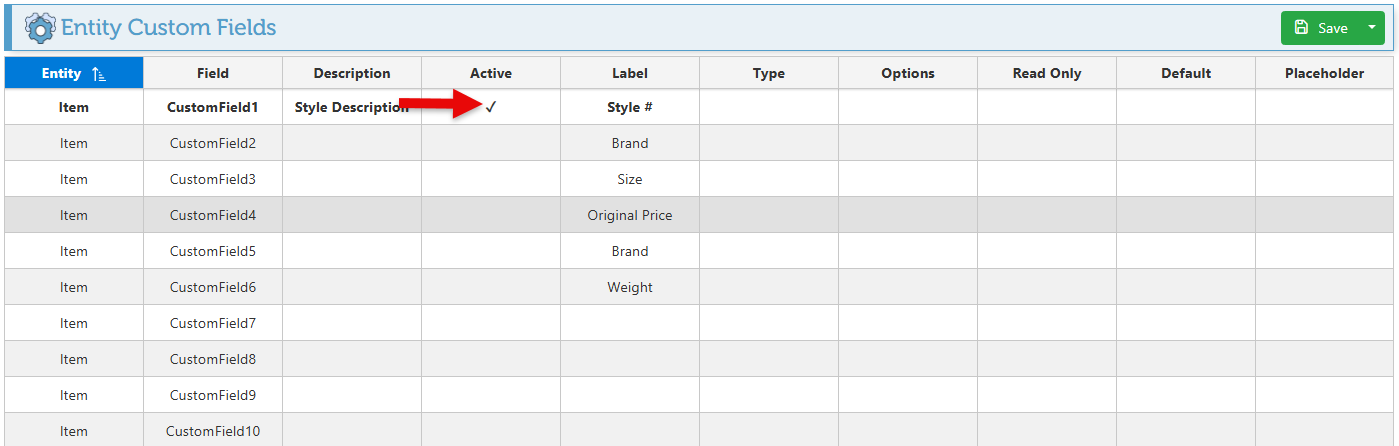
Before configuring the custom field, ensure that the row is designated for item custom fields by checking if the entity field is set to "Item.”
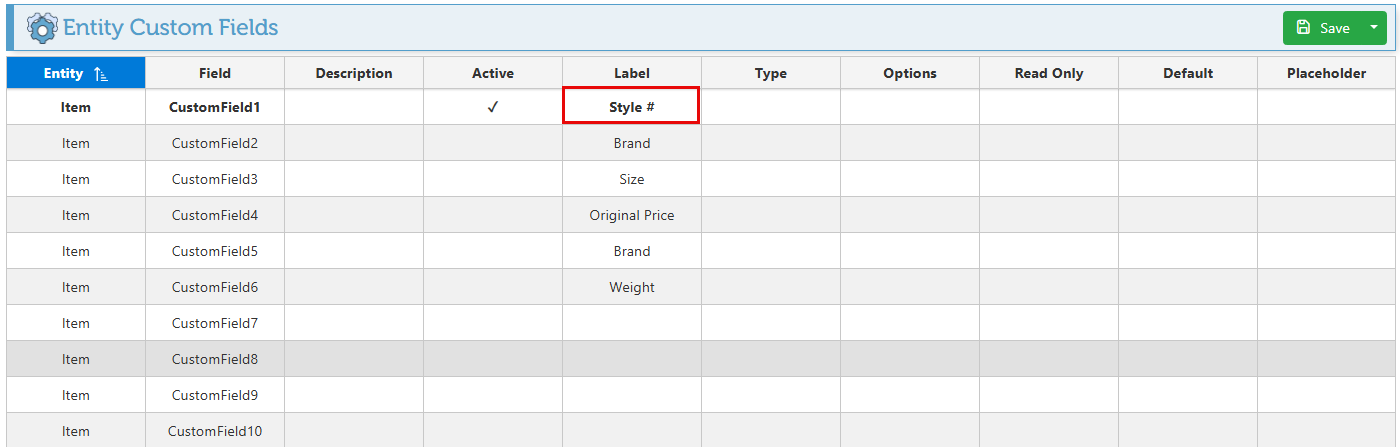
Enter the name/ title of the item field in the “Label” space.
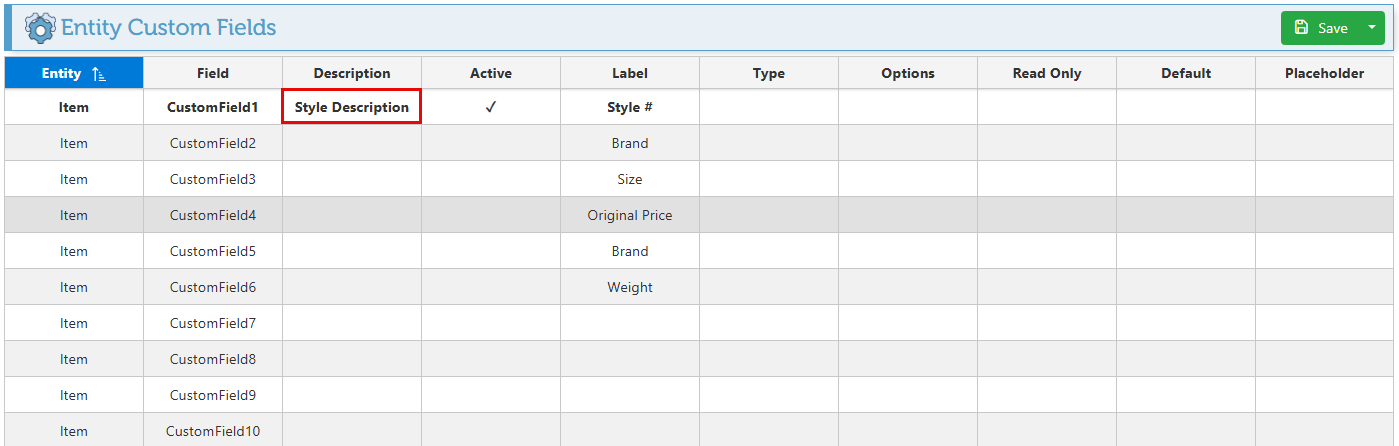
Enter text in the “Description” field to display a small message below the custom field.
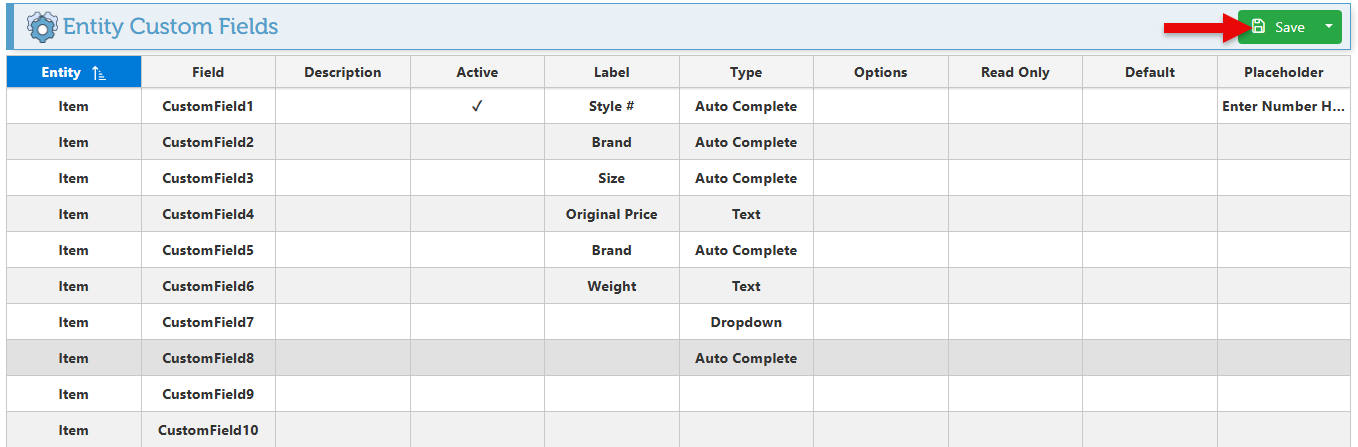
Select the “Active” field to activate the custom field.
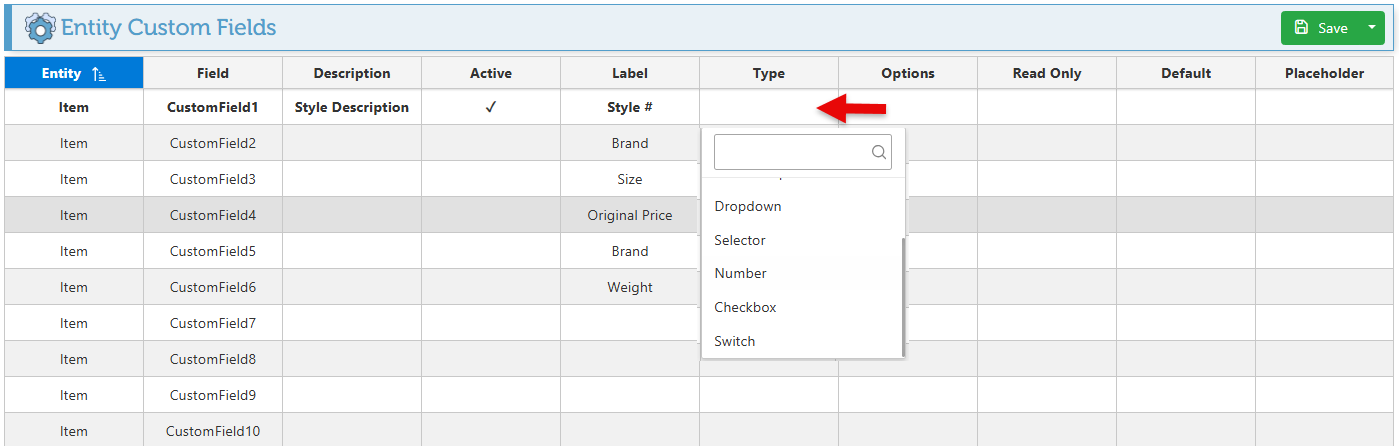
Select the field type from the designated dropdown menu. Options include “Text” for the usual text field, “Long Text” for displaying a larger text box to allow for longer text, a “Checkbox,” a “Switch” for a toggle switch, and more.
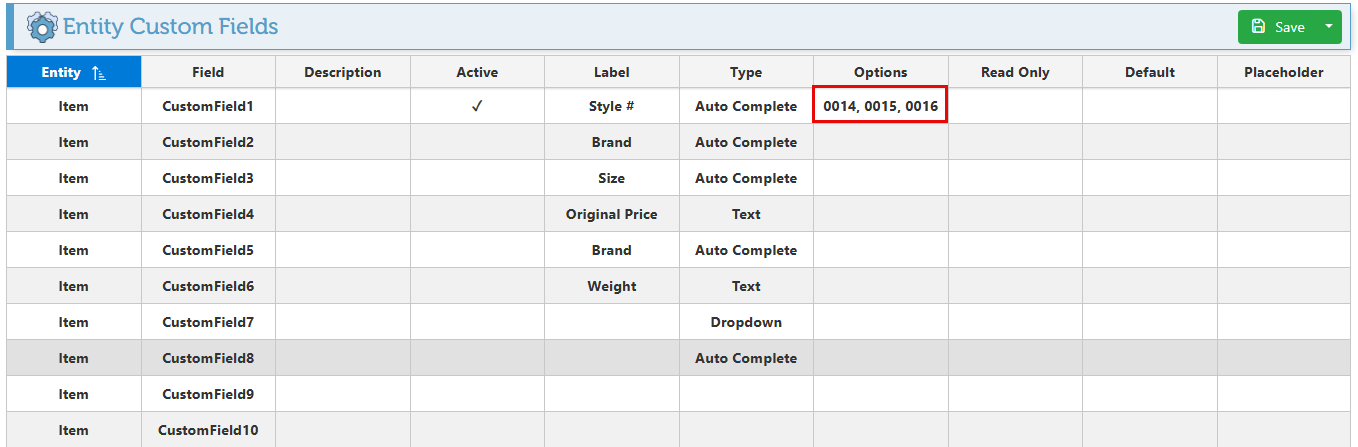
If the field type is set as a selector, enter the menu options in the “Options” field, separating multiple options with a comma.
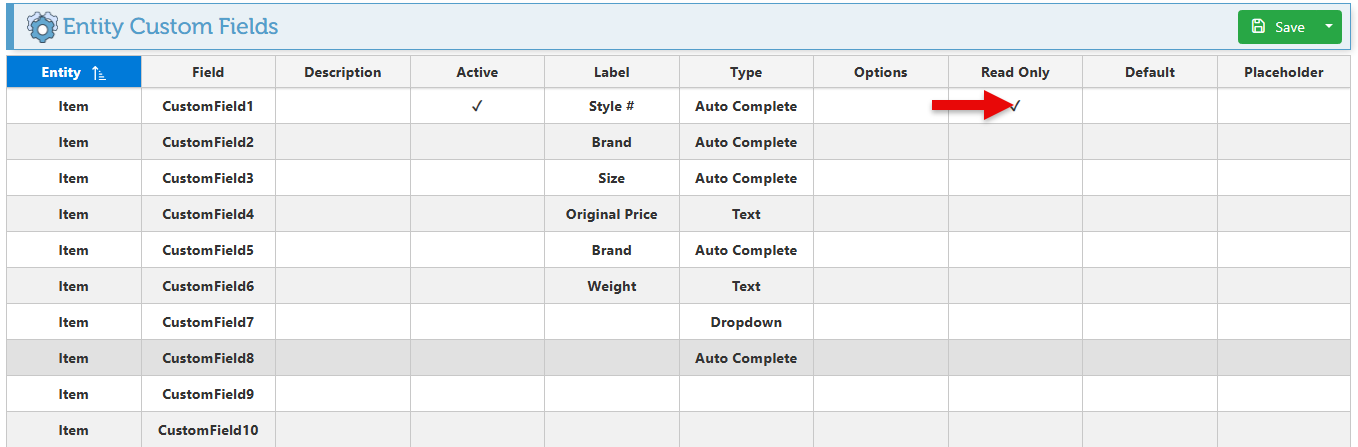
Select the “Read Only” space to set the field as uneditable.
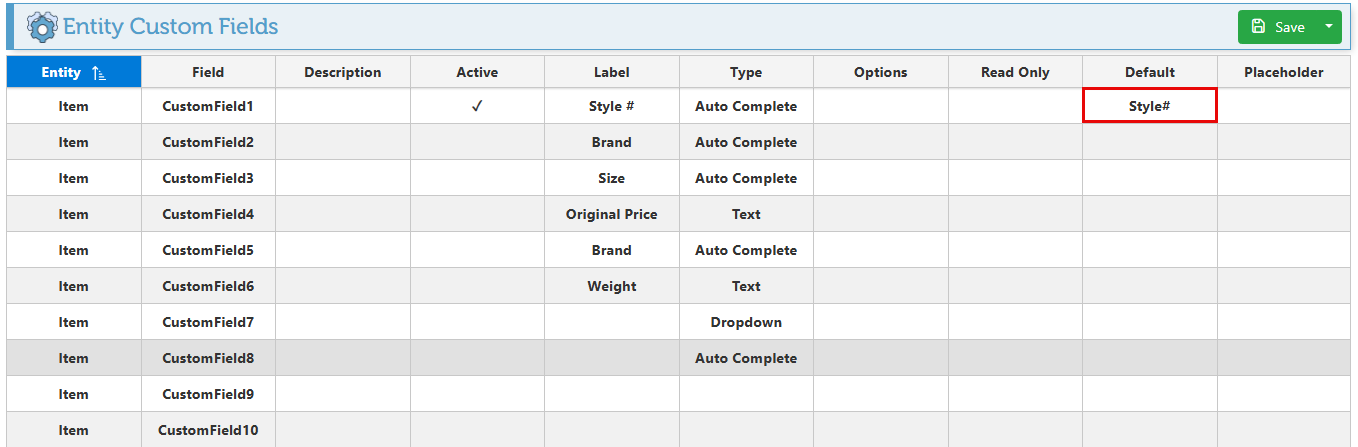
To set a specific number or text to be entered in the field by default, enter the text/ number in the “Default” field.
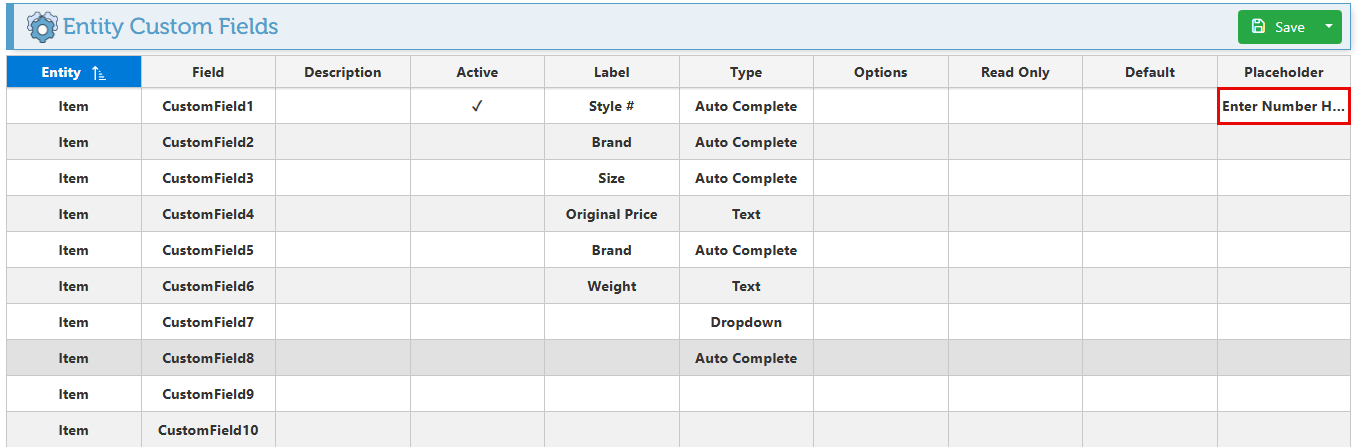
To enter text in the field as a placeholder, such as (Enter text here…) ( How much?), etc., input the placeholder text in the designated field.
Click “Save” at the top right to save configurations.