Item Attachments
The Item Attachments feature enables users to attach images, signatures, and other general documents to an item, along with a description. This enhances the visibility of item details and image viewing.
Follow the steps below to add an item attachment:
Open backoffice.
Access the items page. (To create a new item- Search “Create Item,” to edit an item, search “Items,” and select an item from the list.)
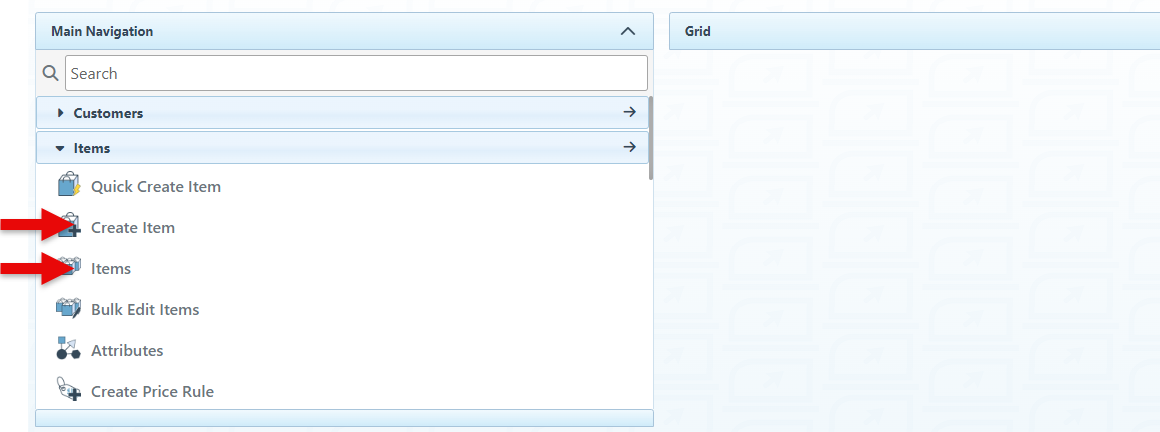
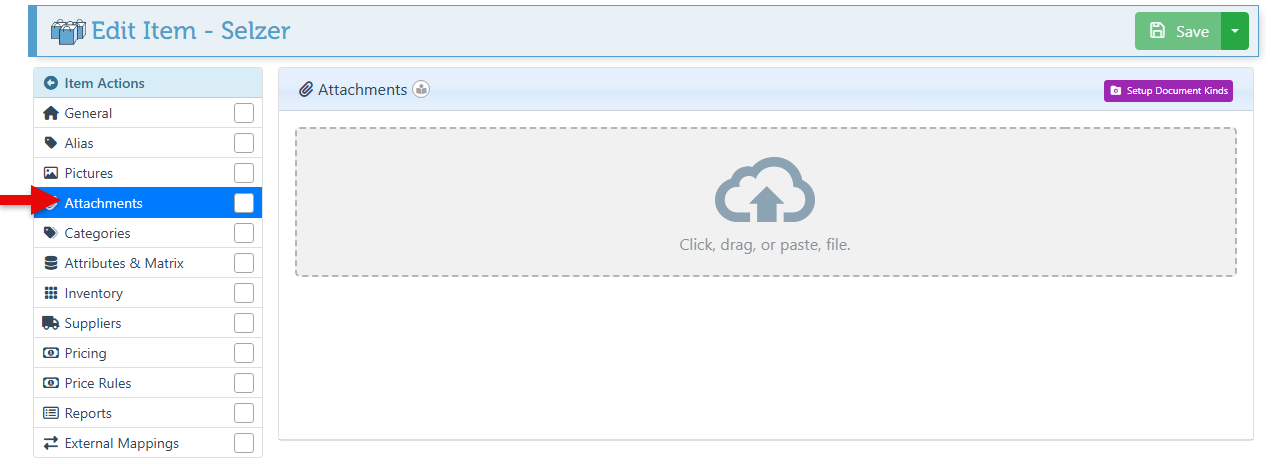
Navigate to the “Attachments” tab in the Item Actions menu on the left.
To add the “Attachment” tab to the Actions Menu, see Customize the Item Actions Layout
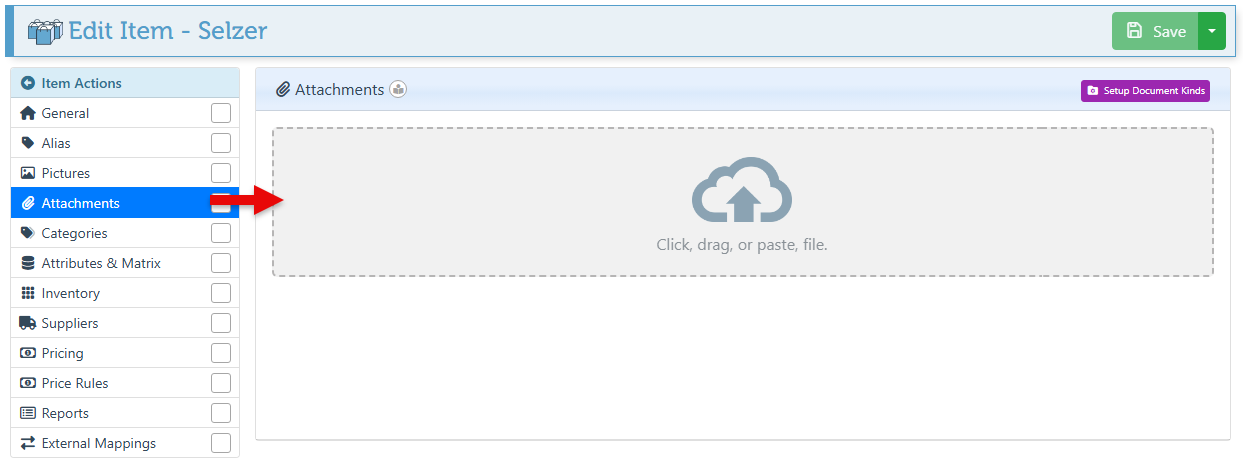
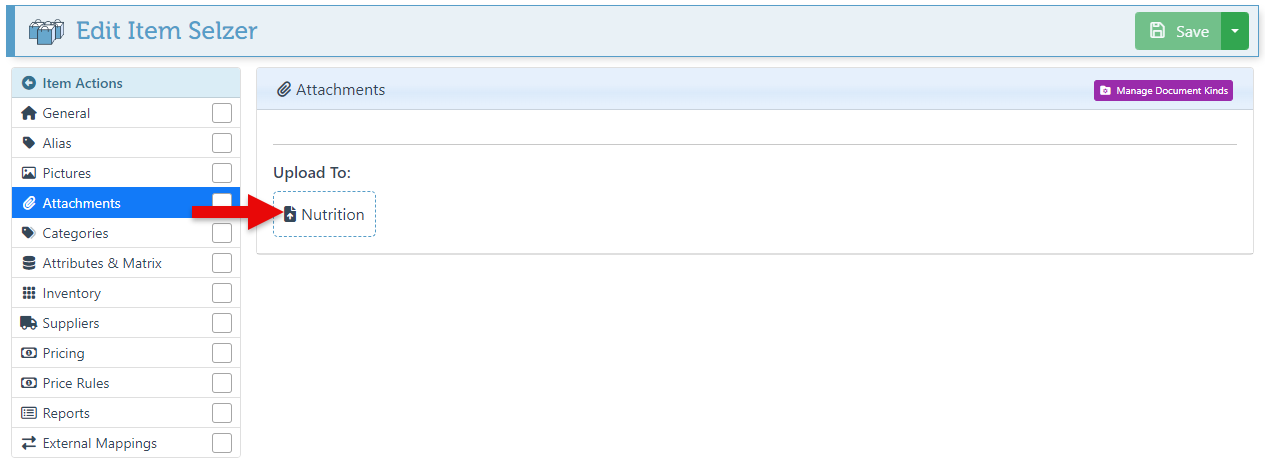
Double-click or drag &drop on the designated field to add a file or image as an attachment to the item.
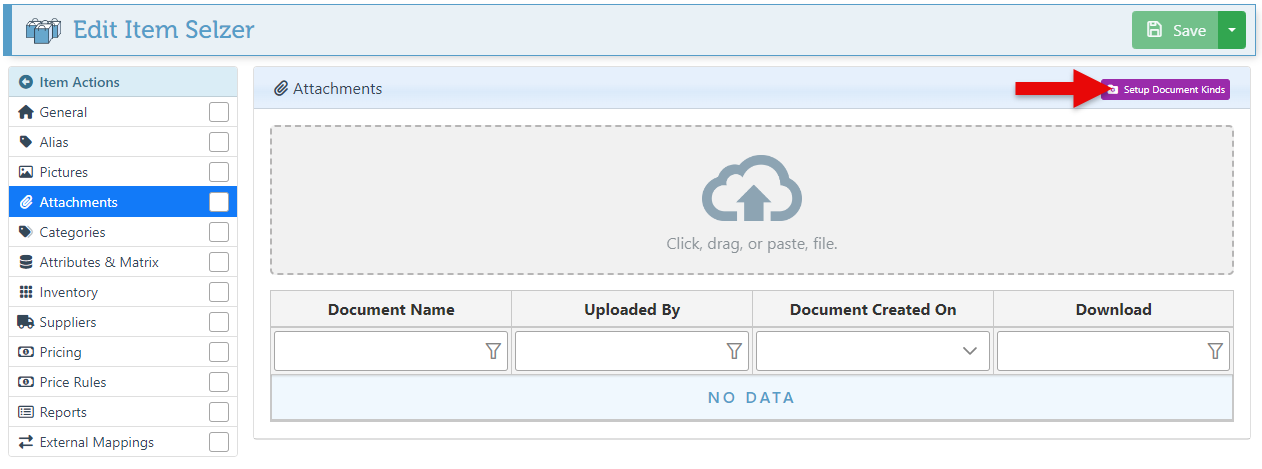
Furthermore, item attachments can be added and saved as a specific document kind. For example, setting up and adding a “Signature” document kind will add “Signature” as the attachment title and will only be meant for signature attachments.
Below is a guide on how to set up and add various document kind attachments.
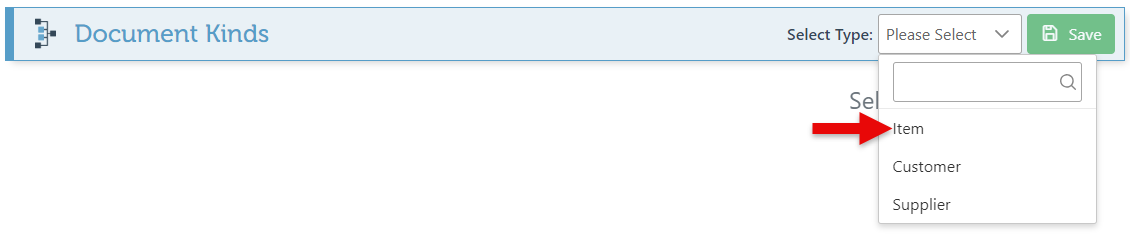
Click the “Setup Document Kinds” button.
Select “Item” from the type dropdown menu.
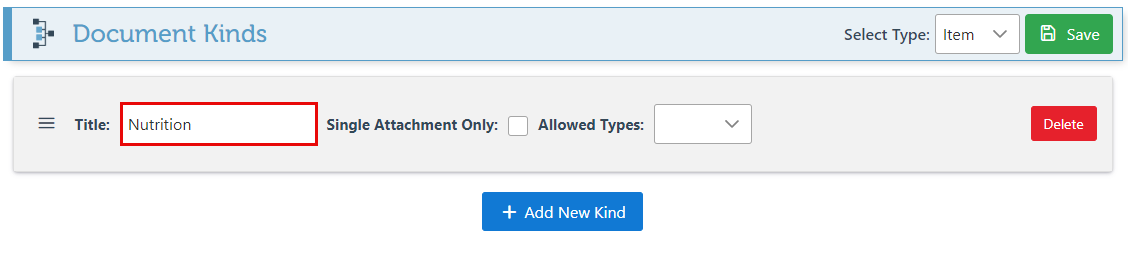
Click “Add New Kind” to configure a new attachment.

In the Title field, enter the attachment name, such as Front Image, Side Image, Instruction guide, etc.
To attach multiple item images, create different item kinds and label them according to their specific use, to easily identify what each one is designated for. For example, when attaching separate item images for the front and backend, create two additional document kinds, labeled “Front Image” and “Back Image,” to be used for the POS, website, or backend.
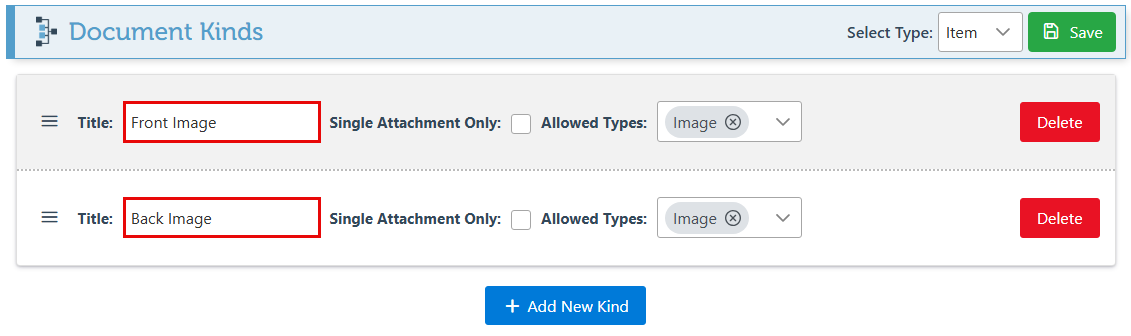
Select the attachment type from the dropdown menu. (Multiple attachments can be selected.)

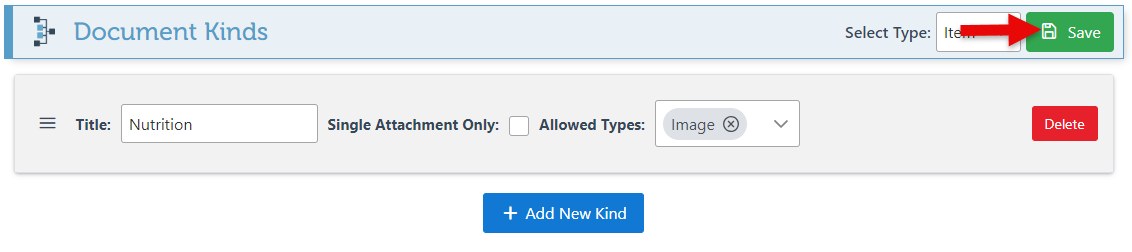
Click Save at the top right to save the new document kind.
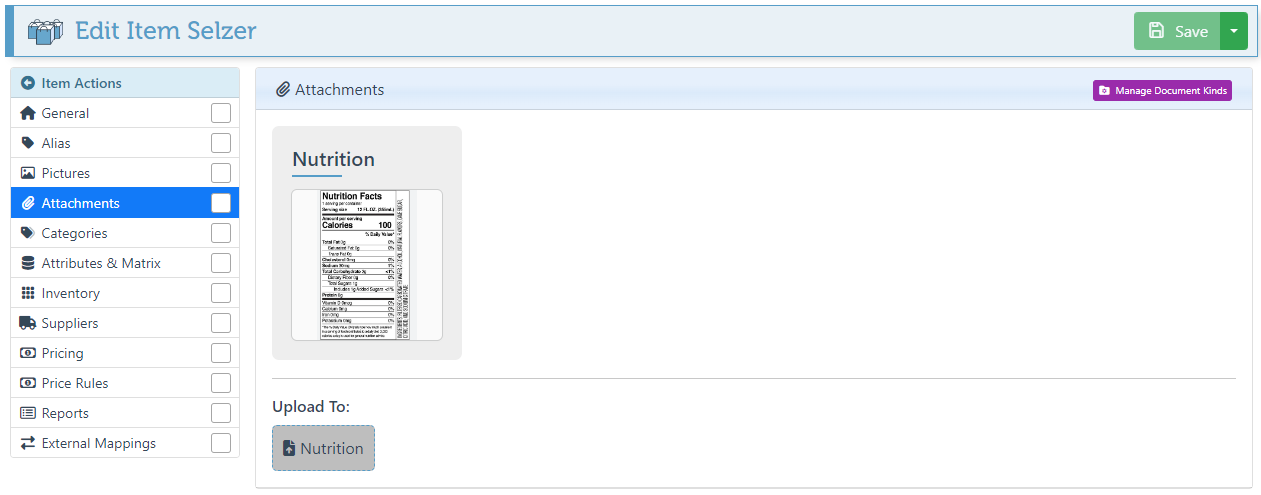
Click on the attachment card and select a file from the file popup.
The Attachment card will now display the attached image.
Repeat the process above to add multiple document kind attachments.