Create New customer
Follow the steps below to create a new customer:
Open Backoffice.
Click “Customers” in the Main Navigation menu, and select “Create Customer” from the scrollable dropdown.
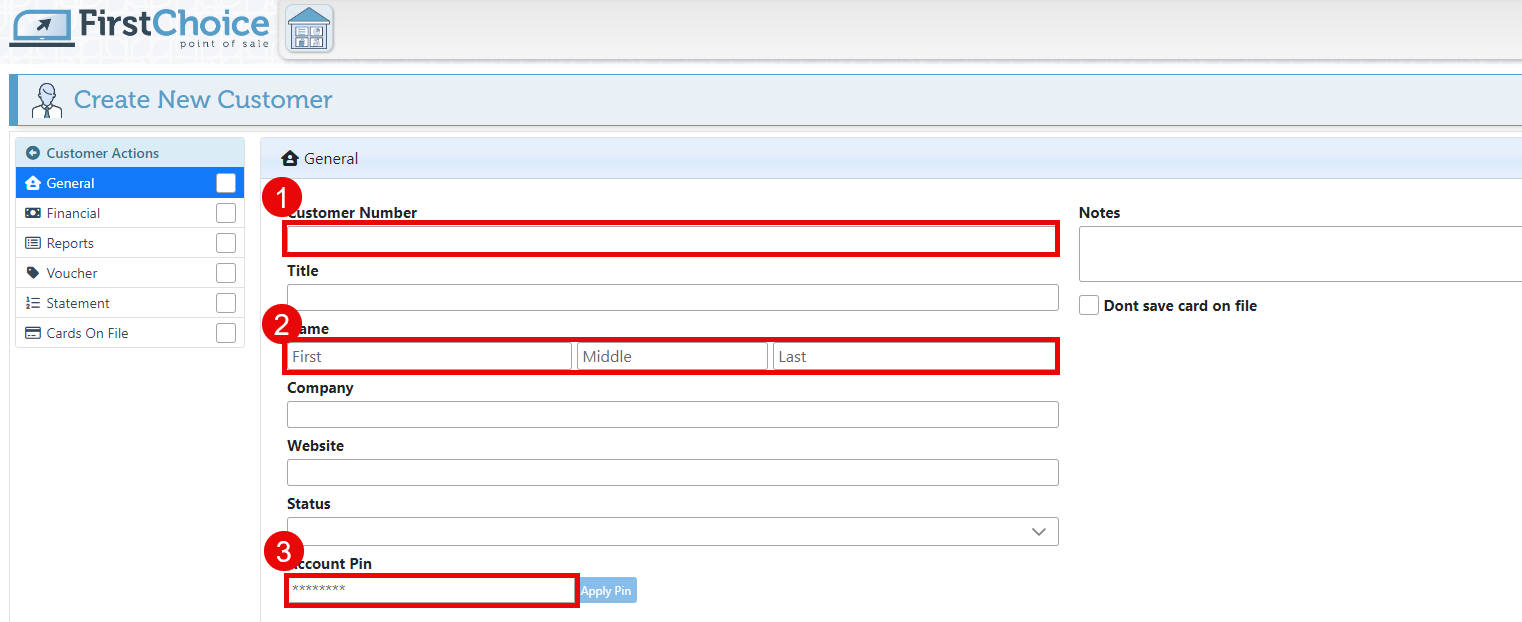
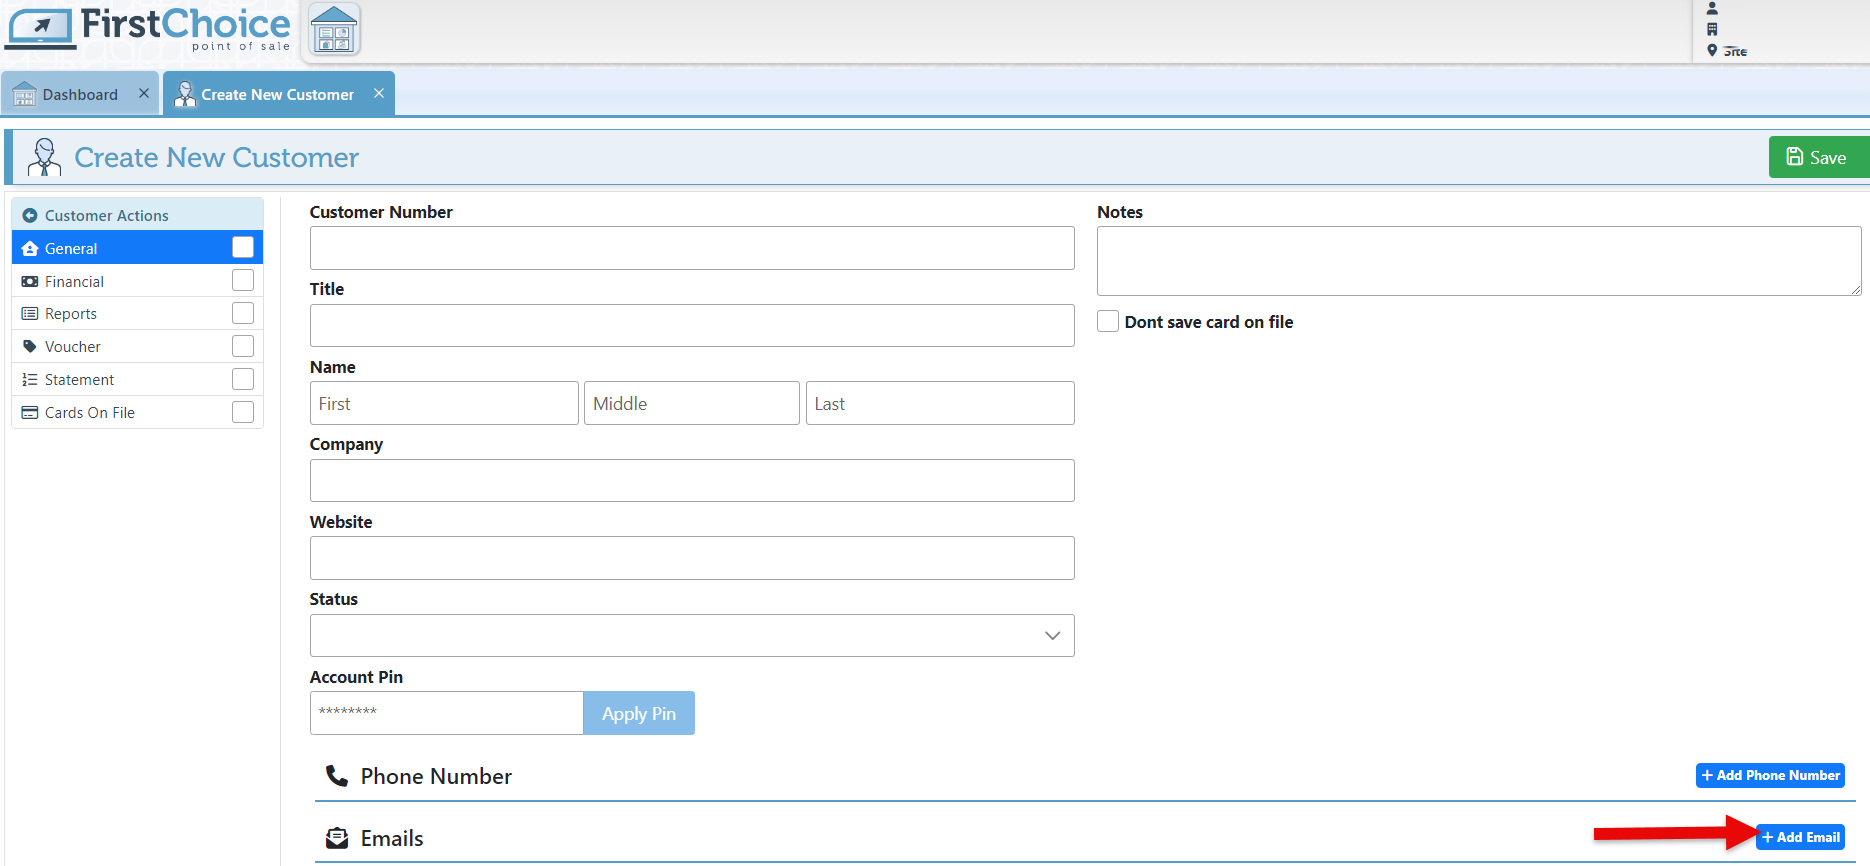
In the General tab, enter the customer's number, name, and account PIN. If applicable, enter the Customer Title, Company name, and Website details.
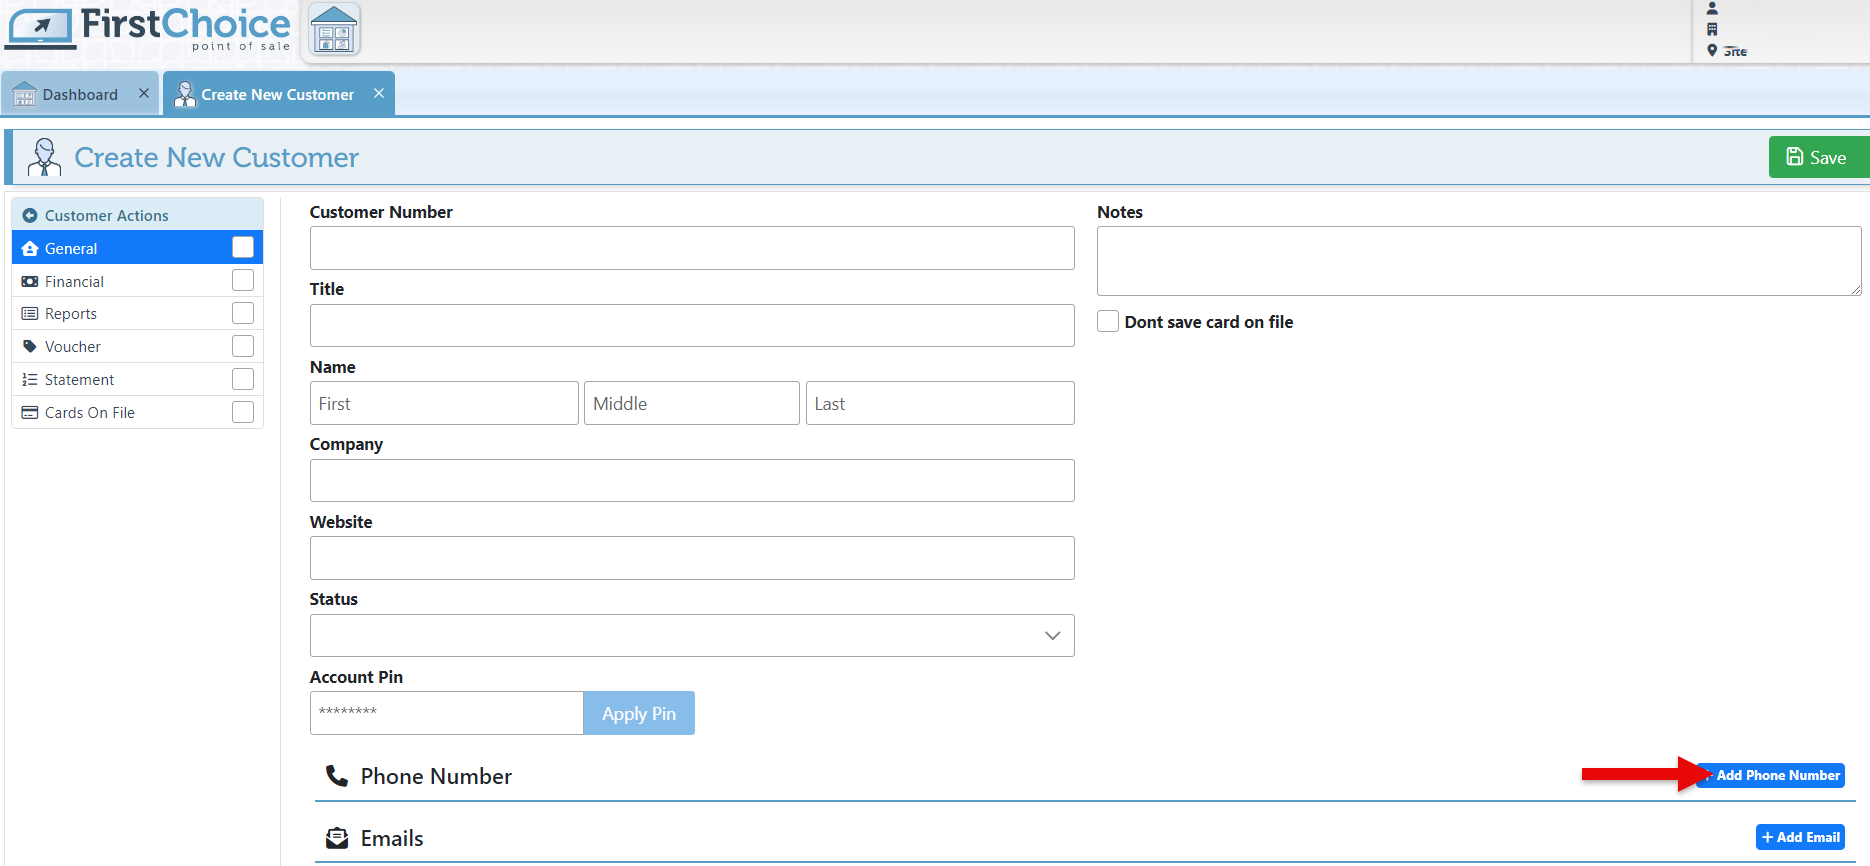
To add an additional customer phone number, click “Add Phone Numbers.”
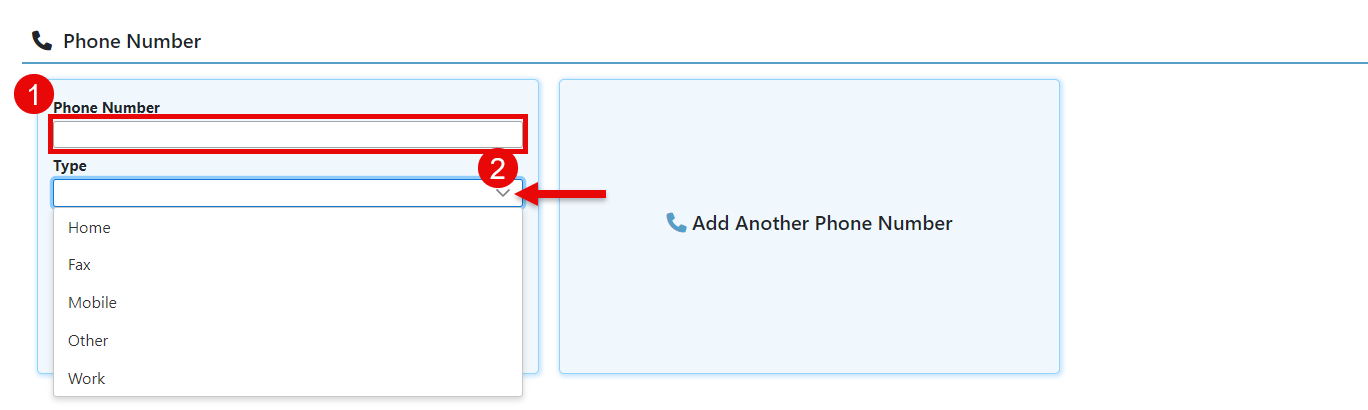
Enter the customer’s Phone number and select the phone type in the Type dropdown.
Click “Add Email” and enter the customer’s email address.
Click “Save” at the top right of the page to save the new customer details.
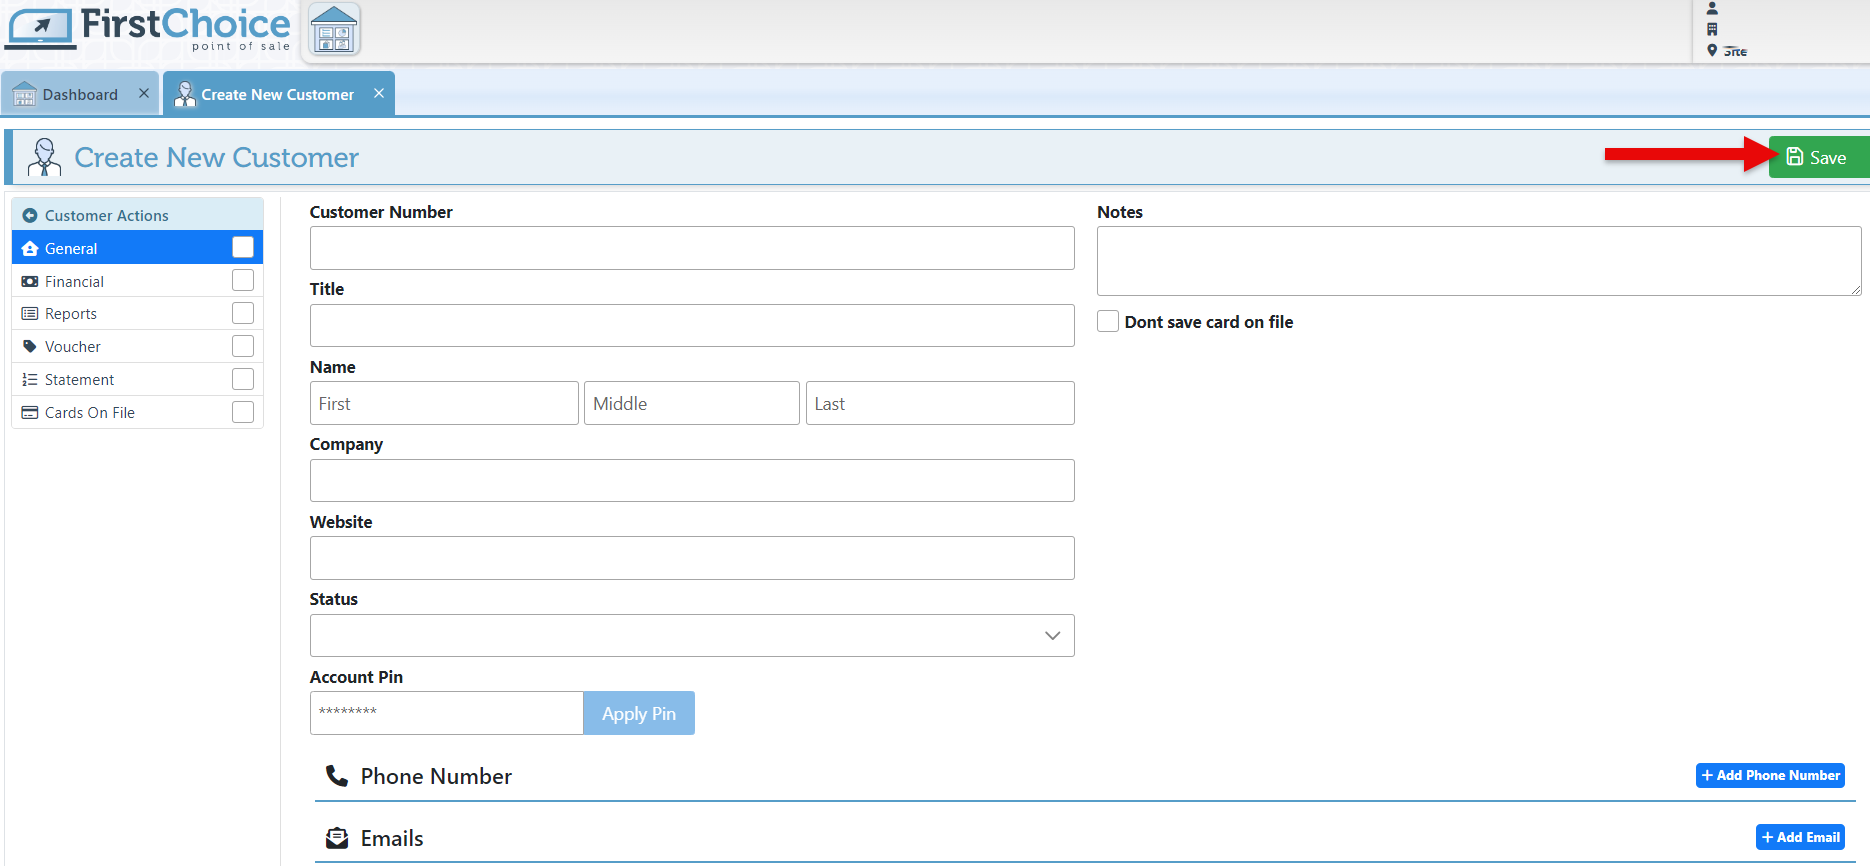
The "Save" dropdown enables various customer actions:
Cancel- Click to return to the customer list. This will delete any unsaved changes.
New- Click to create and open a new customer page.
Clone- Click to create and open a copied customer page.
Merge- Click to merge customers; this will redirect to the Customer Merge Page. Select a destination customer to merge with, and click “Merge.”
Delete- Click to delete the customer. (The delete option is disabled for customers with transactions.)
Create Order- Click to create and open an invoice for the customer.
History- Click to view the customer history.
Once saved, additional customer details can be entered:
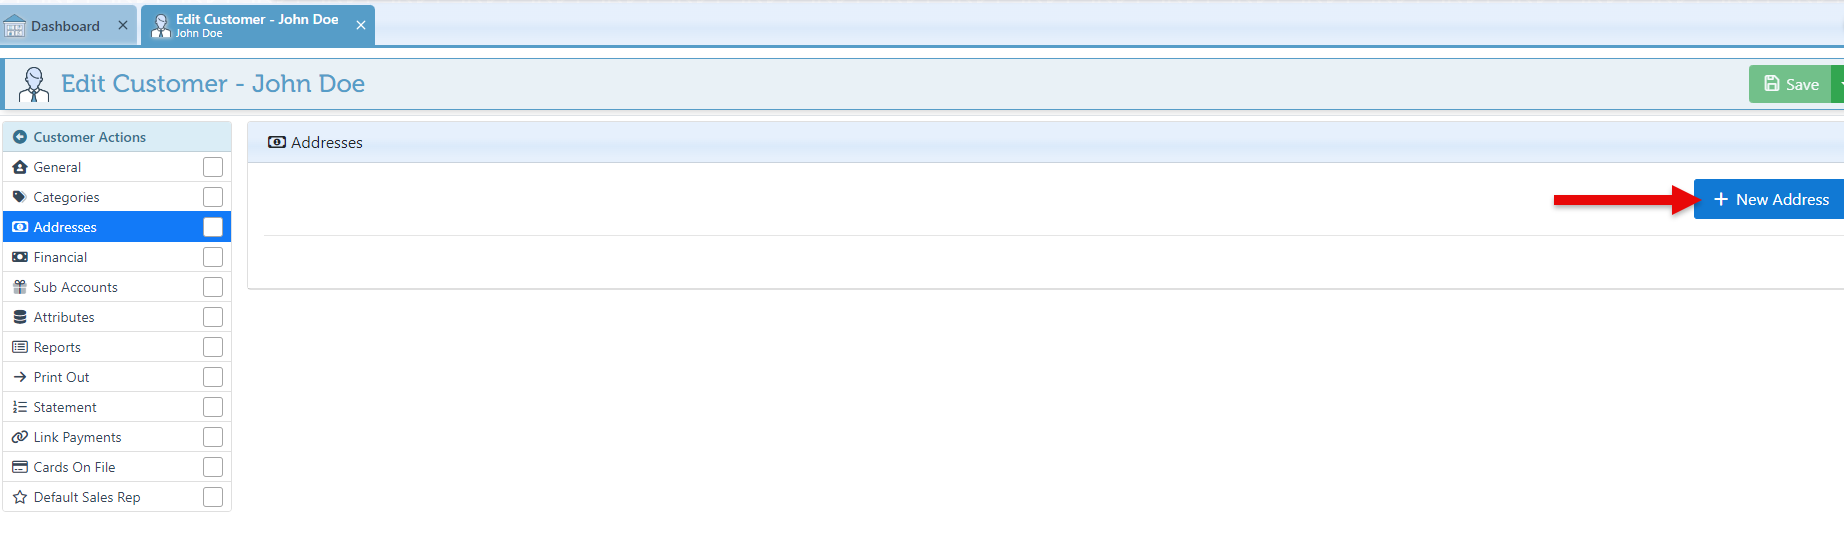
Addresses
Customer addresses
Click the “New Address” button to add customer addresses.
Enter the Customer Address and the Address Type (depending on whether the address is used for Billing, Shipping, or Both.)
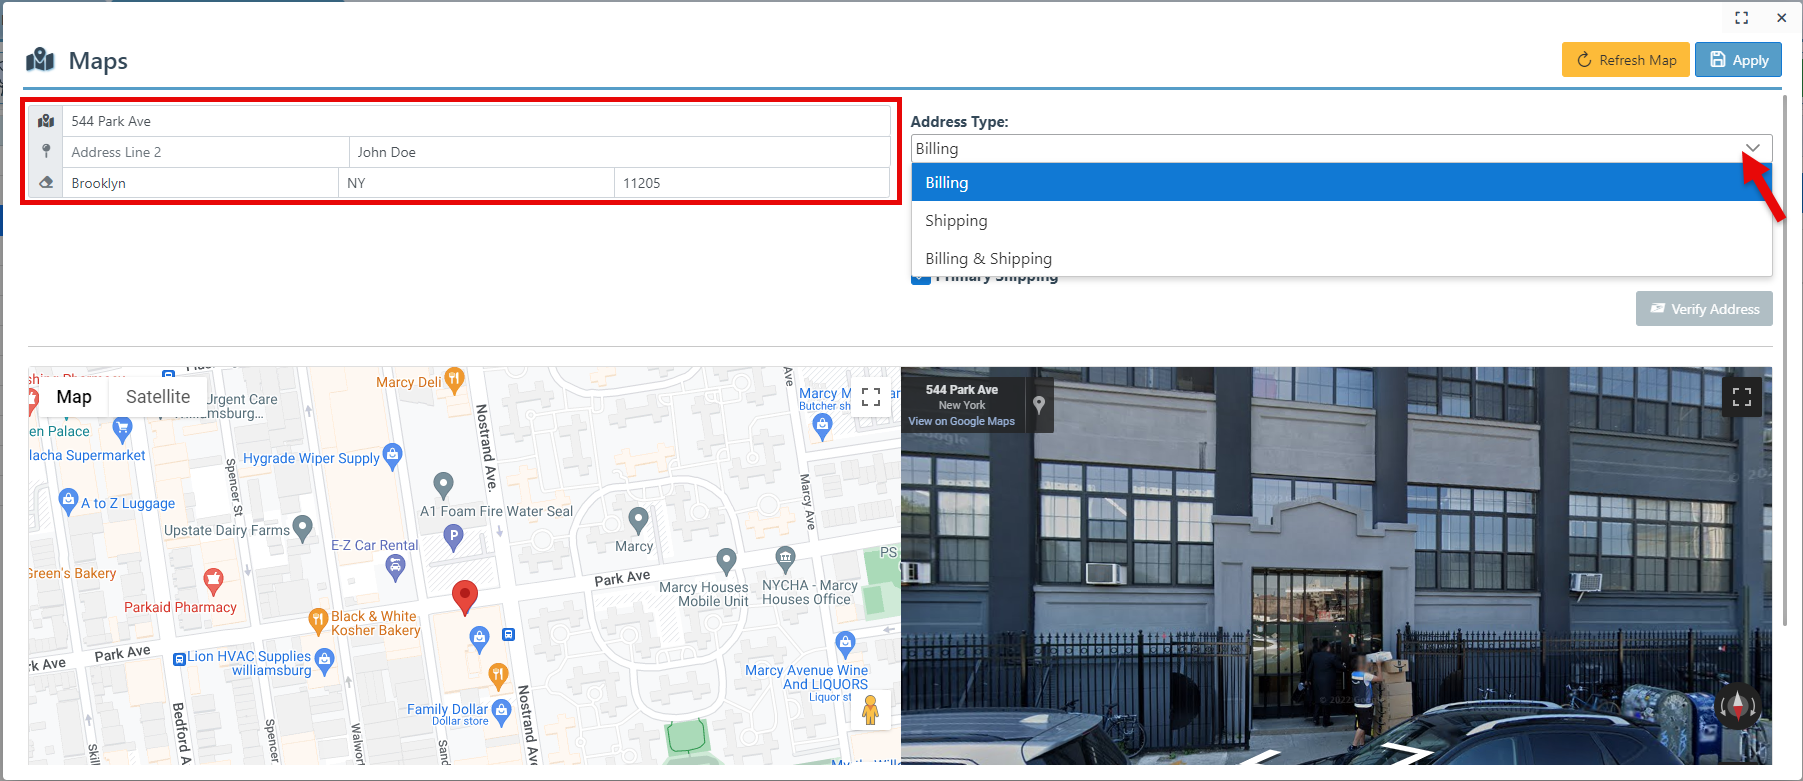
Click “Apply” at the top right of the page to save the address.
Categories
Customers can be categorized as VIP buyers, military personnel, teachers, volunteers, etc. This is useful for applying price rules and exporting marketing lists.
For more information on customer categories, click here.
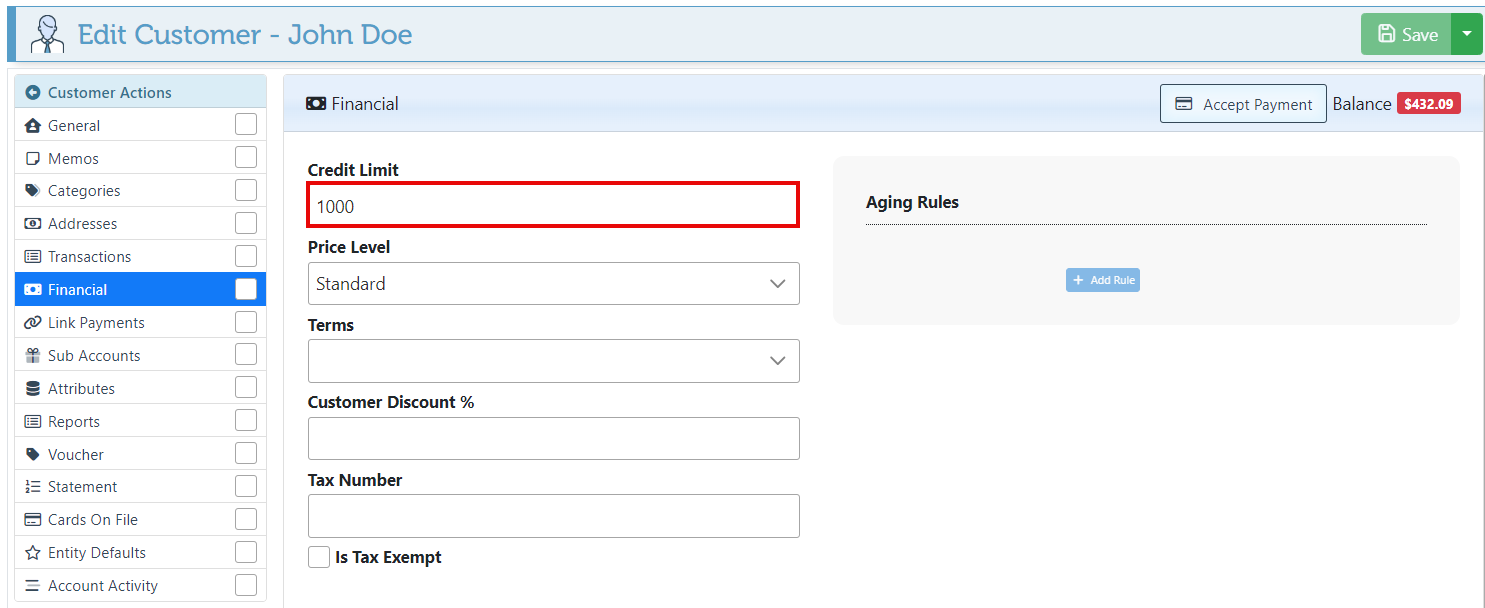
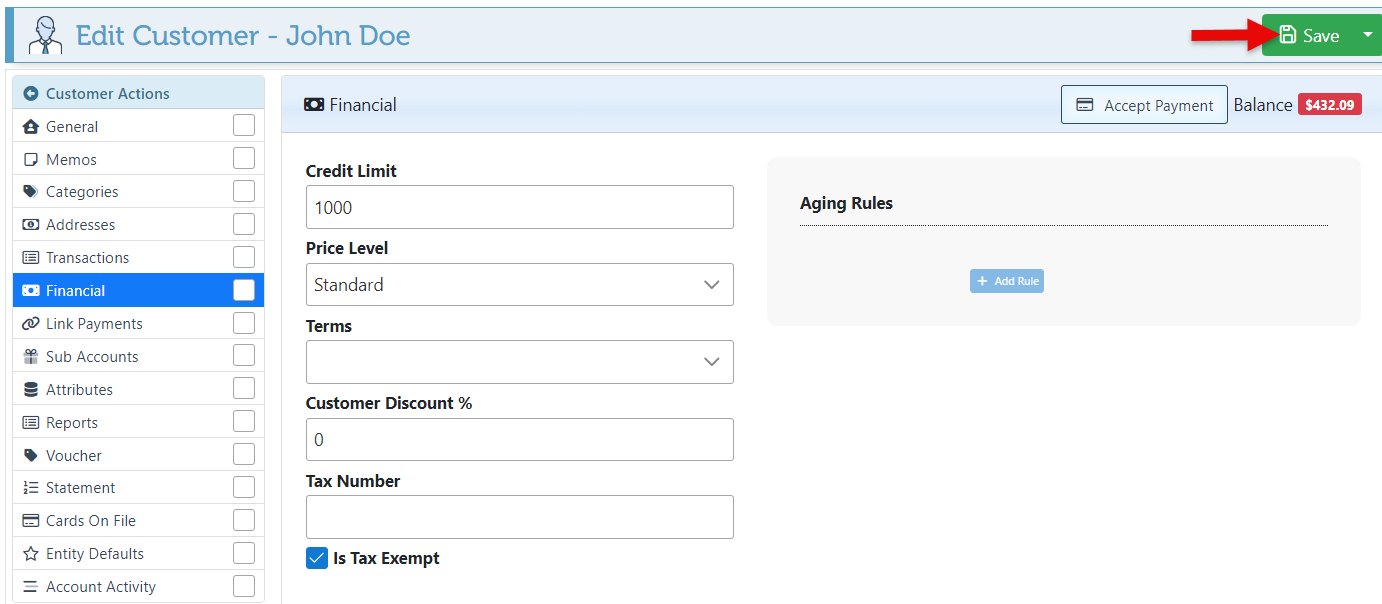
Financial
Customers' financial details and information, including credit limit, price A/B, discount, and price rules.
Enter an amount in the bar to set a credit limit for the customer.
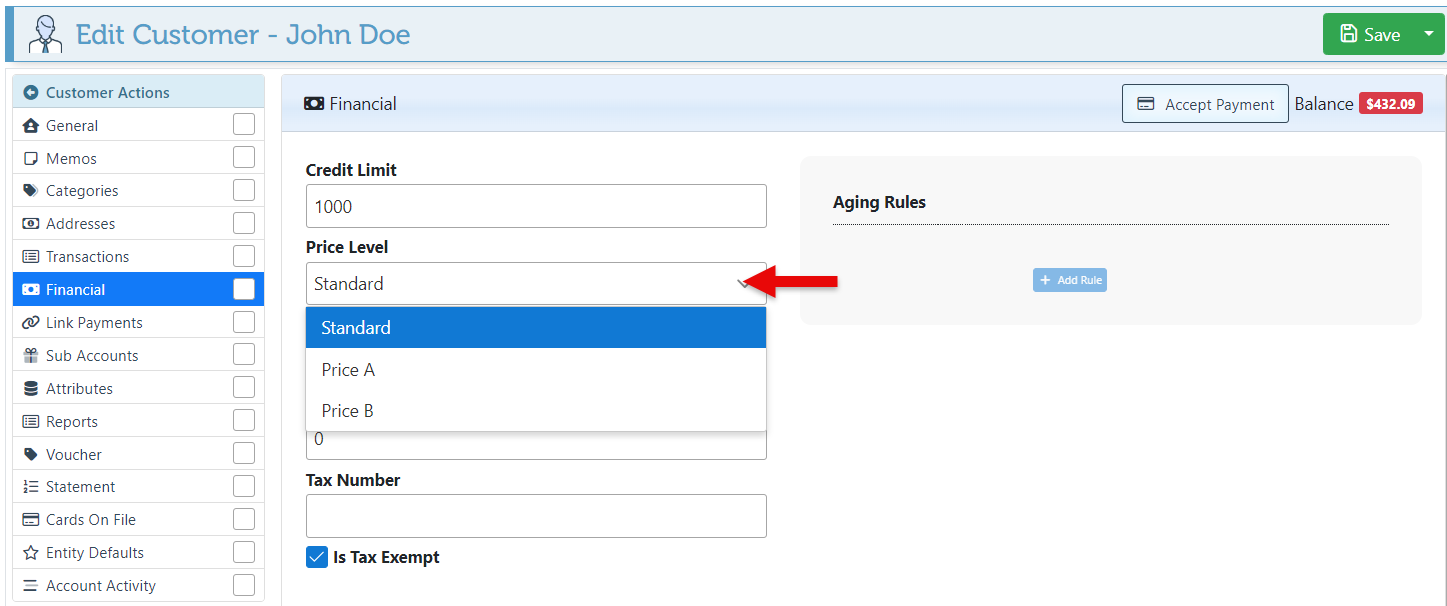
If applicable, select a price level in the dropdown menu.
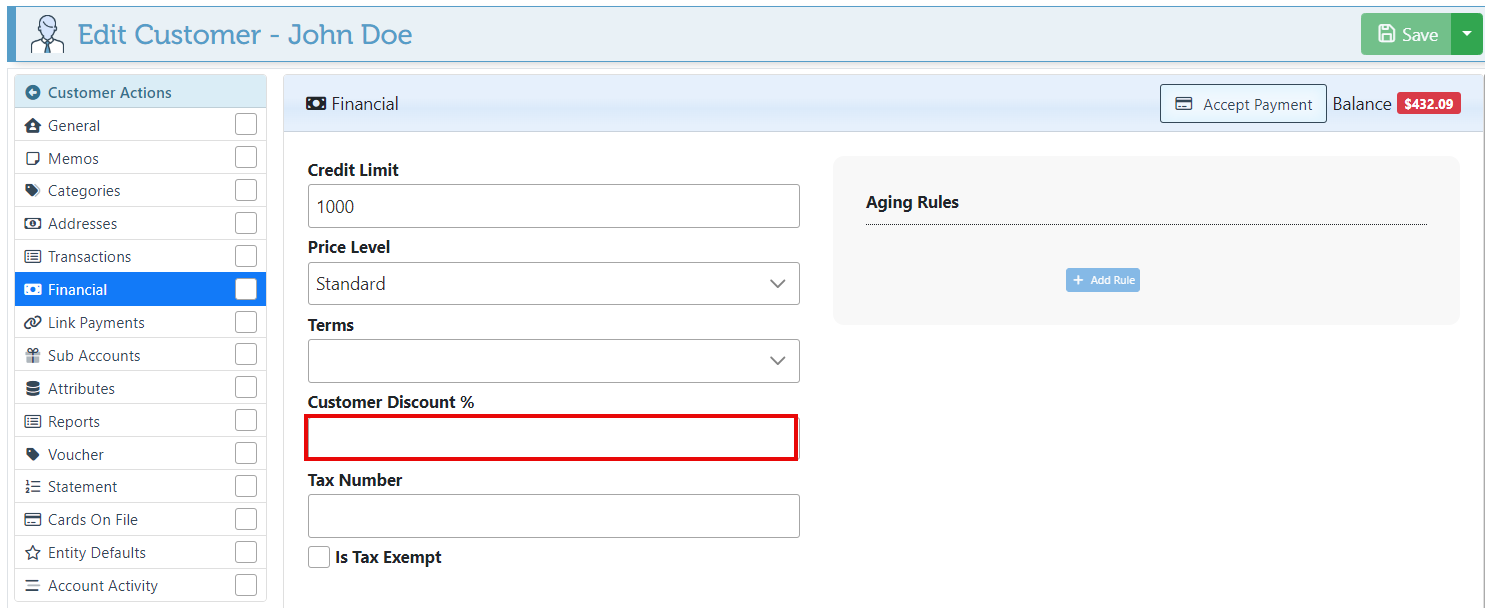
Set a discount for the customer by entering a percentage in the Customer Discount Bar.
If the Customer is tax exempt, select the “Is Tax exempt” checkbox and enter the customer's Tax ID number.
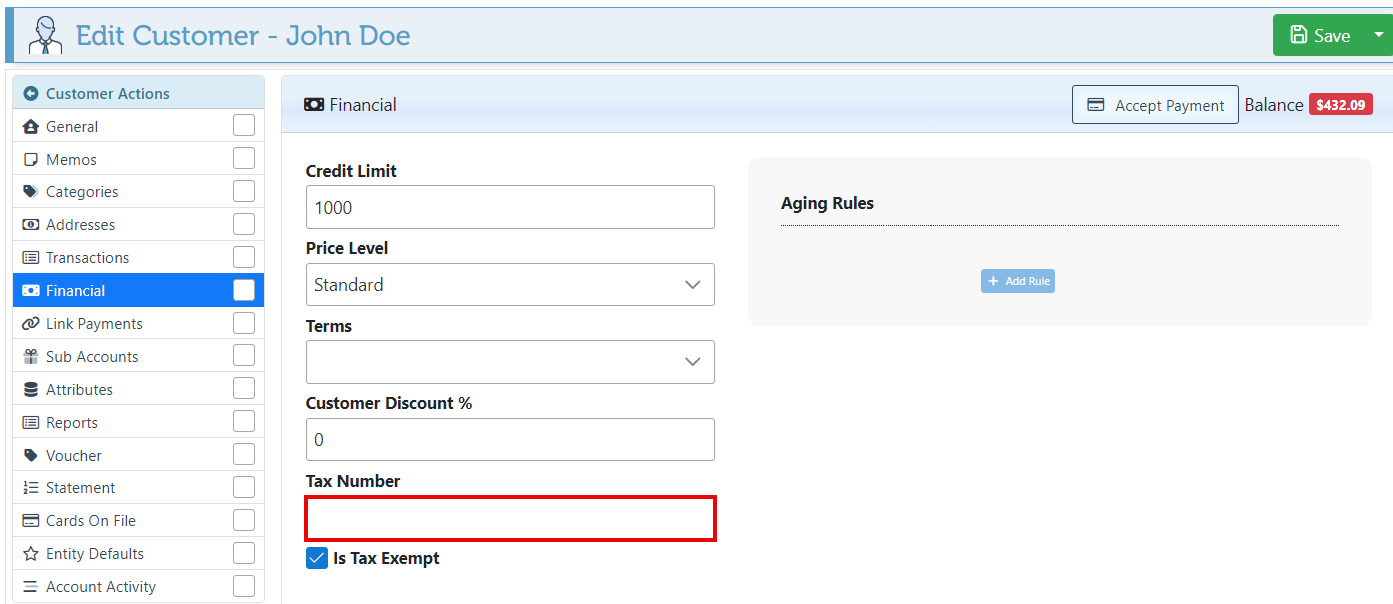
Click “Save” at the top right to save changes made to the customer financials.
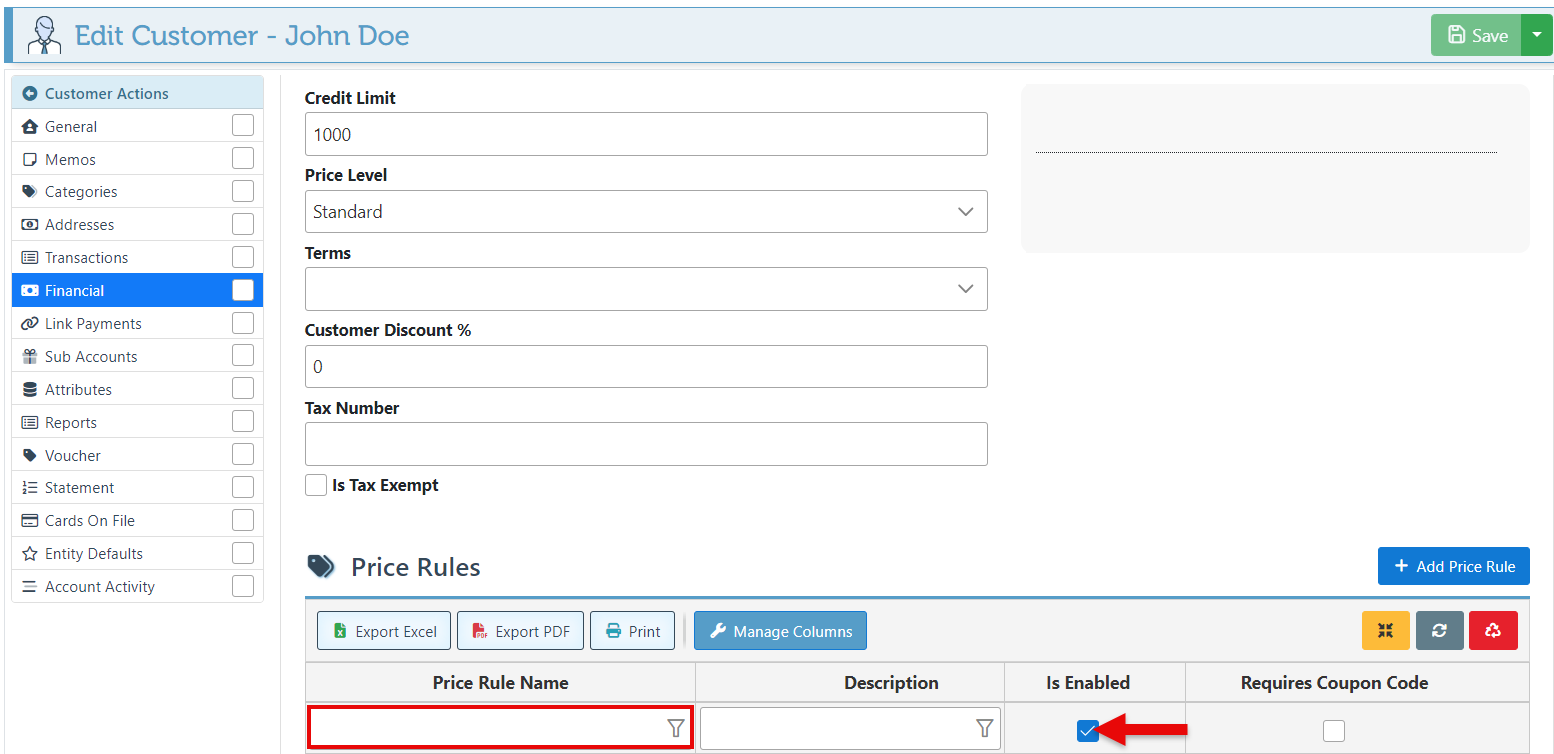
Enter a price rule name and select “Is Enabled” to apply it to the customer. Click here for an instruction guide on setting up price rules.
Sub Accounts
Subaccounts are used when multiple purchasers, divisions, or accounts are within an account. Creating a subaccount will enable the selection of a subaccount when creating a customer order.
For more on Subaccounts, click here.
Attributes
Associates involved in customer orders, such as designers or contractors, can be referred to as customer-related individuals.
For more information on customer attributes, click here.
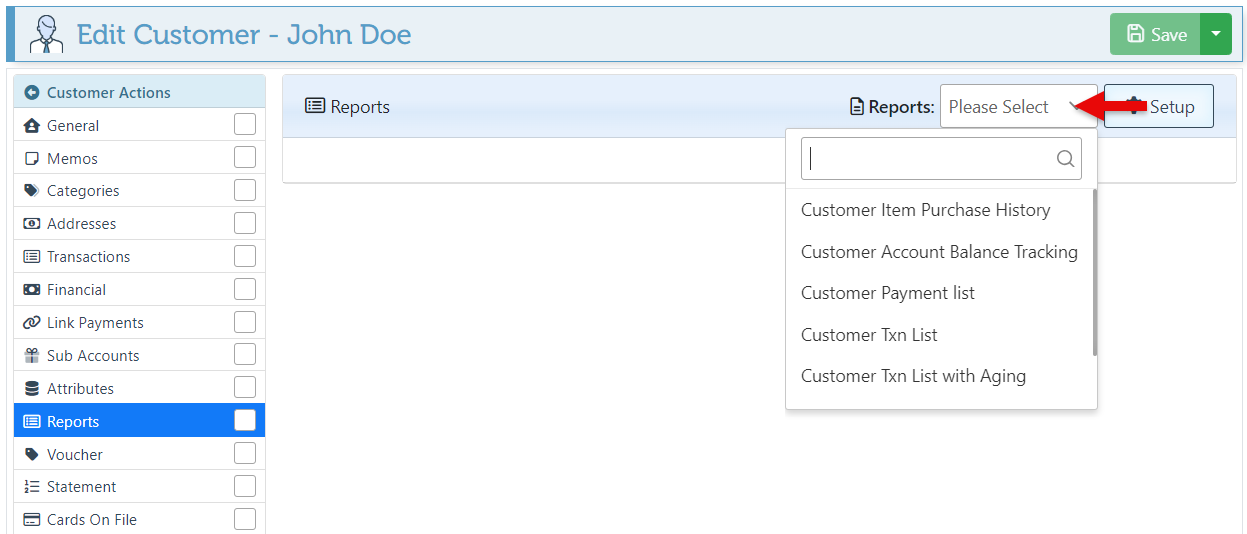
Reports
Overview of customer details that can be generated for this customer. Report options include Account balance tracking, Item purchase history, Payment list, Transaction list, etc.
Select a report in the Reports dropdown menu to view. For more information on how to set up reports to appear in the dropdown, click here.
For more details on creating and editing reports, click here.
Statements
Customer statements are used to print customer transactions in bulk, allowing for the viewing of transaction information, customer history, and balance tracking.
The Fields appearing on the statement printouts are highly customizable to meet diverse business needs and preferences. For further information on how to add or remove specific fields, such as “Item Entries” or “Customer Balance”, click here.
Select specific dates for which to generate the transaction statement.

Select the “Statement Running Balance,” or “Statement Running Totals” Statement Printout Layout in the designated dropdown menu.
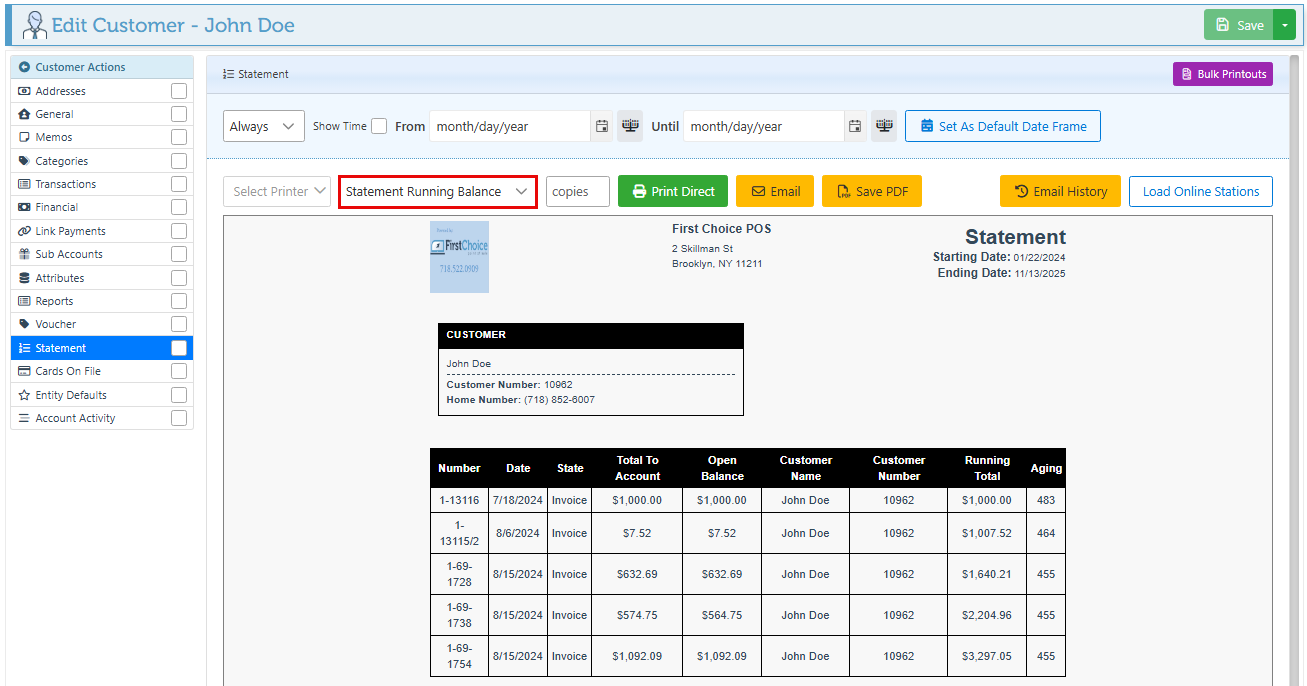
Use the buttons in the header to “Save To PDF,” “Print,” or “Email” the statement.
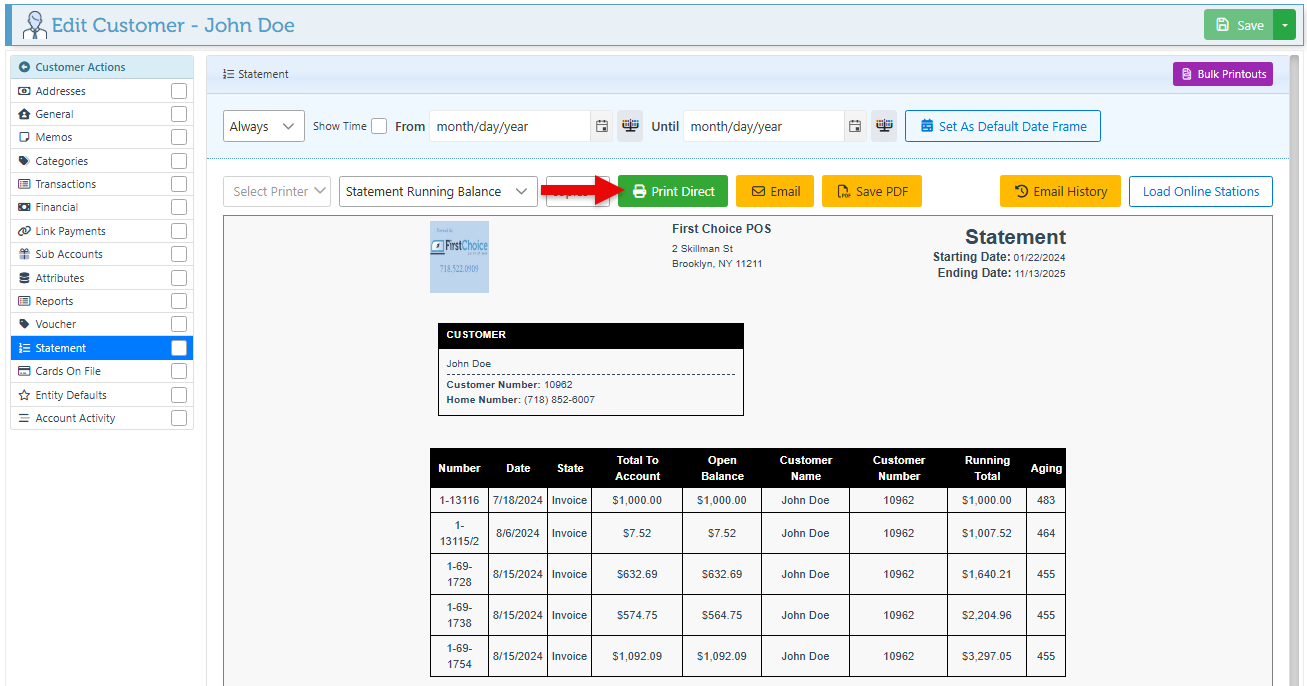
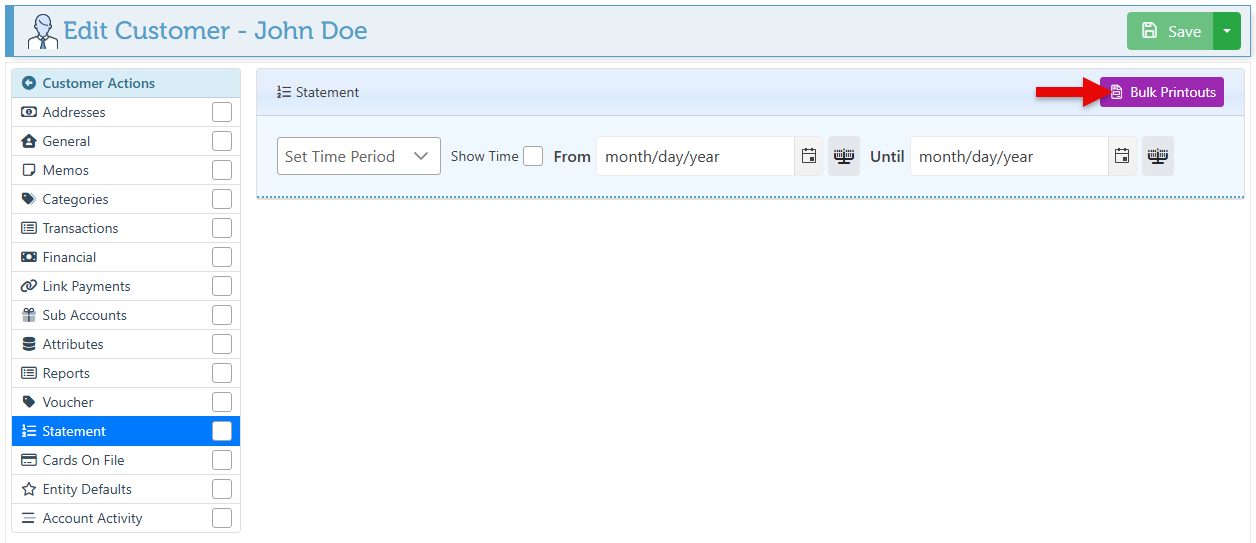
To print or email specific transactions in bulk, click the “Bulk Printouts” button at the top right of the page.
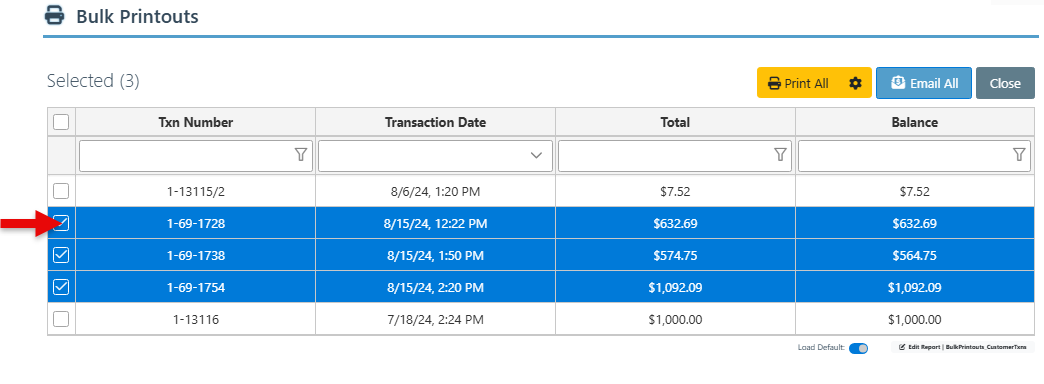
Select desired transactions and use the buttons in the header to “Print All” or “Email All” selected transactions.
Link Payments
The link payment feature enables a random payment to be linked to a specific transaction. For more information on linking payments, click here.
Cards On File
The Cards On File tab will display a list of customer cards saved on file.
To Customize the “Customer Actions” menu layout, Click here.