Inventory Transfer
The Inventory Transfer page provides a platform for creating and managing inventory transfers between different locations. To create a quick transfer of items, see Express Inventory Transfer.
Follow the outlined steps below to create an inventory transfer:
The user initiating the transfer must have access to all the locations affected by the transfer.
Log in to app.firstchoicepos.com
Click “transaction” in the Main Navigation menu, and select “Inventory Transfer” in the scrollable dropdown menu.
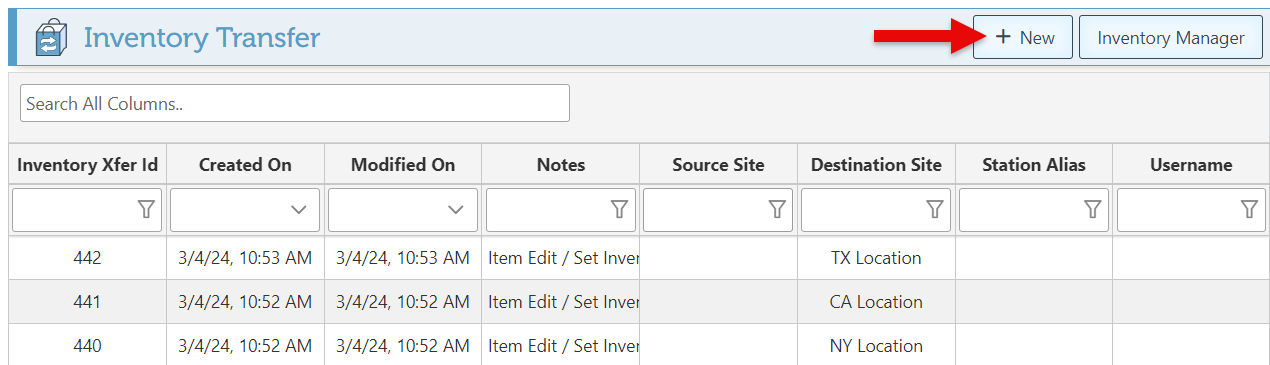
Click “New” at the top right of the page to create a new transfer.
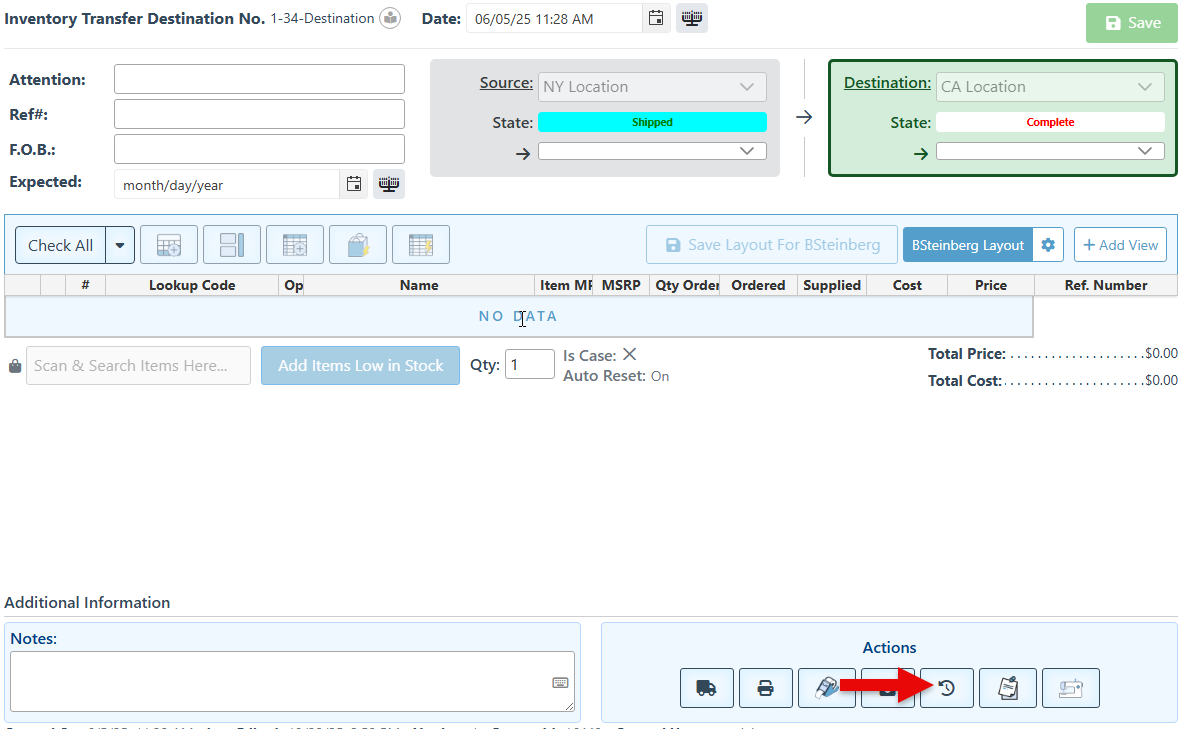
Enter applicable transfer details in the designated fields, including “Attention,” “Reference #,” “F.O.B.,” and “Expected.”
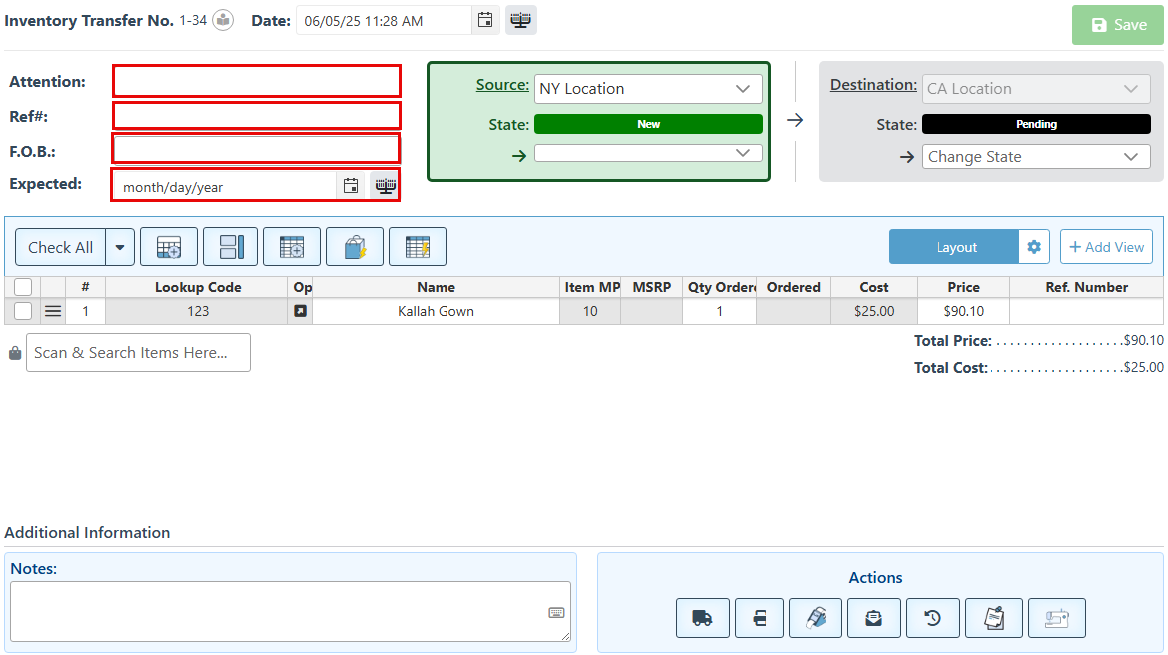
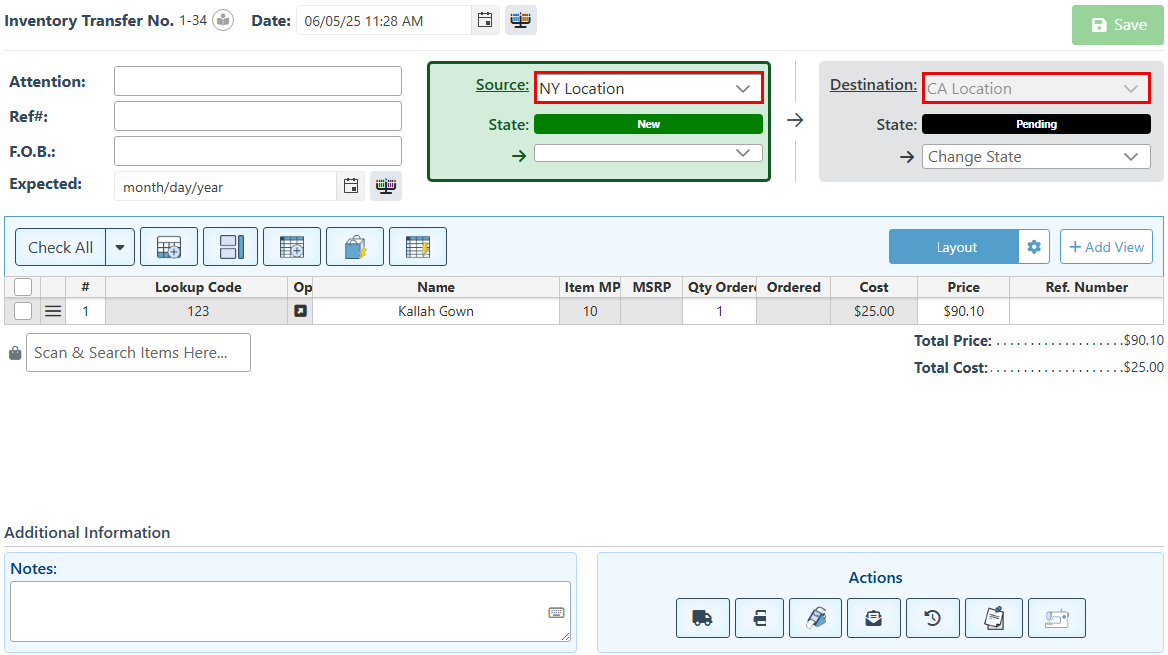
Select the source and destination sites for the transferred items.
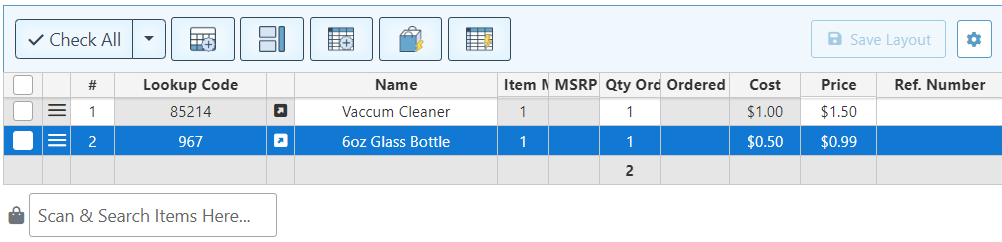
Add items to the transfer list and select the quantity of each item transferred. For more details on how to add items, click here.
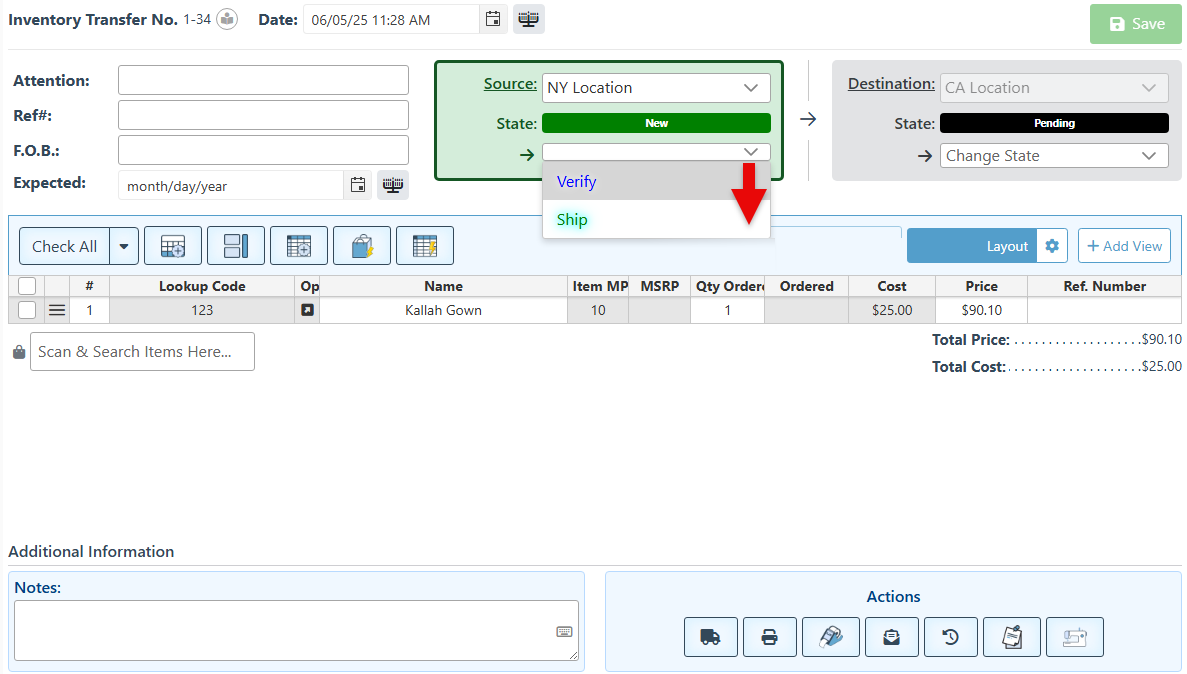
To save the transfer draft, change the Source site state to “Verify.” ( This will not transfer or affect inventory.)
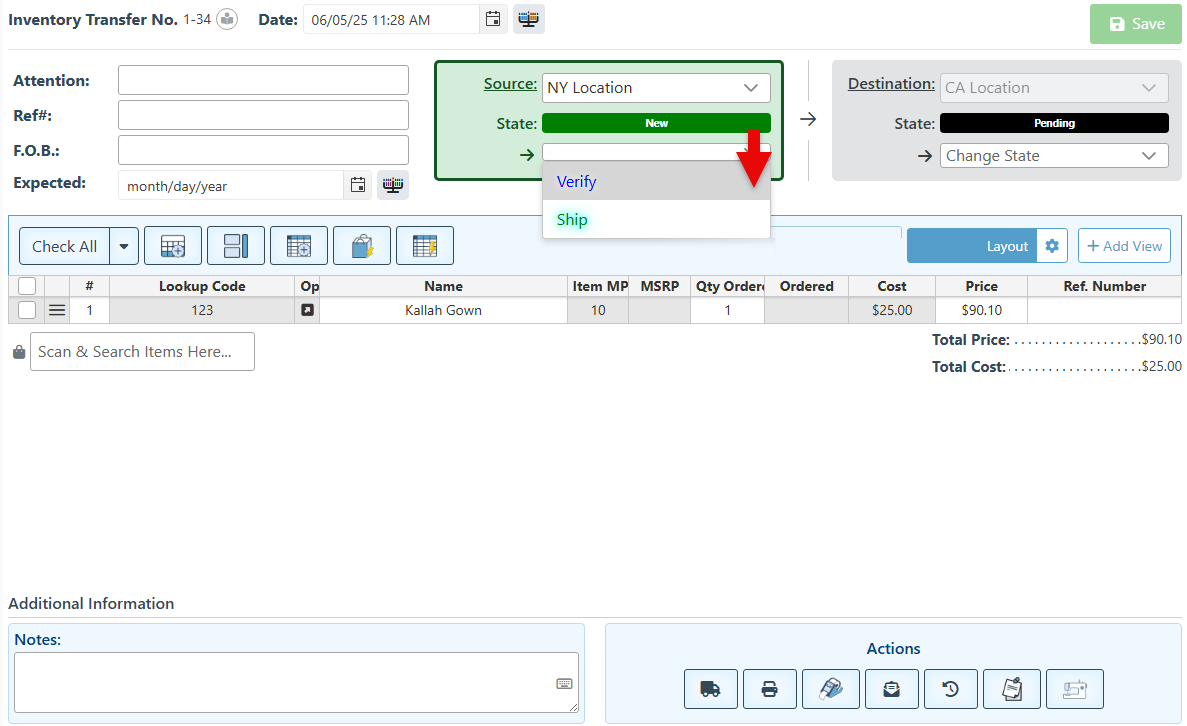
To remove the inventory from the source site, change the source site state to “Shipped.” However, it will only be added to the destination site once the destination state is updated to “Completed.”
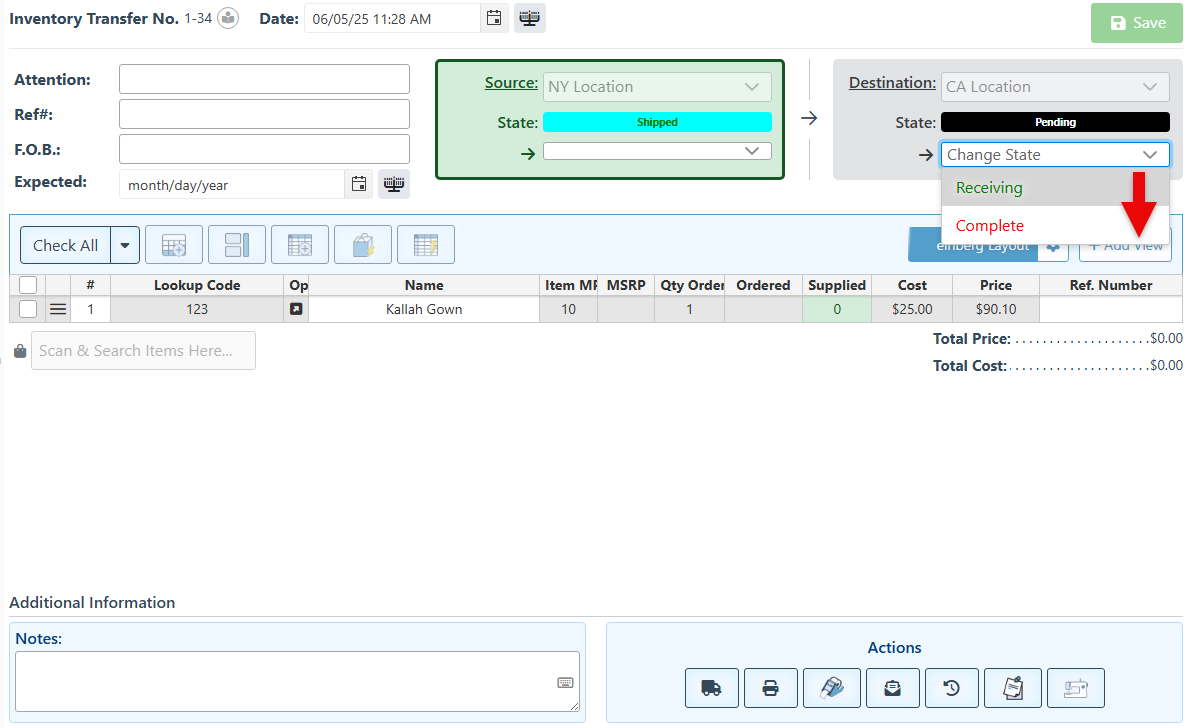
Upon receiving items, change the destination status to "Receiving." Once all items have been transferred, update the status to "Complete."
To view the transfer history or any changes made to the transfer, click the History button at the bottom right of the page.
Click the “Shipping” icon to print labels for the transferred items or to set a delivery for the items in the transfer.
