Create an Order Service
The order service feature can be used for various purposes, primarily for creating special orders or custom services.
“Special Order Services” are designed to set up and track the shipping of one or more items. Each time a transaction with shipping enabled is completed, a special order service will be automatically generated. Additionally, these services can also be created manually to arrange the delivery of items.
“Custom Service Order Services” focuses on tracking the personalization or customization of an item. When a transaction includes a custom service for an item, an order service will automatically be created to monitor the status and details of the item’s customization. Furthermore, an order service can be manually set up in the backend and linked to a specific transaction.
Below is a guide on how to create or edit order services manually. The relevant fields will depend on the type of order service being created.
Open Backoffice.
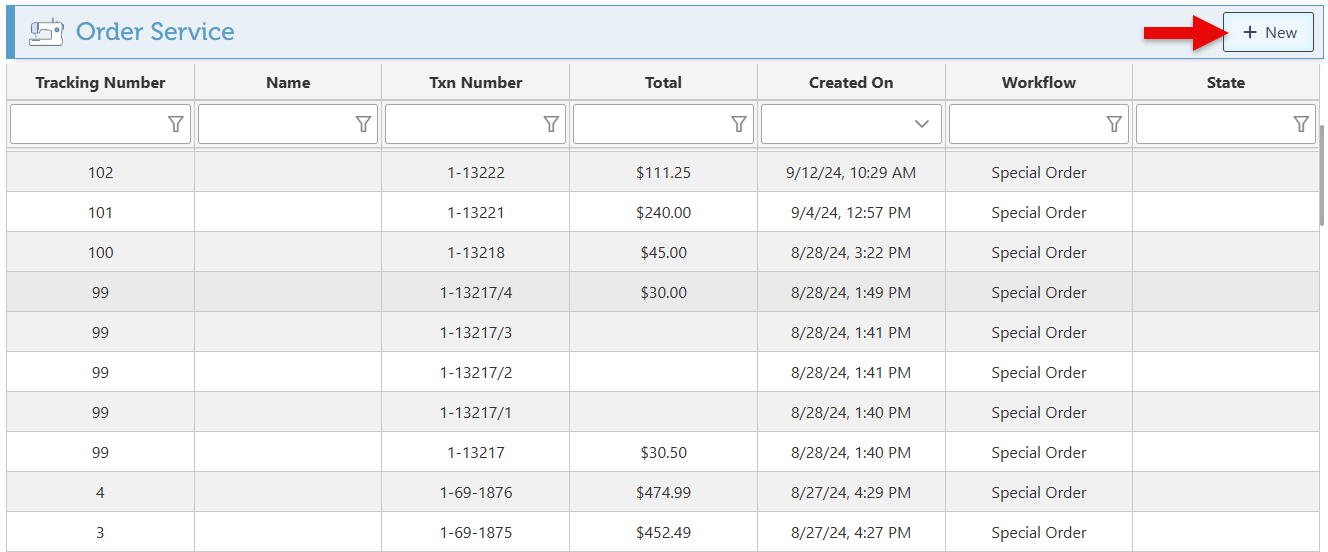
Click “Transactions” in the Main Navigation menu, and select “Order Service” from the scrollable dropdown.
Click the “New” button at the top right of the page to create a new order service, or search and select an existing order service to edit.
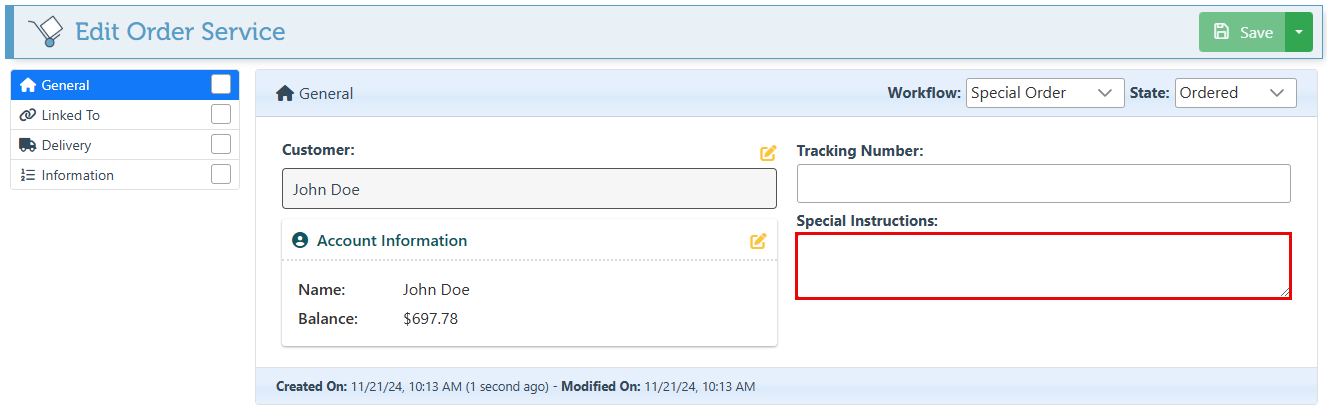
In the customer field, select a customer for which the order service is created and click save. This will auto-generate the customer account information and load additional menu options.
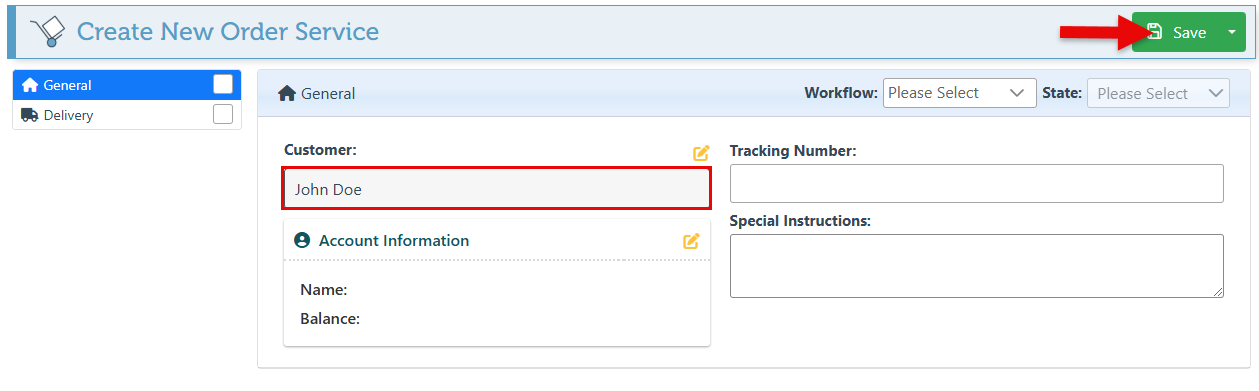
Select a workflow type from the dropdown menu based on the type of order service being created. For a custom service (Personalization order service), select “Custom Service,” and for a special order (Delivery order service), select “Special Order.”

Select the state in which the order service should be created. The options in the state dropdown menu will depend on the workflow type selected. The state of the order service can then be updated as the item status progresses. For more information on how to view and update the state of order services, click here.

Enter a tracking number for the order service in the designated field.
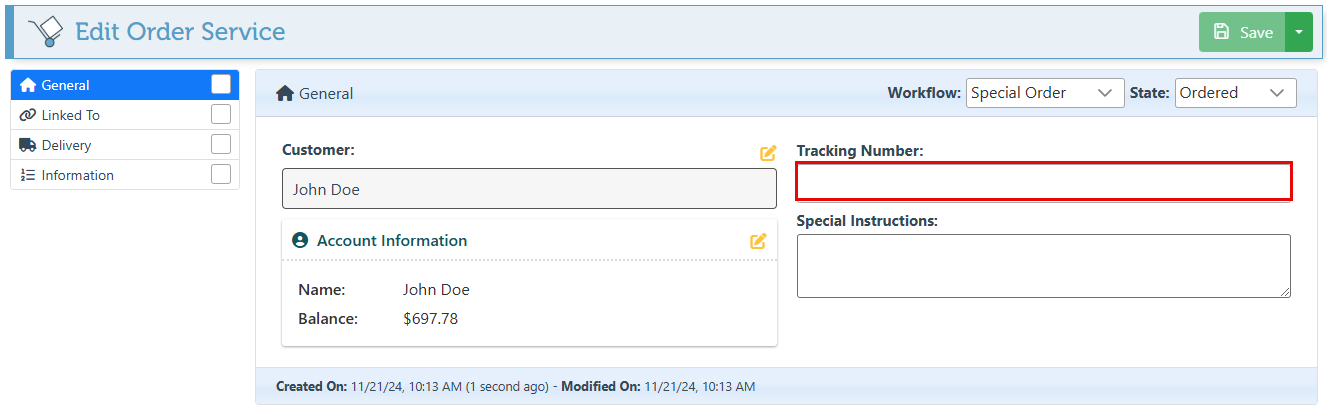
For a custom service, order service, enter the customization/personalization details in the special instructions field. Otherwise, the Special Instructions field can be used for delivery or other transaction details.
Navigate to the “Linked To” tab in the left side menu.

Click the “Link Transaction” button at the top right and select the transaction that includes the item(s) for which the order service is being created.

Navigate to the “Delivery” tab in the left side menu.
For custom service order services, where no delivery is necessary, this tab and all its fields can be skipped.
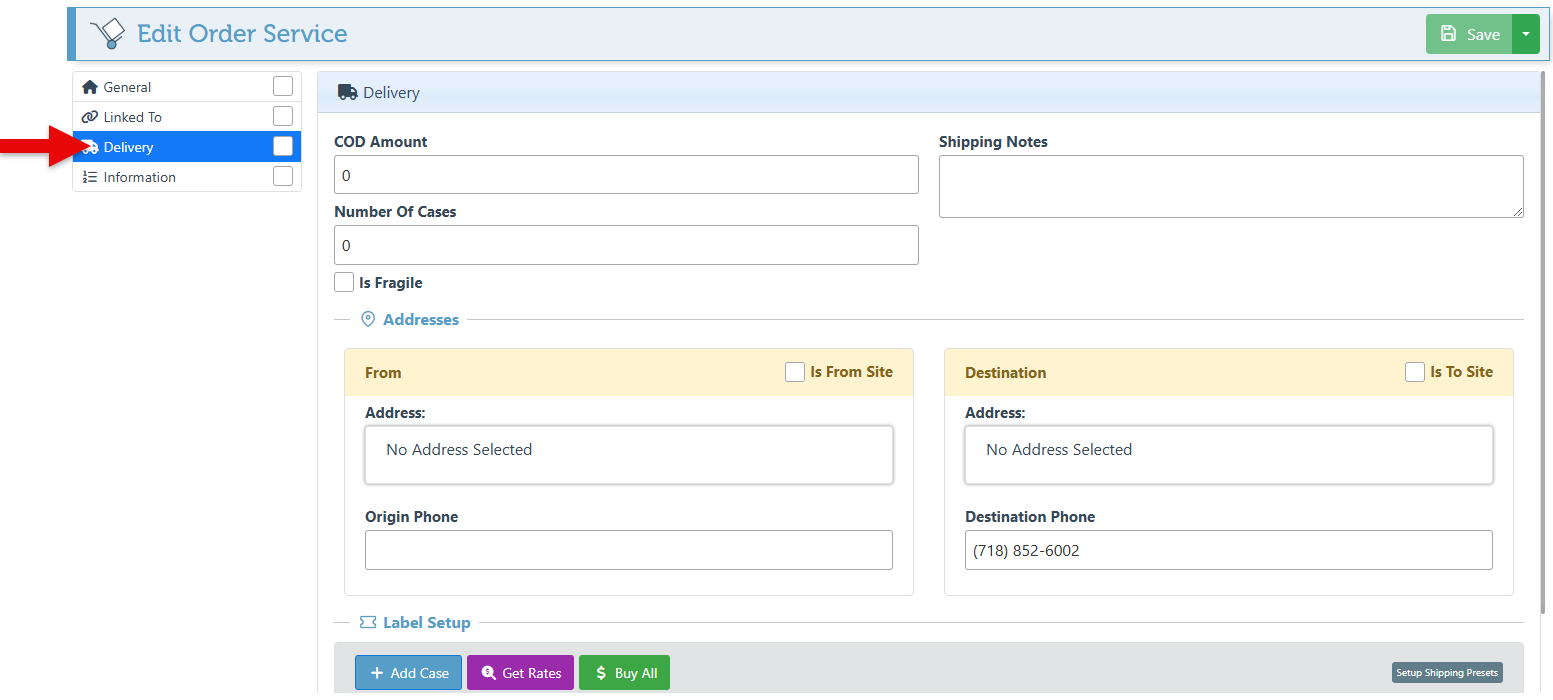
Enter the amount to be charged on delivery in the “COD Amount” field.
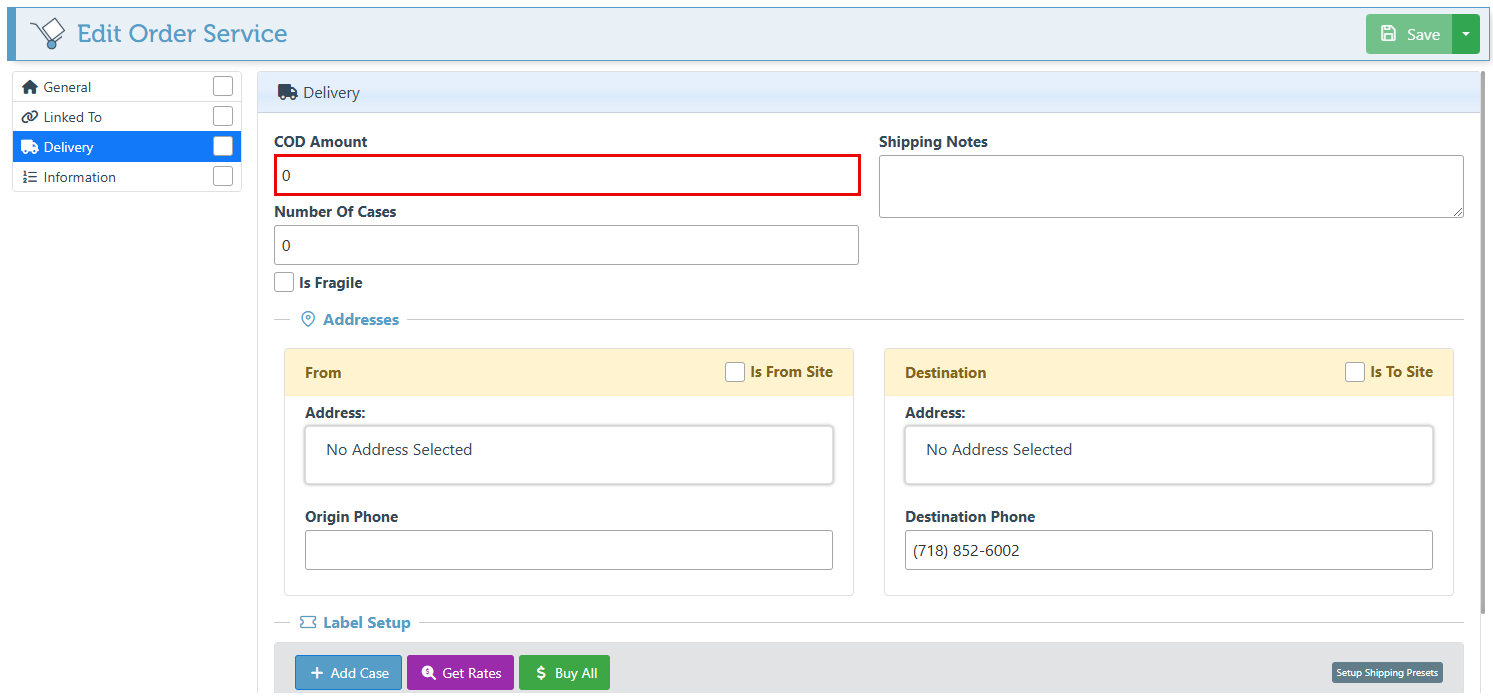
Select the amount of boxes to be included in the delivery in the “Number of Cases” field.
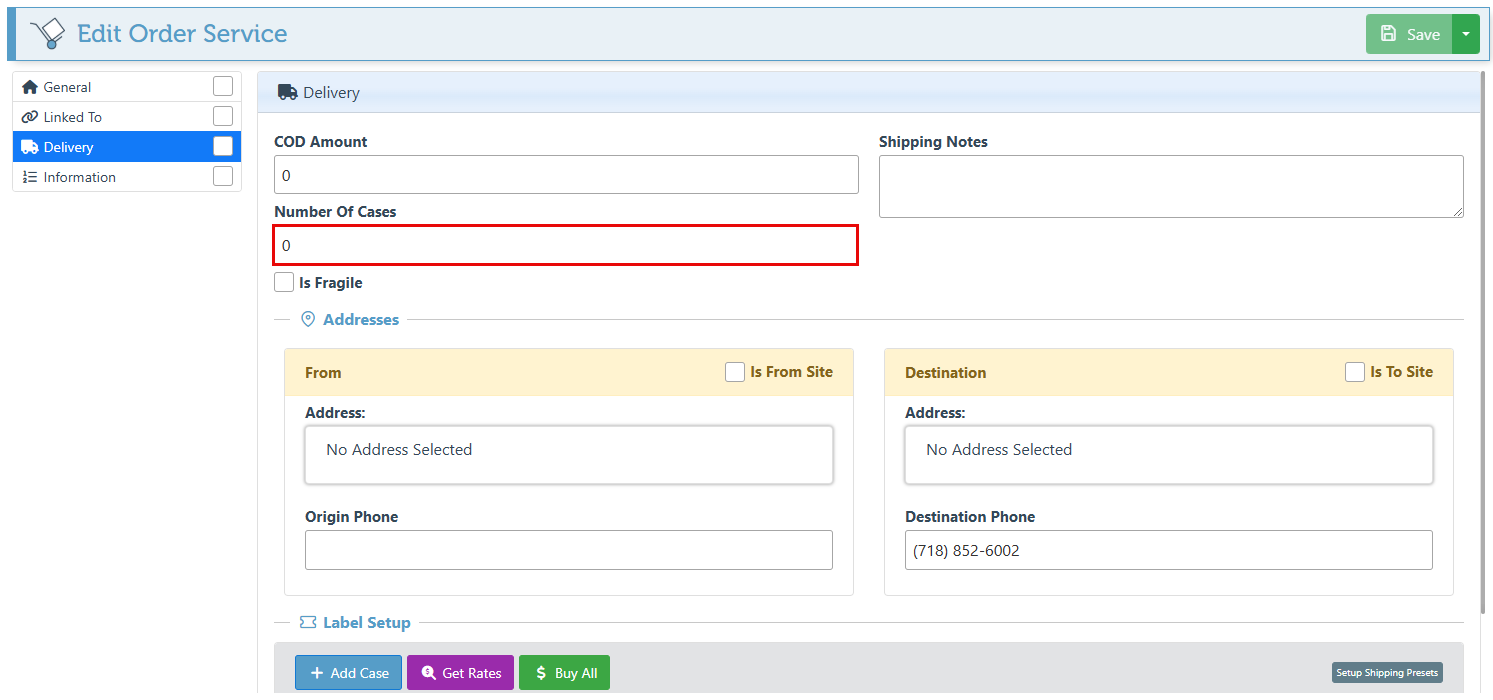
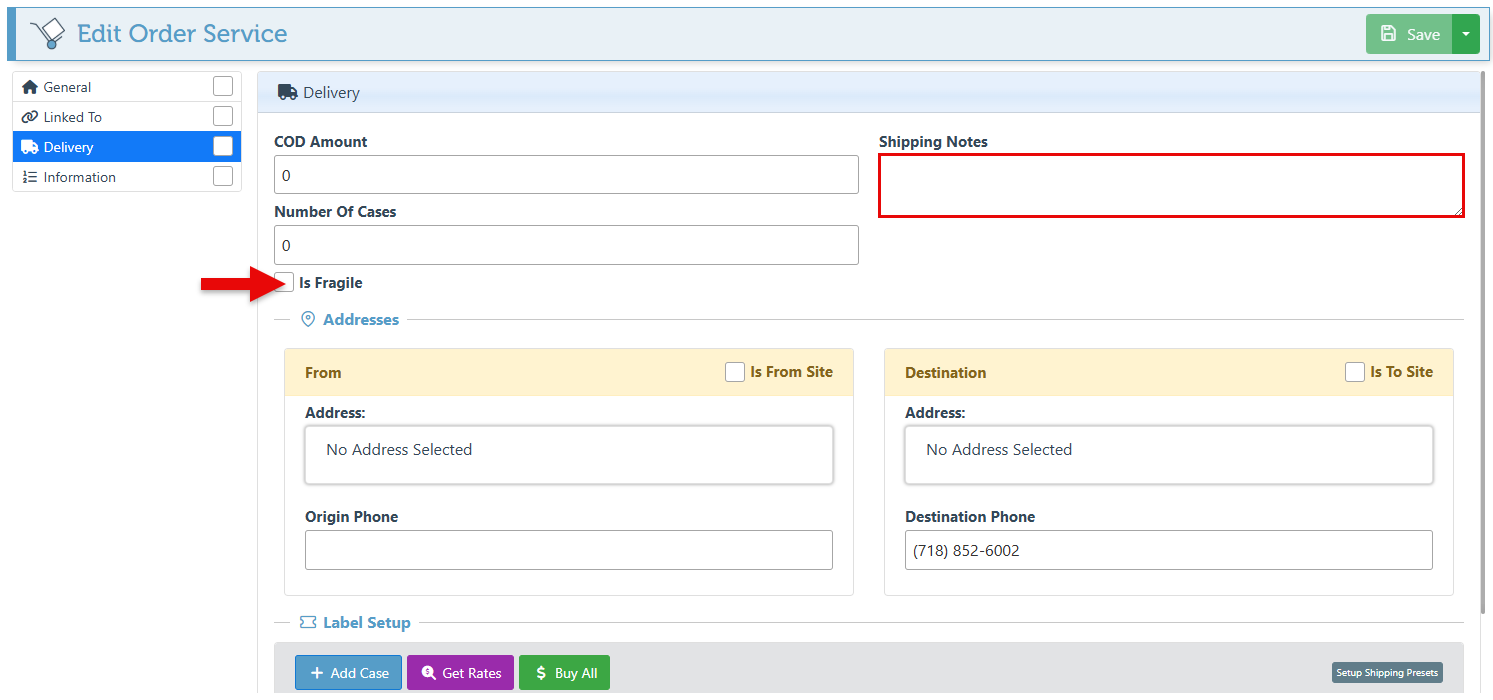
Use the “Shipping Notes” field to add details or notes regarding the delivery of the items, and select the “Is Fragile” checkbox if necessary.
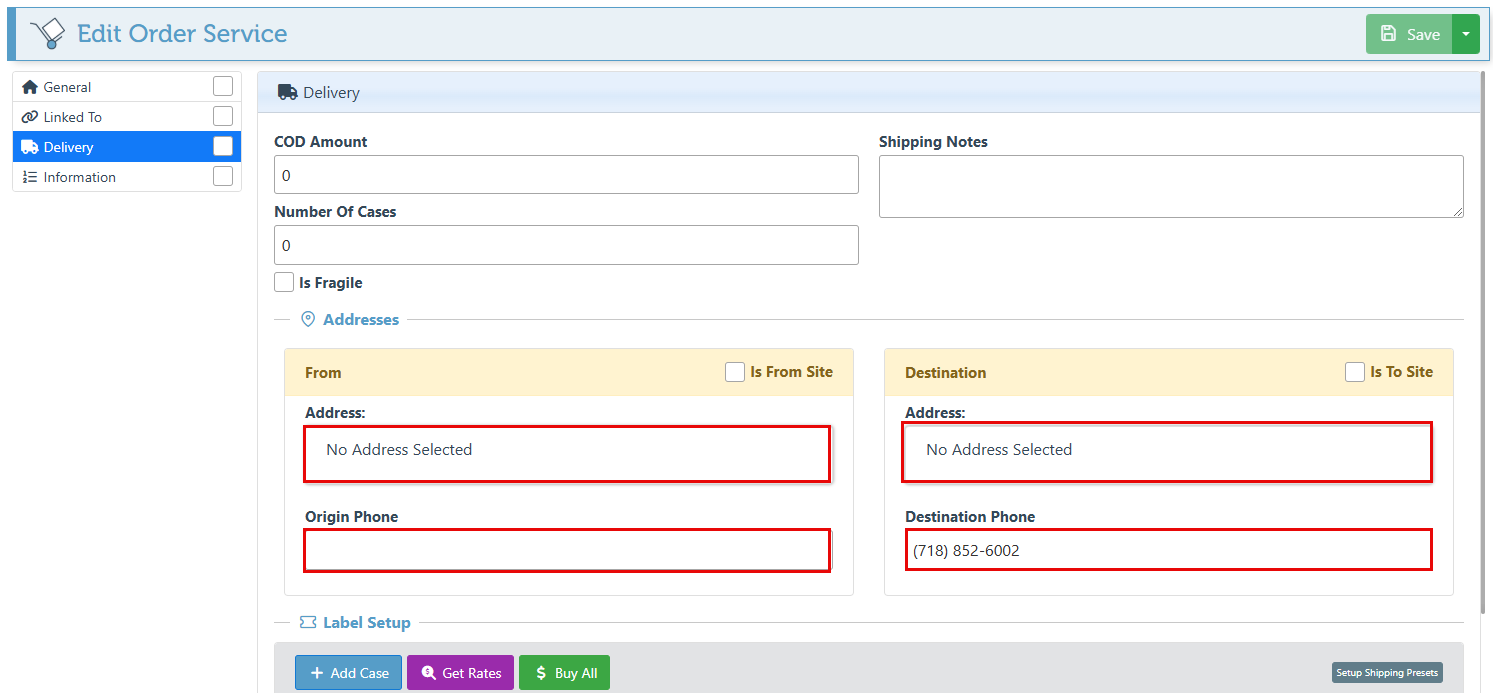
Enter the Source and Destination addresses and phone numbers in the designated fields.
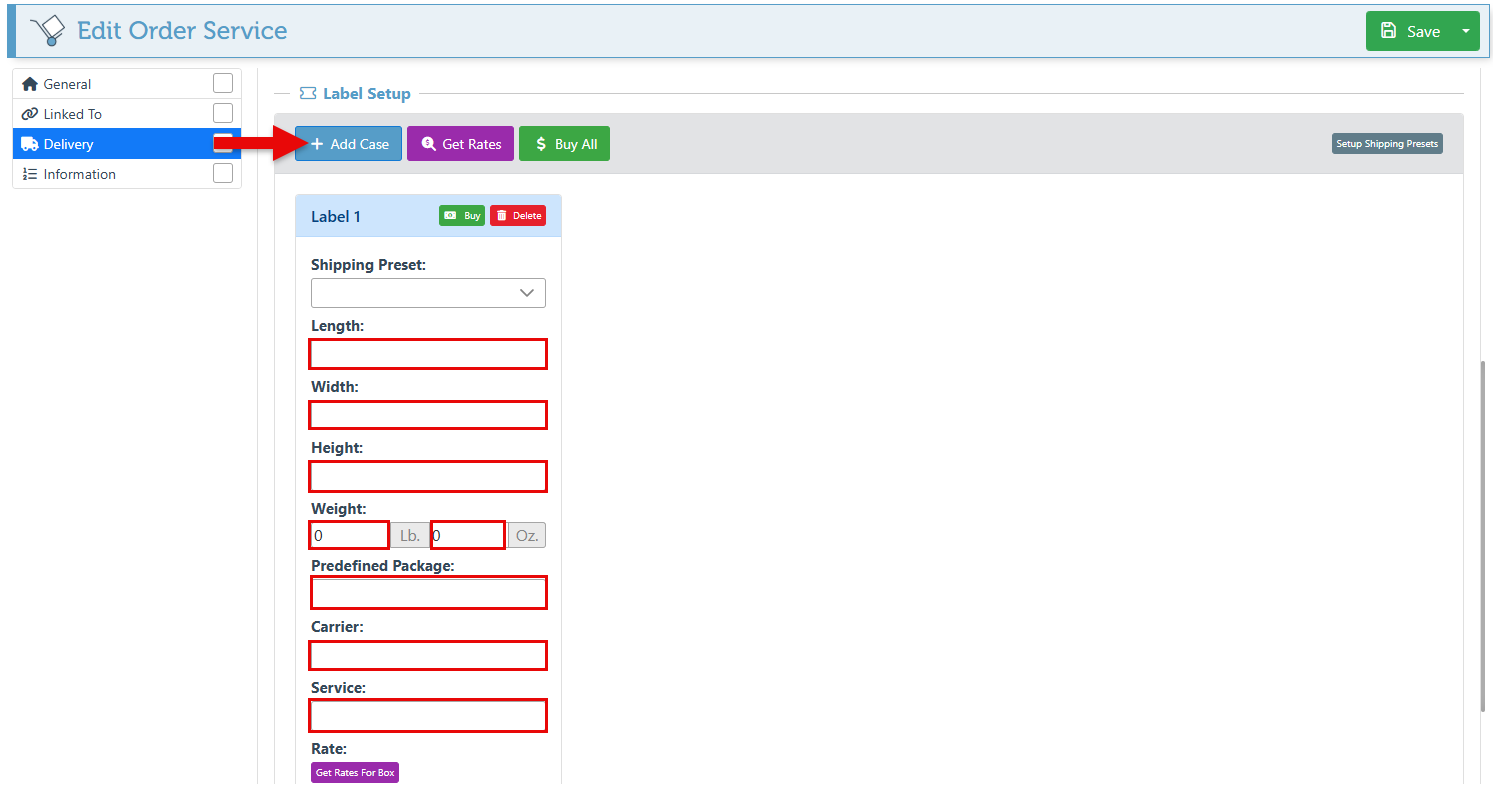
To use a postal carrier to deliver the items, click the “Add Case” button, enter the relevant information in the shipping label fields, click “Get Rates” to view the package pricing from different carriers, and click “Buy All”. For more detailed information on setting up shipping with postal carriers, click here.
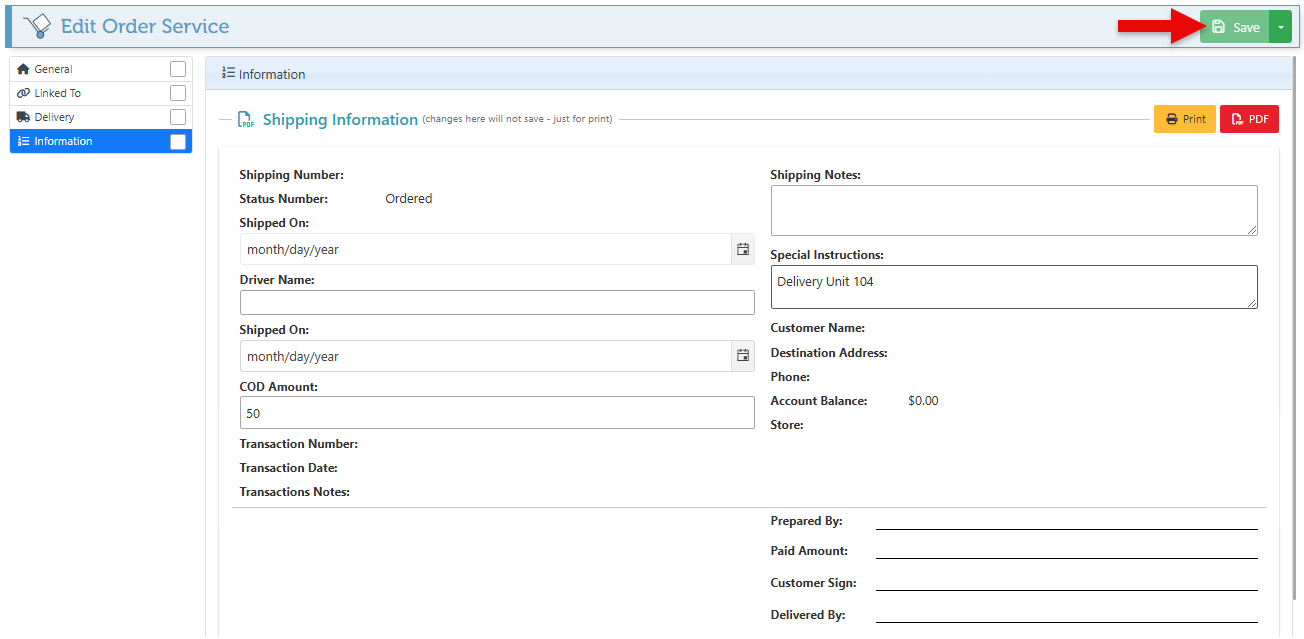
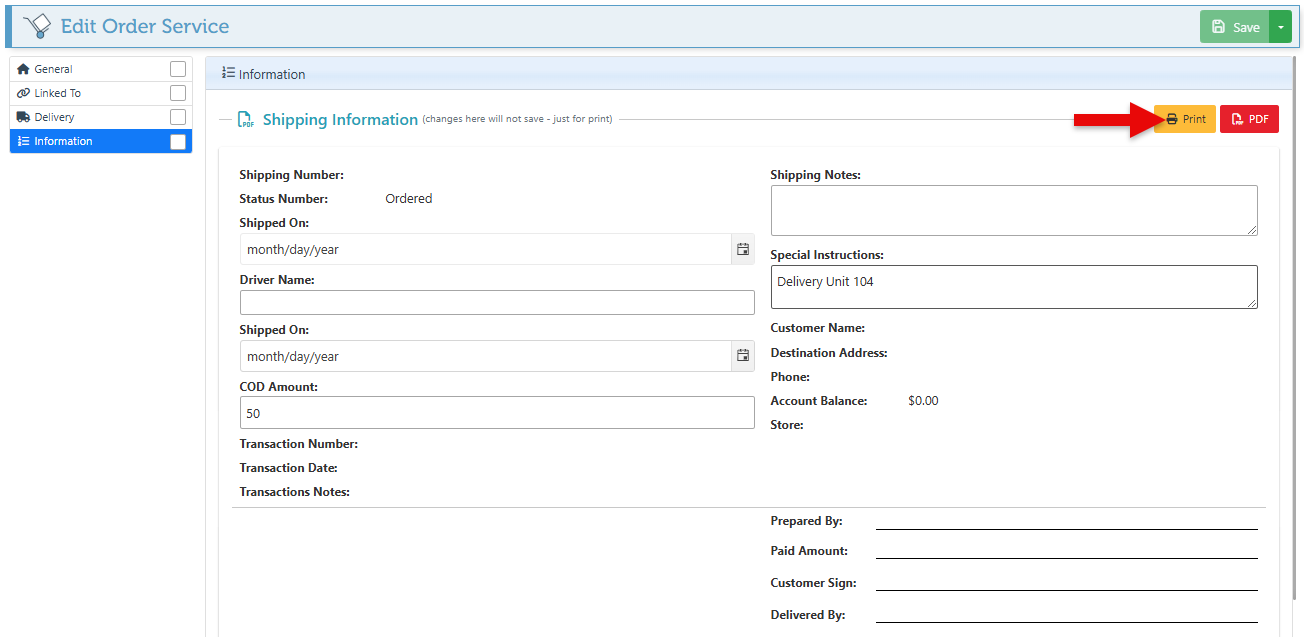
The “Information” tab is designated for creating a delivery printout. The fields will automatically populate any information entered above. However, most fields will only display an uneditable line, intended for handwritten information, once the sheet is printed.
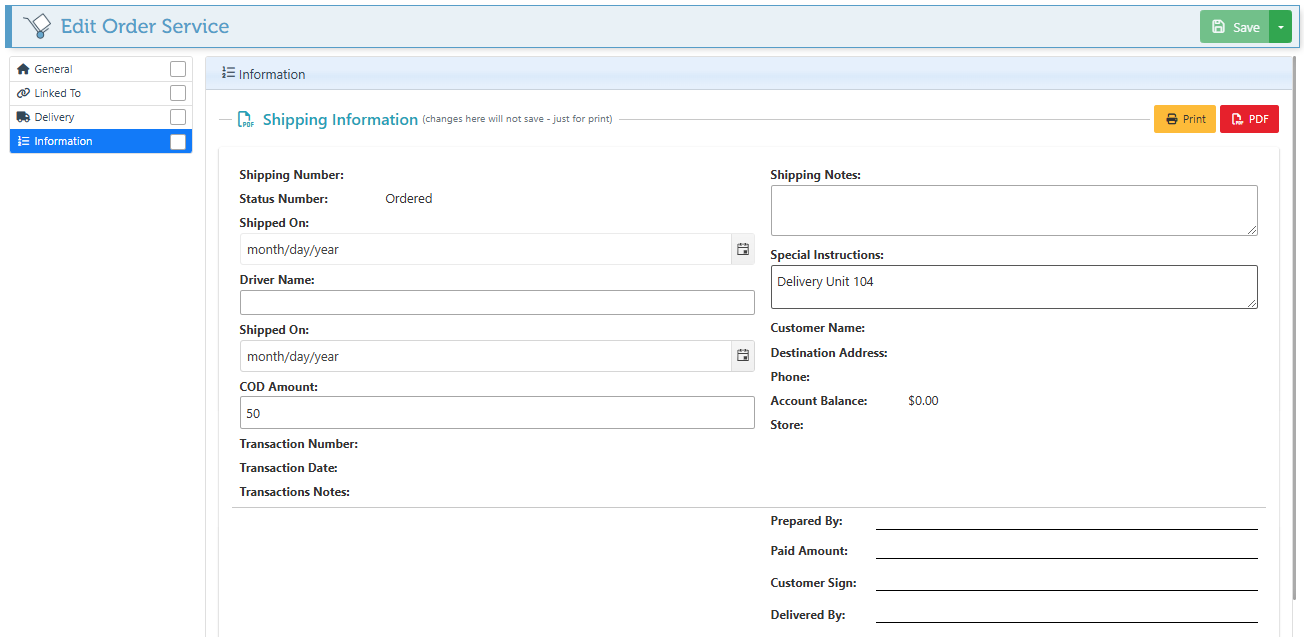
Use the “Print” or “PDF” buttons at the top right to export the printout.
Click “Save” at the top right to save the order service.