Create an Invoice
Follow the steps below to create a customer invoice:
Log in to app.firstchoicepos.com
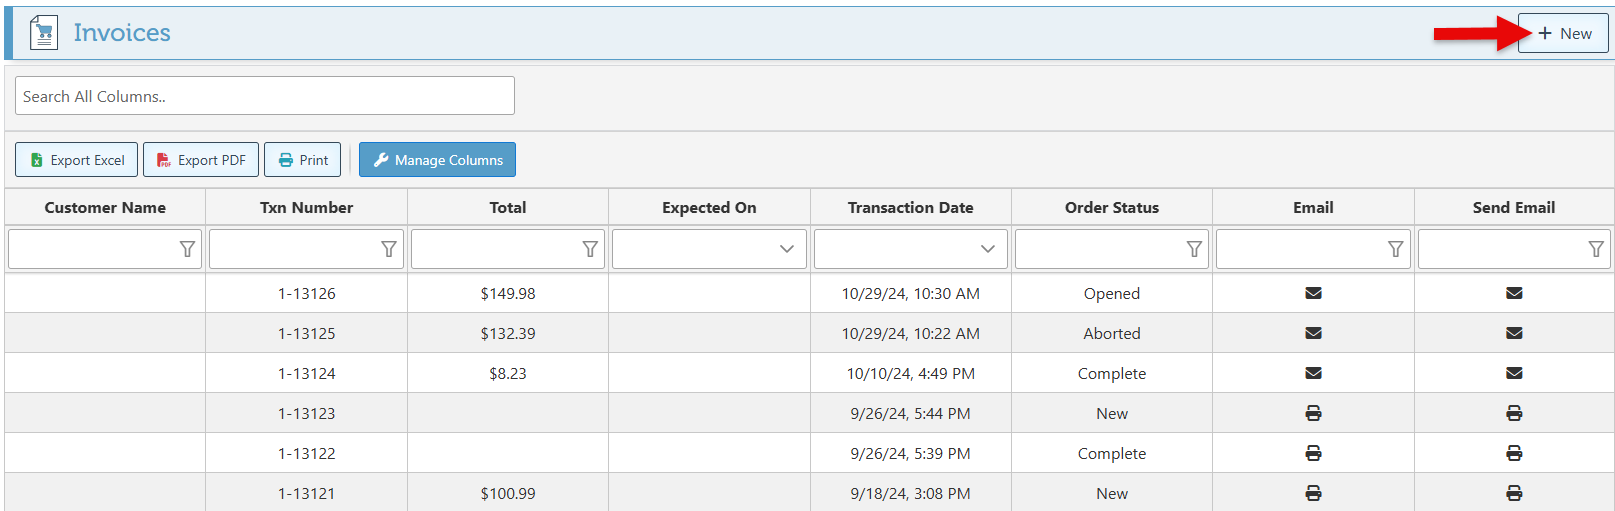
Click ”Transactions” in the Main Navigation on the left, and select “Invoices” in the scrollable dropdown.
Click “ New” to create a new Invoice.
Search and select the customer name in the customer bar.
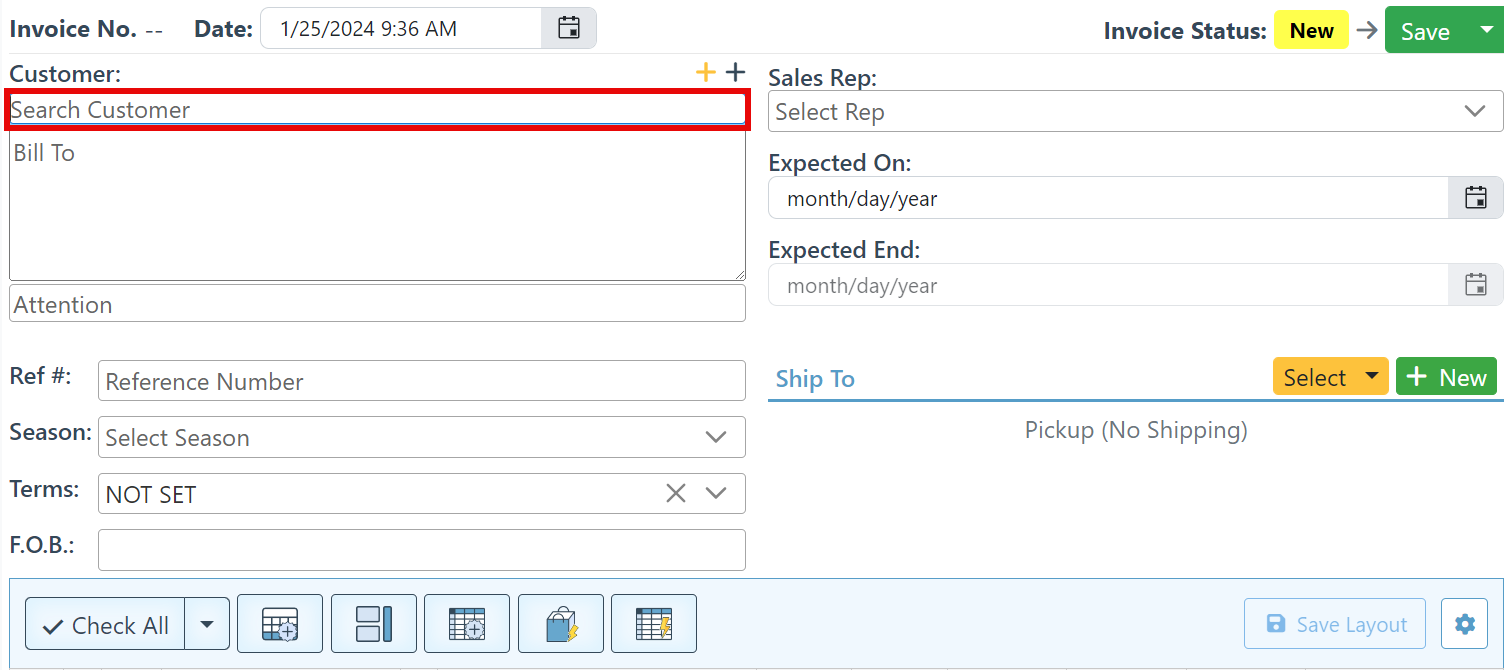
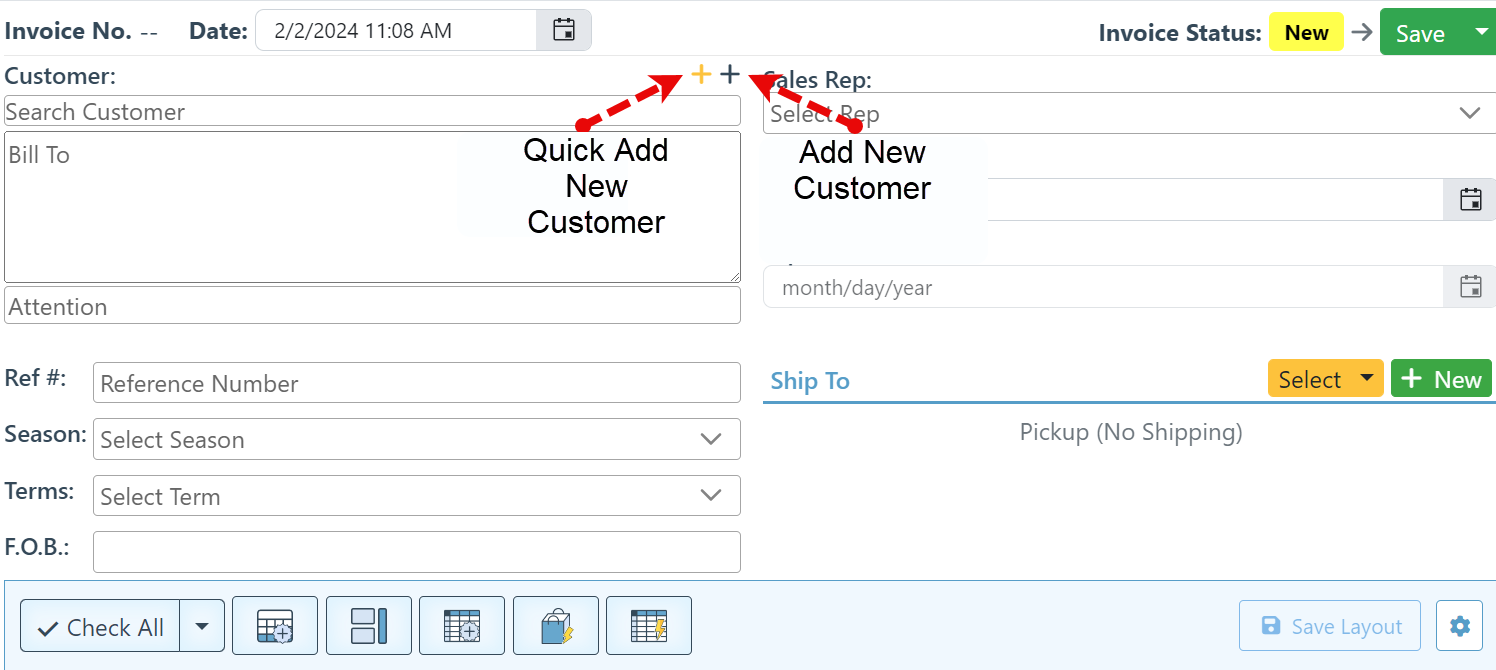
To add a new Customer, click on the "+" icon.
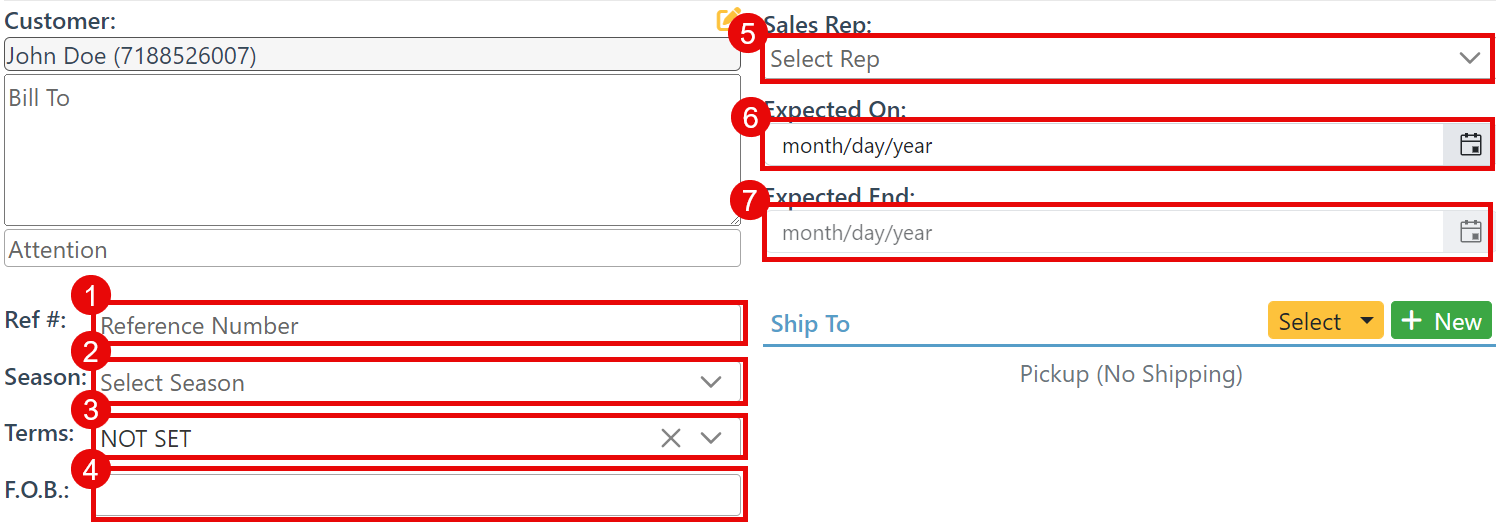
Select and enter applicable invoice details: 1-Reference number ( Corresponding customer’s purchase order #), 2-Season (Season description, based on the items in the invoice), 3-Invoice Term ( Payment terms), 4-F.O.B.( Party responsible for the items during shipping), 5- Sales Rep ( Sales rep responsible for the sale), 6-Expected on (Expected date for delivery), 7- Expected end (Expected order complete date)
To select a shipping address, click "Select" and choose an address list from the dropdown menu. Once selected, the list will appear. Proceed by selecting the relevant address.
To add a new address as the shipping address, click "New.”

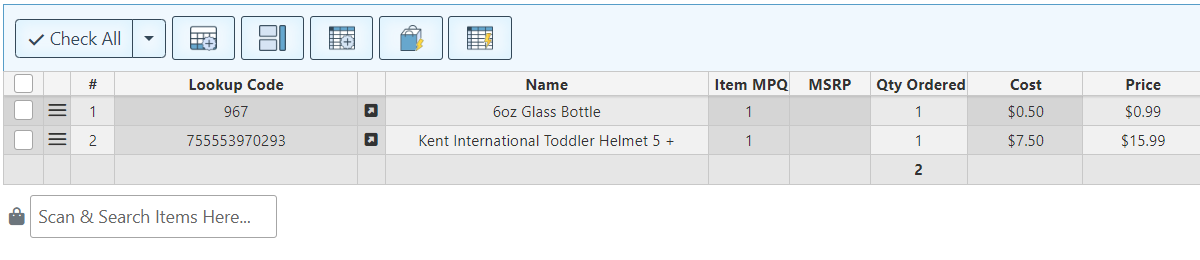
Add items and specify their quantity in the invoice. For more detailed instructions on how to add items, Click here.
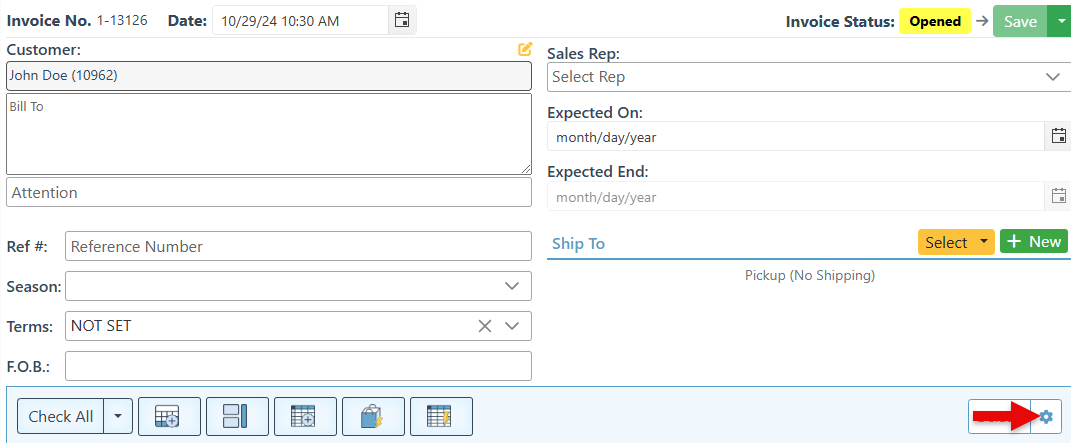
To access the item entry layout page and the group item settings, click the "Settings” button.
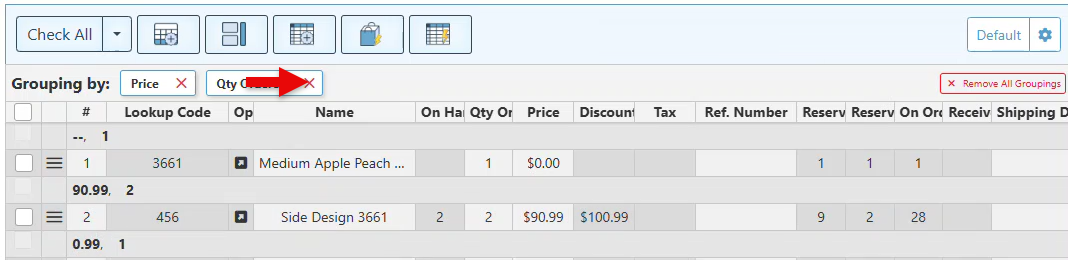
Check the "Groupable" checkbox and enter numbers in the grouping column to specify the order of grouping. The columns will be grouped according to the priority level; 1-first priority, 2-second priority, etc, .Click “Save” at the top right to save.
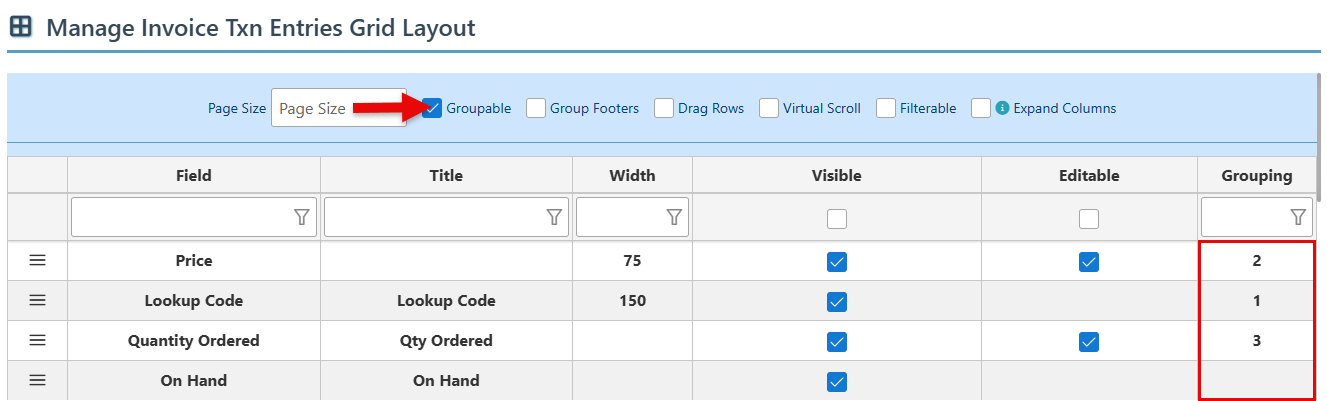
Alternatively, drag and drop a column header to group by that column and click the “X” on a grouping bar to remove the “Group by” setting.
Once items have been added to the invoice, click “Save” and change the invoice status to delivery, transferring, or complete in the “Save” Dropdown. For more on invoice states and their applications, Click here.

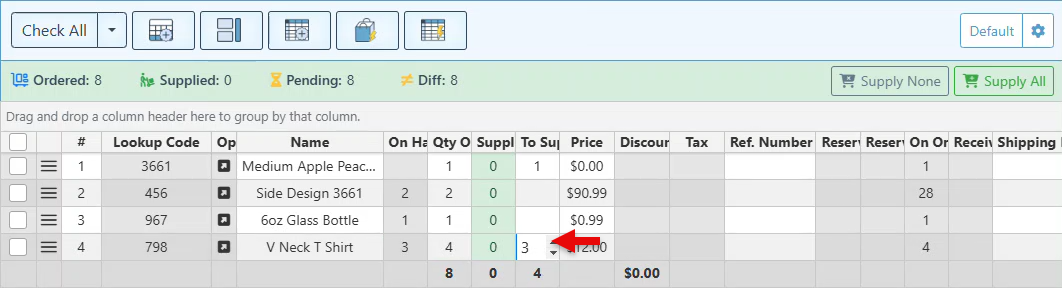
In the grid, enter the number of items already supplied by clicking the arrows in the “To Supply” column item space.
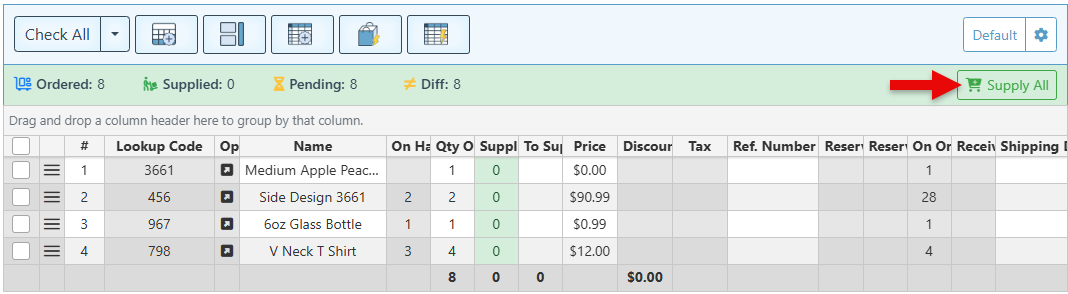
Click the “Supply All” button to supply all ordered items.
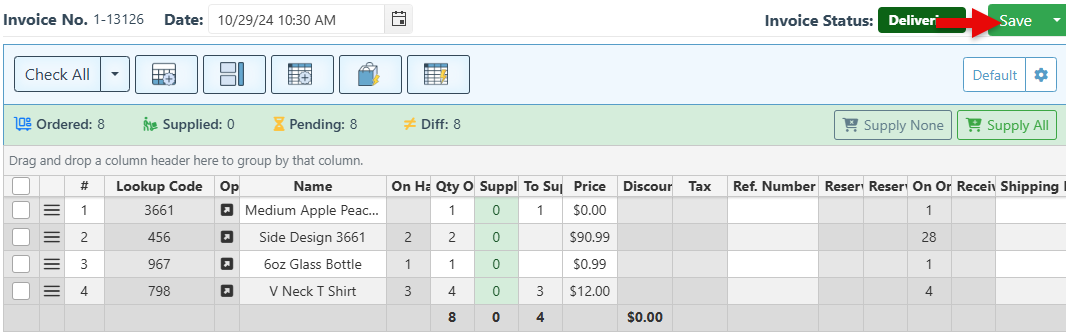
Click “Save” at the top right; the supplied quantity will be updated in the “Supplied” column, and the order total will be updated according to the items supplied.
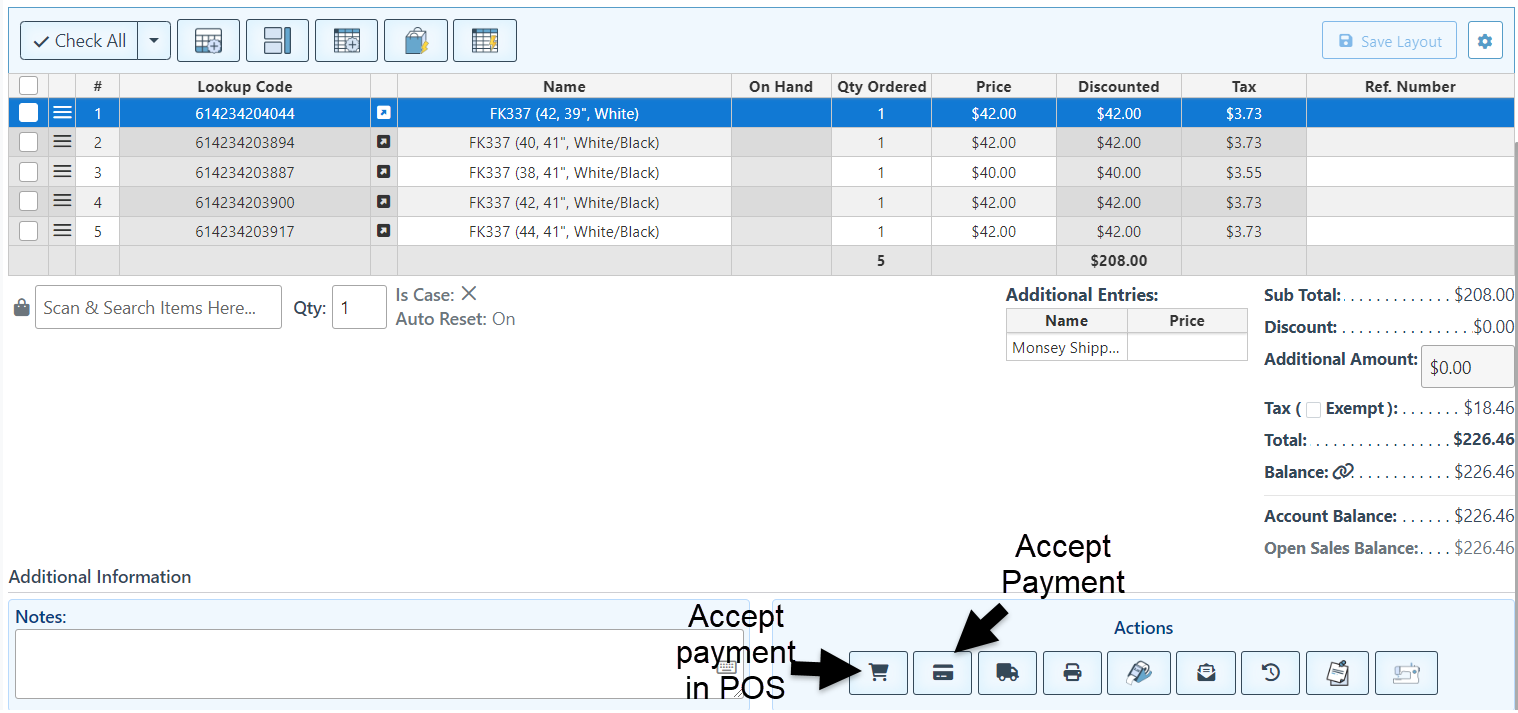
Action buttons will be displayed at the bottom right of the invoice where either of two payment options can be used to accept payment for the invoice.
Click the “Accept payment in the POS” button to accept payment in the POS. The POS must be open in order for the system to redirect to it.
Click the “ Accept Payment” button to access and accept payment on the payment page. For more information on payments, Click here.
Below is a guide on some additional buttons used to manage an invoice.
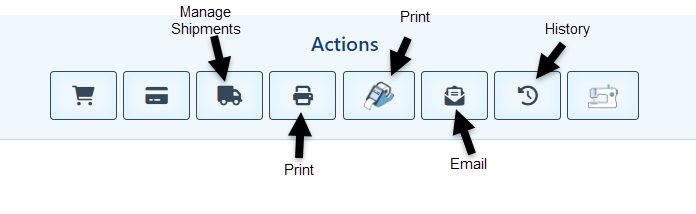
Click “Manage Shipments” to view the status of the invoice shipments.
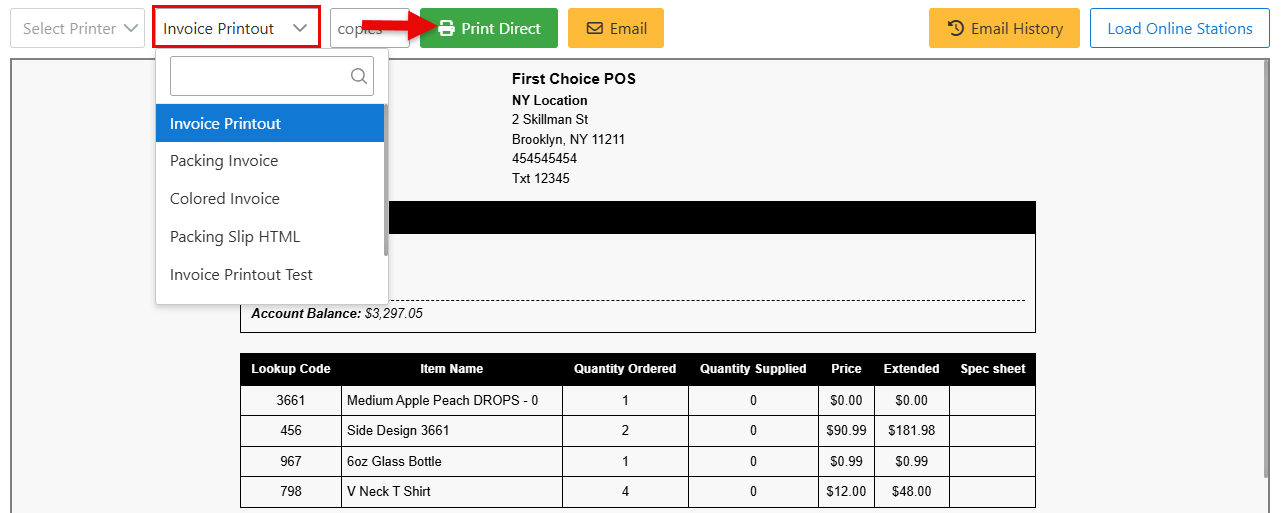
Click the “Print” button to print the invoice. On the appearing printout page, select the invoice printout type from the dropdown menu and click “Print Direct” to print.
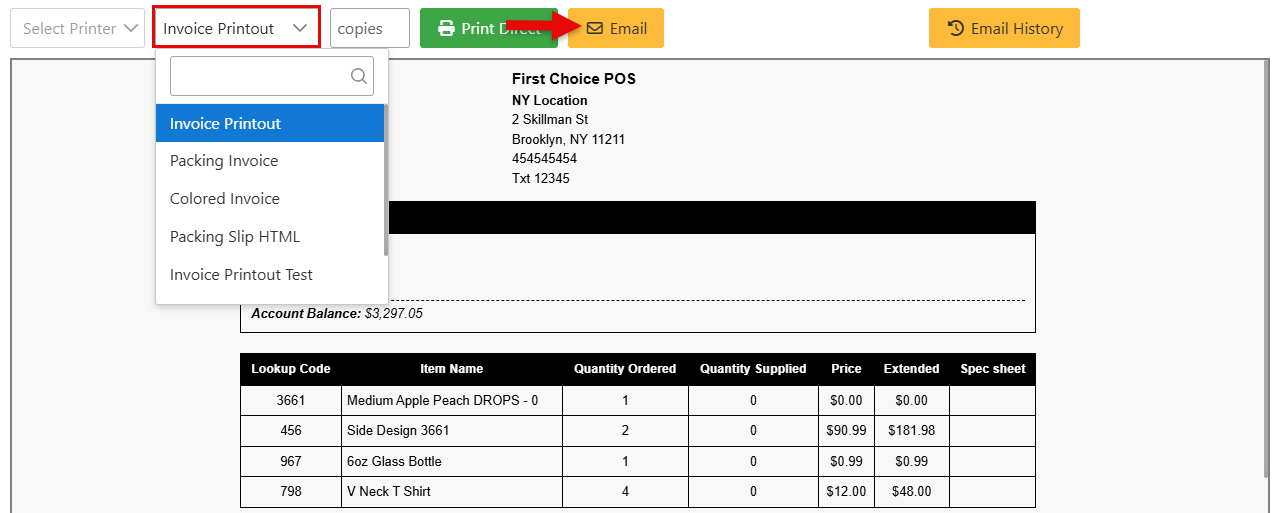
Click the “Email” icon to email the invoice. On the popup, select an invoice printout type in the bar dropdown, and click “Email.” Finally, enter the email address, subject, and body in the Email heading bars and click “Send.” It is possible to establish default settings for the email heading, subject, and body through the Custom SMTP Configurations
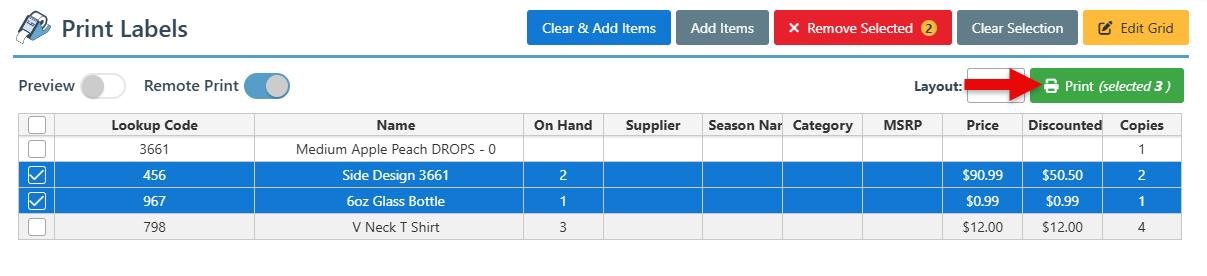
Click the “Print Labels” button to print item labels. Select items and click “Print” at the top right of the page.
Click the “History” butto to view the customer transaction history.