Receipt Printer Settings
Follow the steps below to connect a receipt printer to the POS:
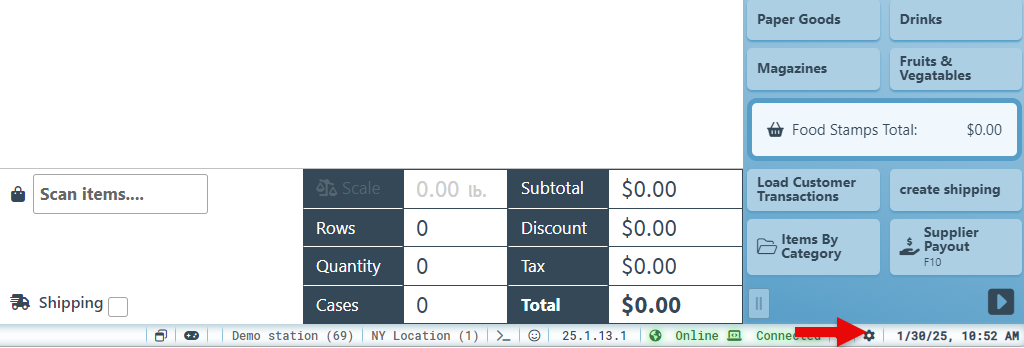
On the station’s front page, click on the Setting icon at the bottom right of the screen, and the configurations page will pop up.
Click “Printers” and then “Receipt printer” in the dropdown.
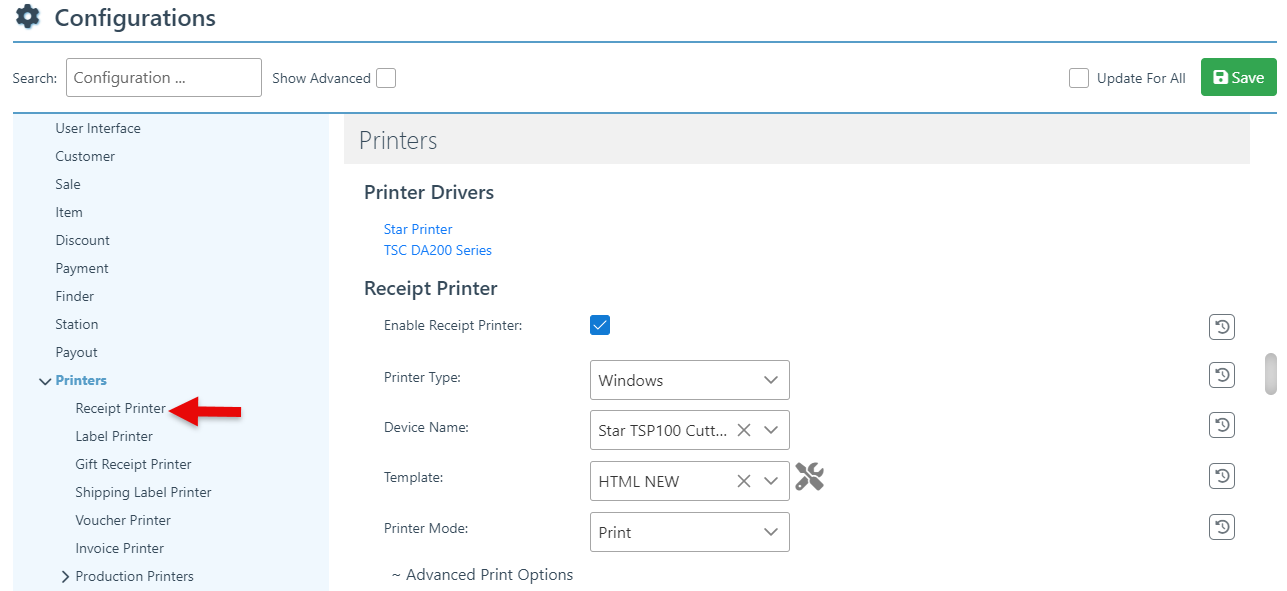
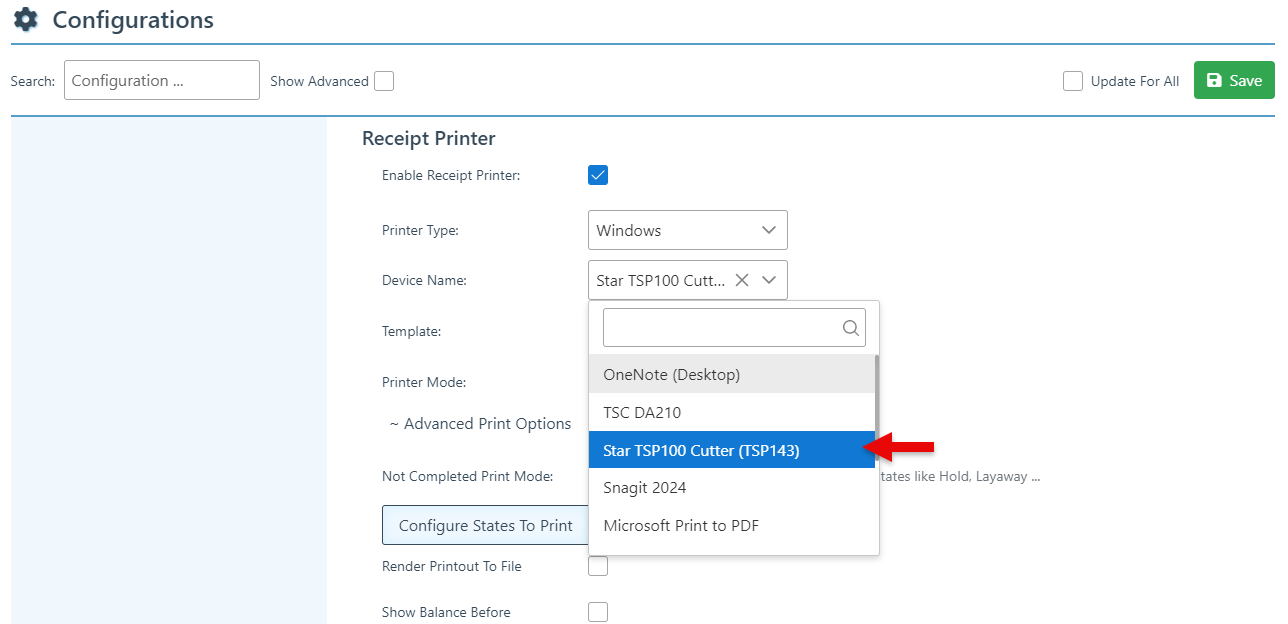
Select the printer name from the Device name selection drop-down. ( The printer name may vary depending on the Printer brand.)
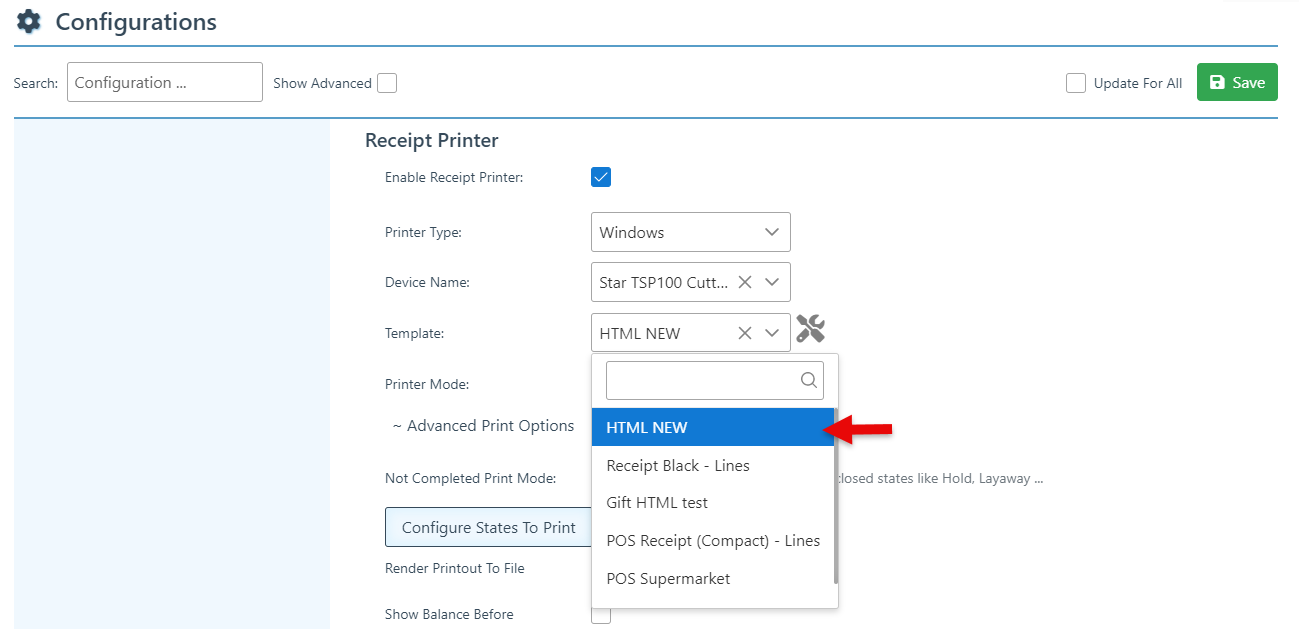
Select HTML NEW from the template dropdown.
This will set the default receipt format to HTML. In addition, when printing through a report, such as “Load Transactions” or “Load Aside,” ensure that the report receipt layout name is also set to HTML. For more information on setting the report receipt format, see Report Receipt format.
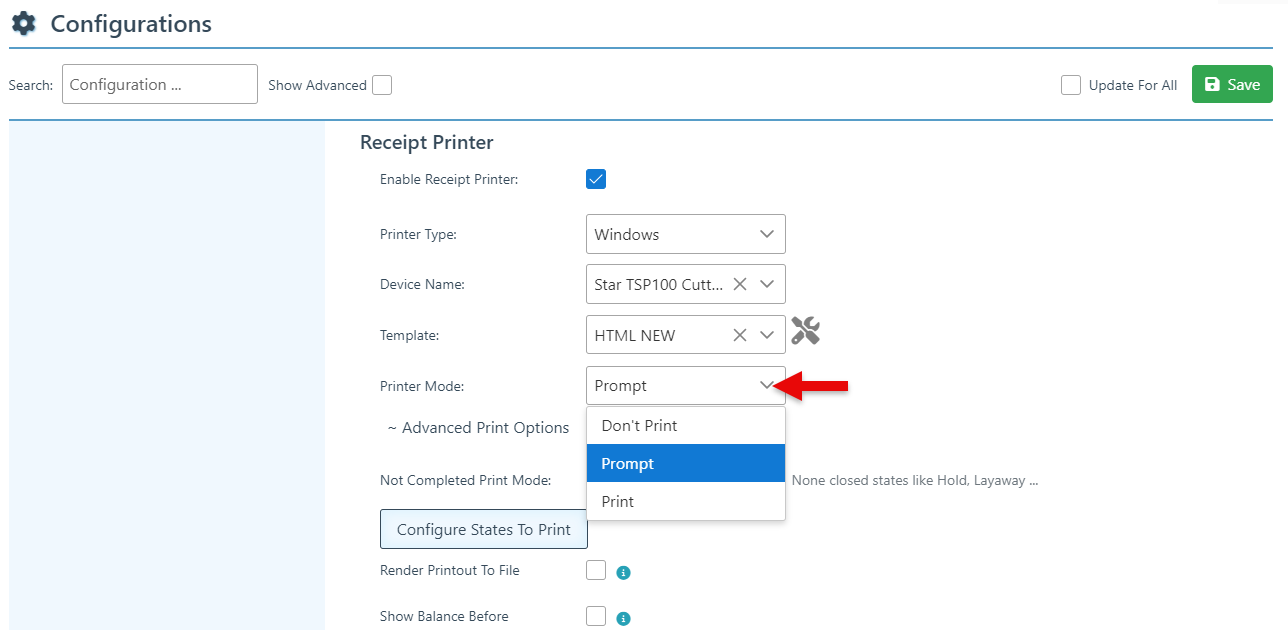
Select a printer mode from the drop-down. “Prompt”- print on demand per sale or “Print” print automatically.
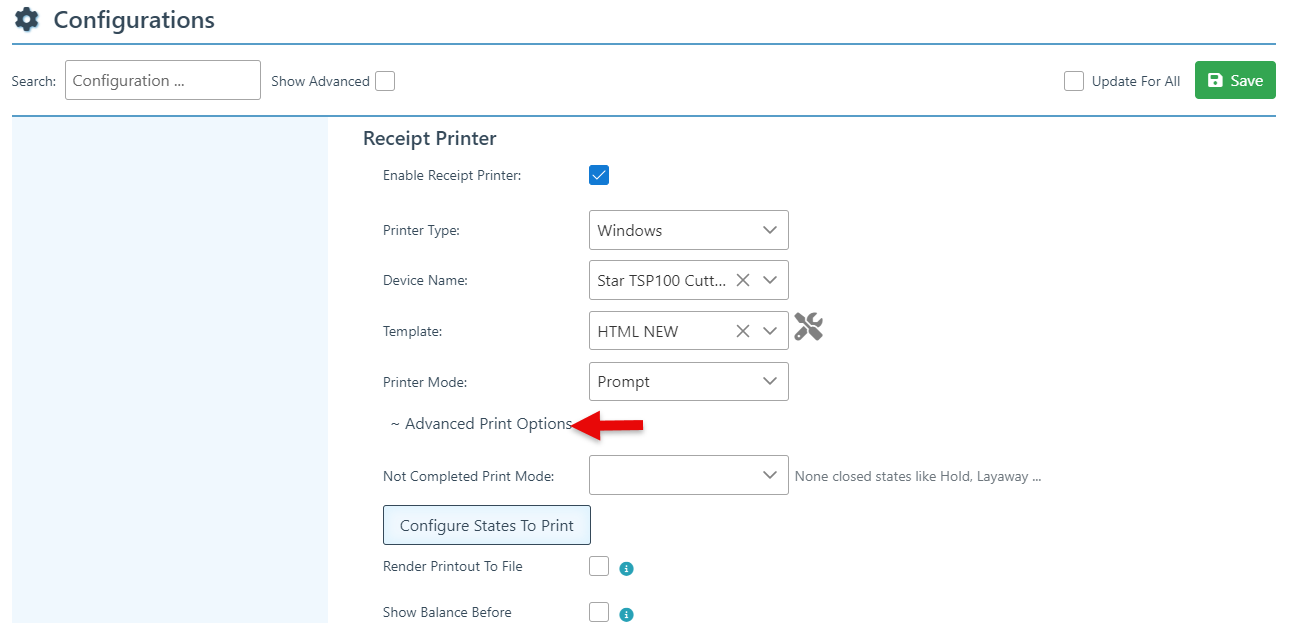
Click “Advanced printer options” to select printer layout settings.
Enter a number in the “Copies” bar to enable multiple receipts to print.
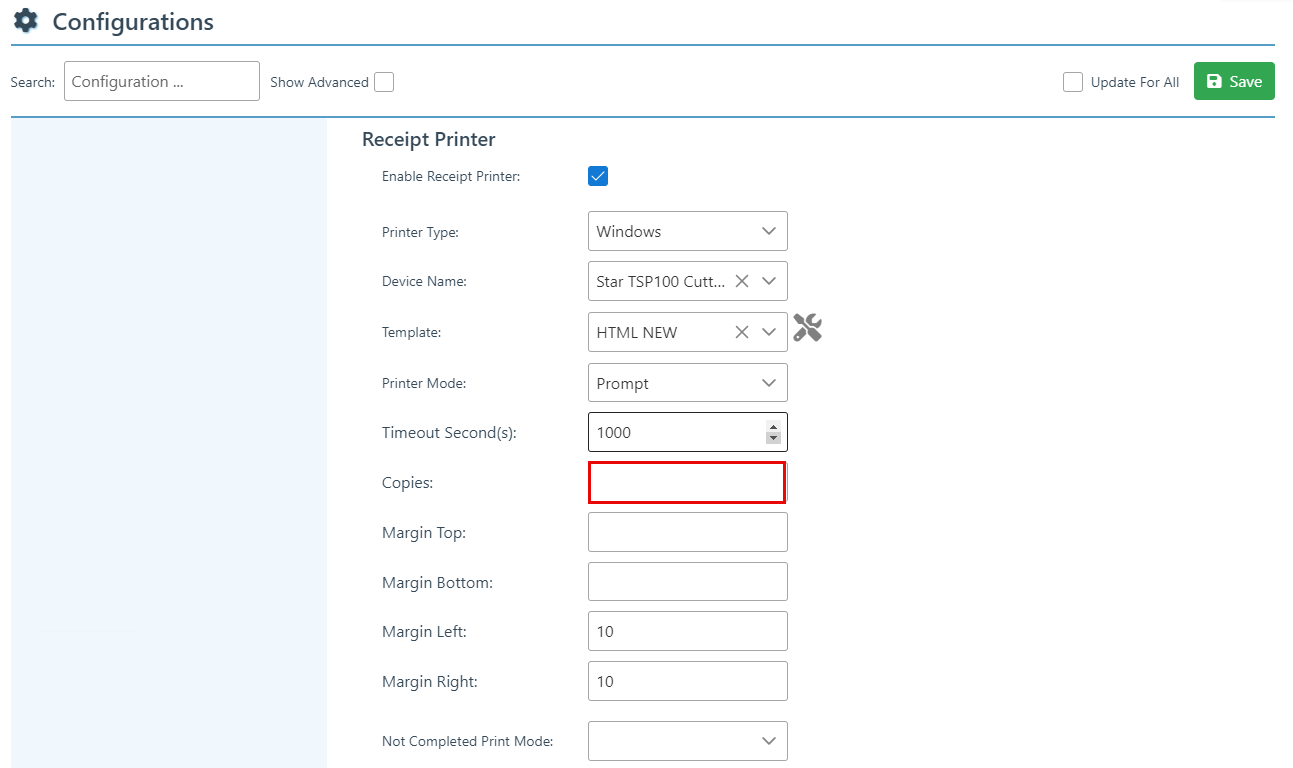
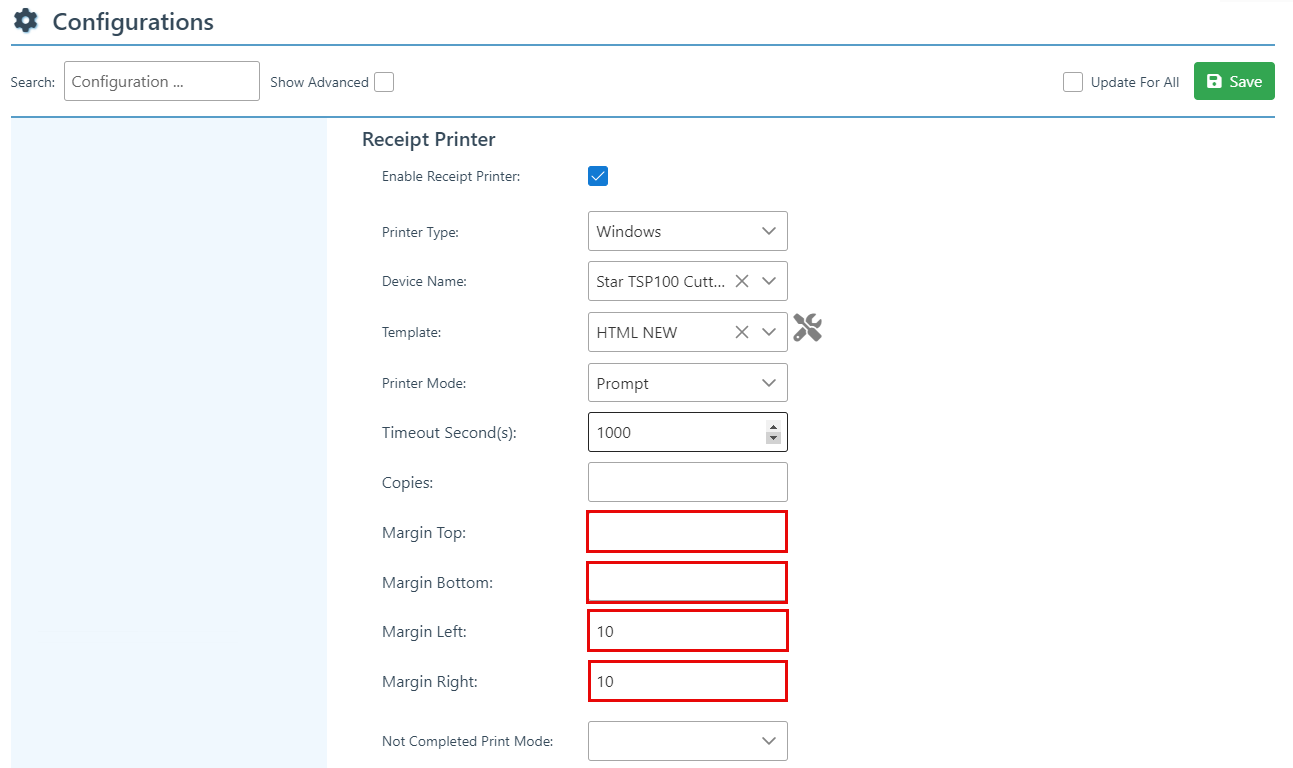
Select a margin in the Margin tabs. Ensure that it is wide enough to prevent the receipt text from being cut off.
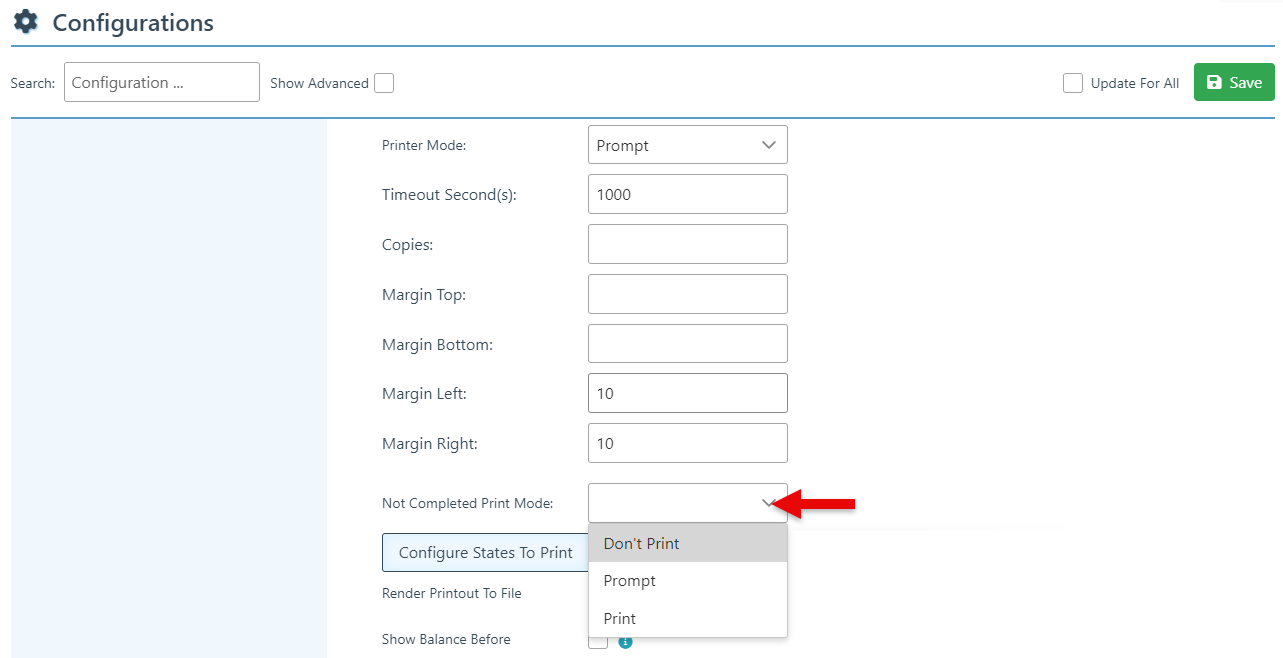
In the " Not Completed Print Mode " dropdown menu, select a print setting for a Non-Complete Order (an order put on hold or standby). Options include: “Prompt”- print on demand per sale “Print”- print automatically
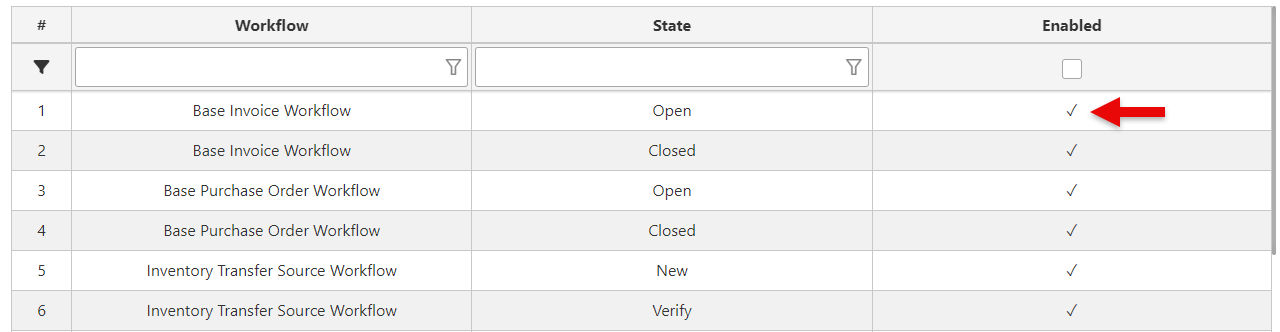
Click “Configure States to Print” to be redirected to the states to print configuration page.
Enable the receipt to print in specific states by selecting the checkbox in the “Enabled” column.
Select the "Render printout to file" option to print an additional receipt for business records automatically.
Select the "Show Balance Before" checkbox to display the previous balance (before the current order) in addition to the current balance on the receipt.
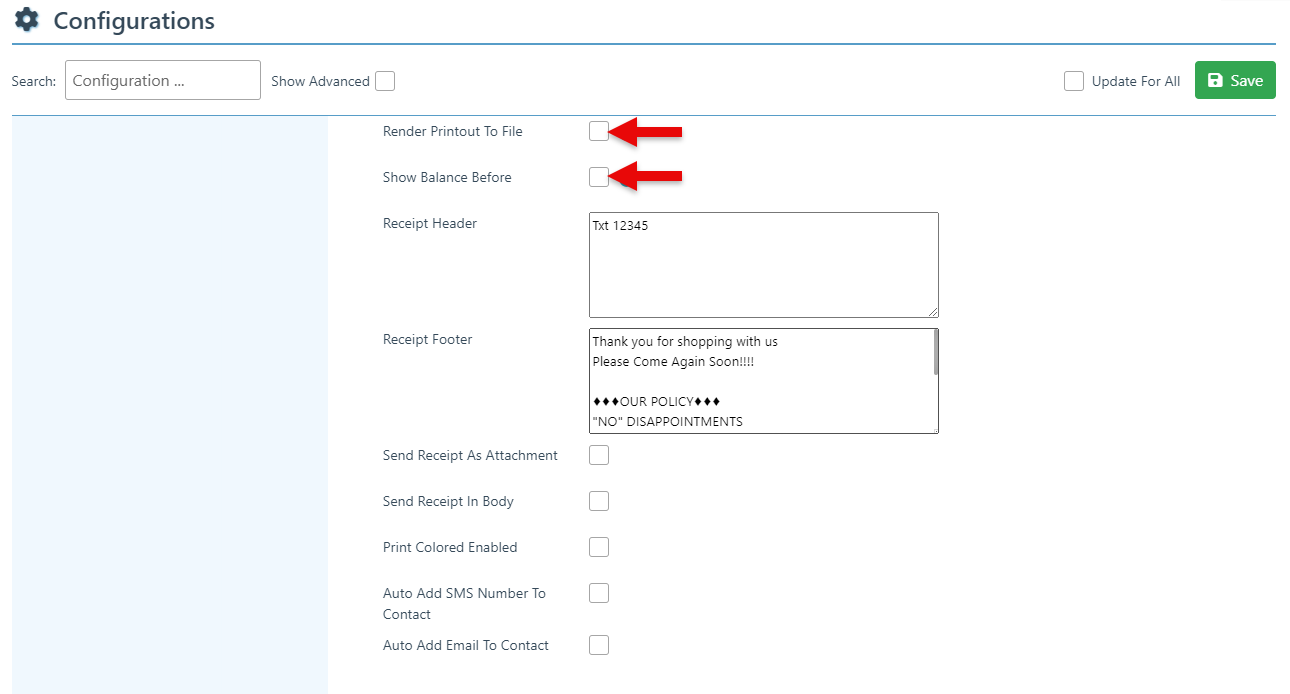
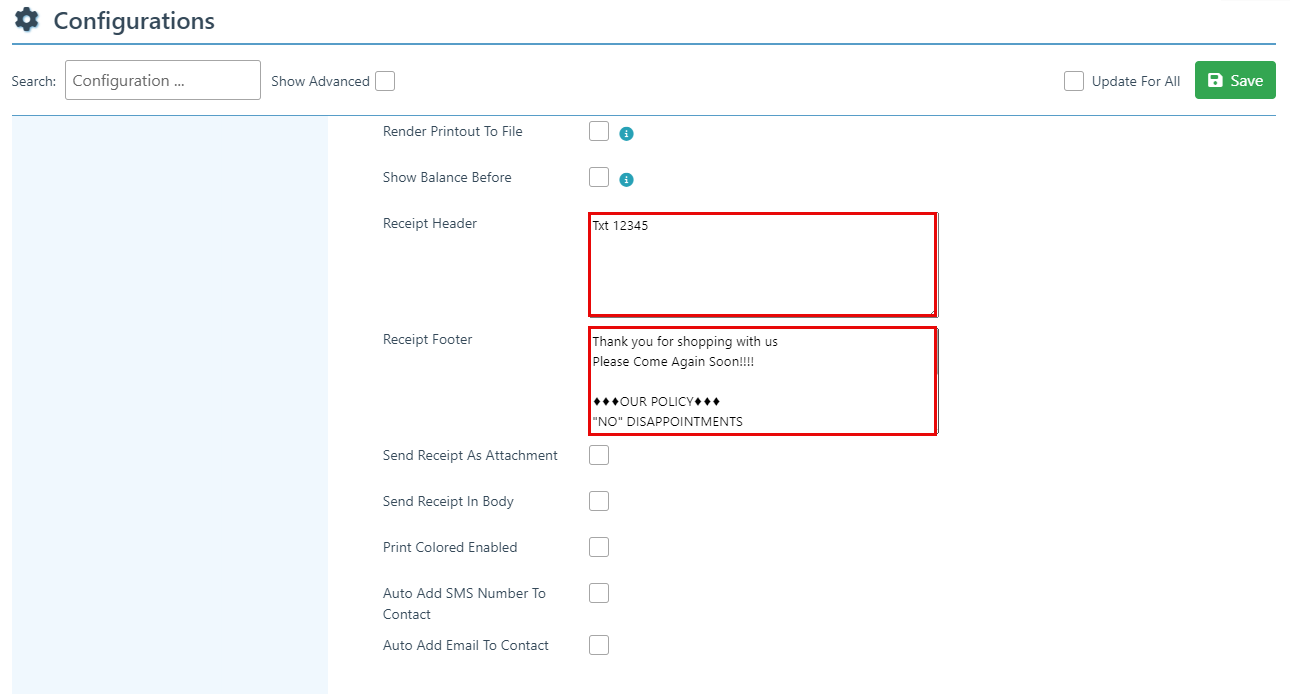
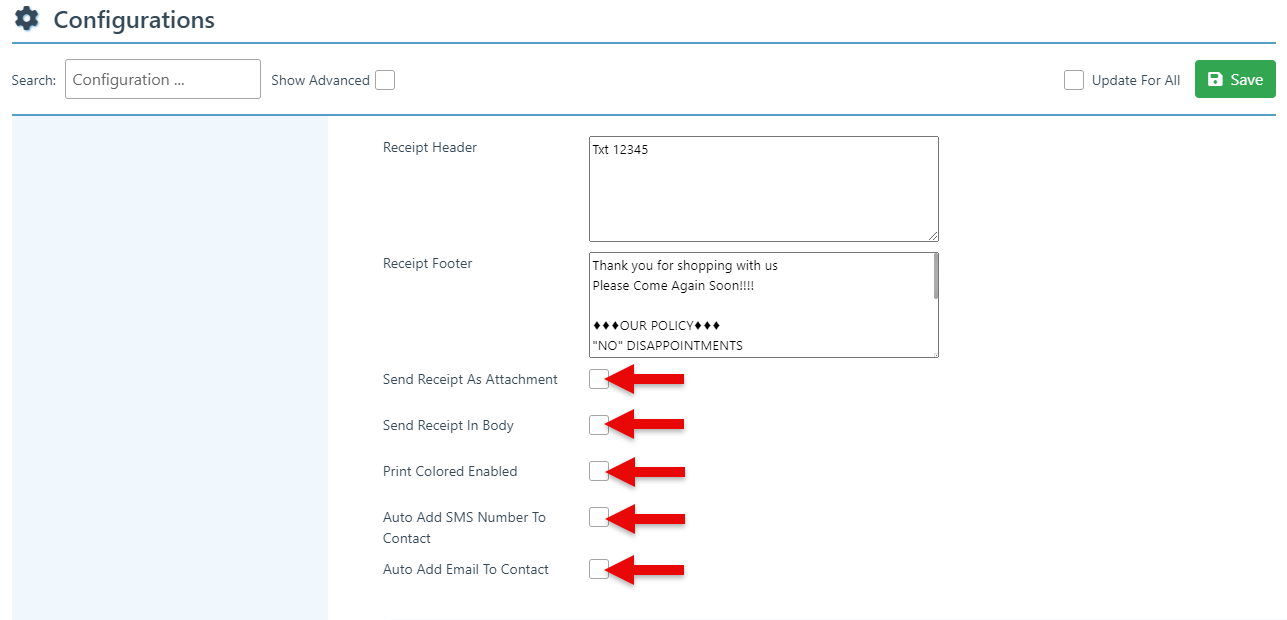
Enter text for the receipt header and footer.
Select the “Send Receipt As Attachment” checkbox to have receipts sent as an attachment when emailing. On the contrary, to include the receipt in the body of the email, check the “Send Receipt In Body” box.
Select the "Print Colored Enabled” configuration to allow receipts to be printed in color.
Select the " Auto Add Email To Contact” or “Auto Add SMS Number to Contact” checkbox to automatically save all email addresses/ phone numbers entered manually during checkout.
Click “Save” at the top right to save printer details.
