Print Item Labels
Follow the steps below to print item labels:
Open Backoffice.
Click “Items” in the Main Navigation menu, and select “Print Labels” from the scrollable dropdown menu.
Below is a guide on the action buttons displayed on the header bar.
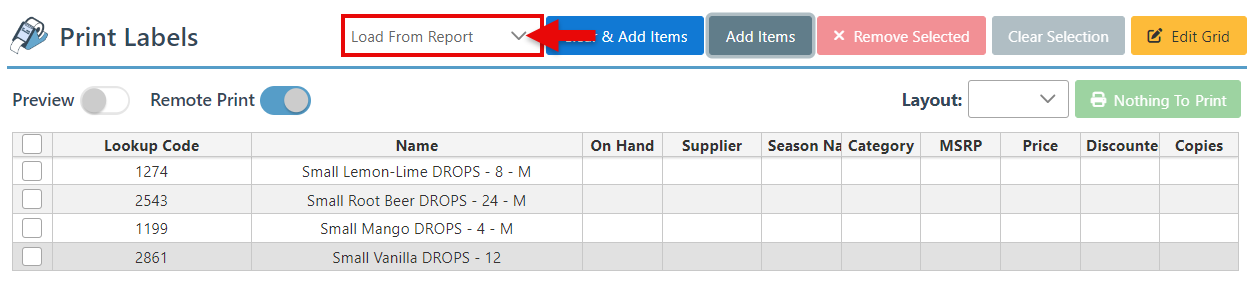
“Load From Report”-Select a report from the dropdown menu to add all items to the print labels list.
The “Load From Report” button will only load if reports have been set to load from this page. For more on how to set reports to load, see Entity Reports Setup.
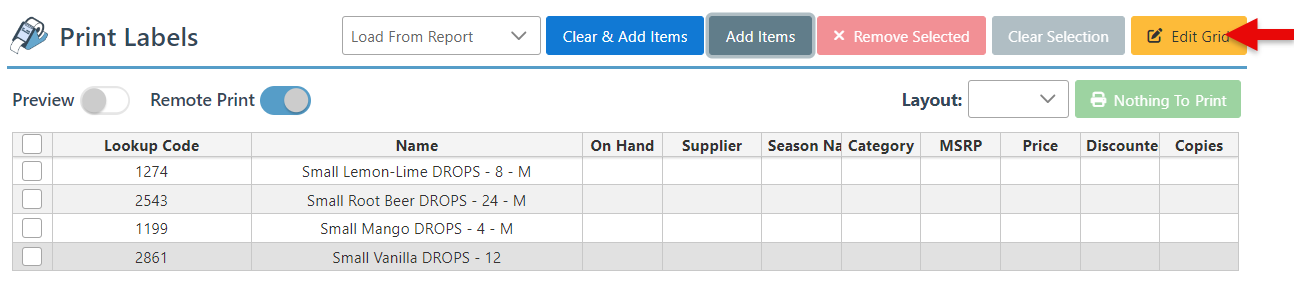
“Add Items”- Click to open the items page and select items to add.

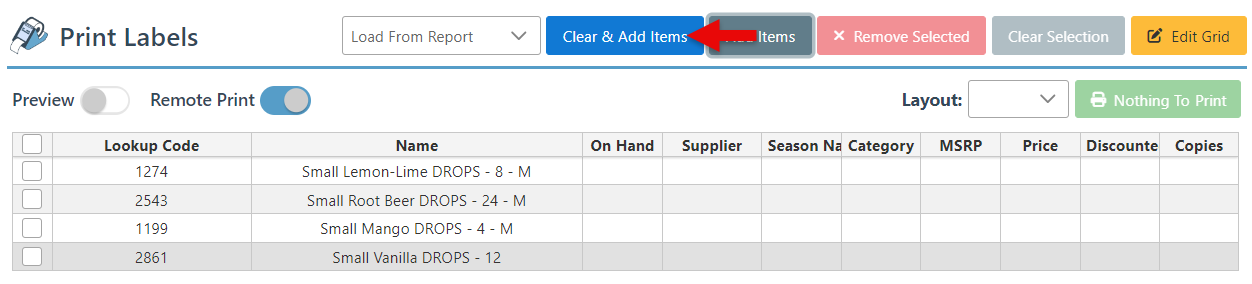
“Clear and Add items”- Click to clear the print labels list and open the items page to select new items.
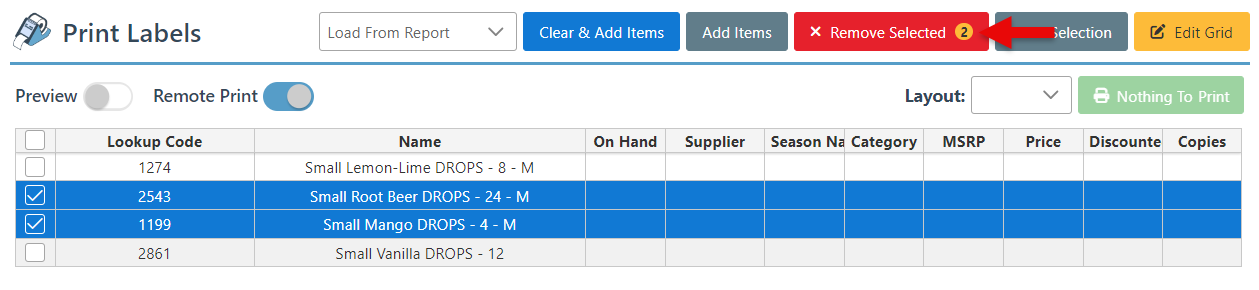
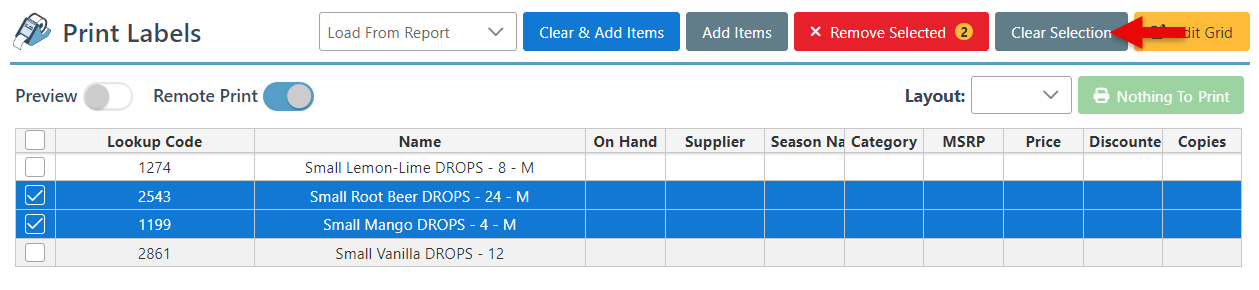
“Remove Selected”- Select items and click “Remove Selected” to remove them from the Print Labels list.
“Clear Selection”- Click to cancel the selection of items.
“Edit Grid”- Click to open the item grid editor to add or remove columns from the grid.
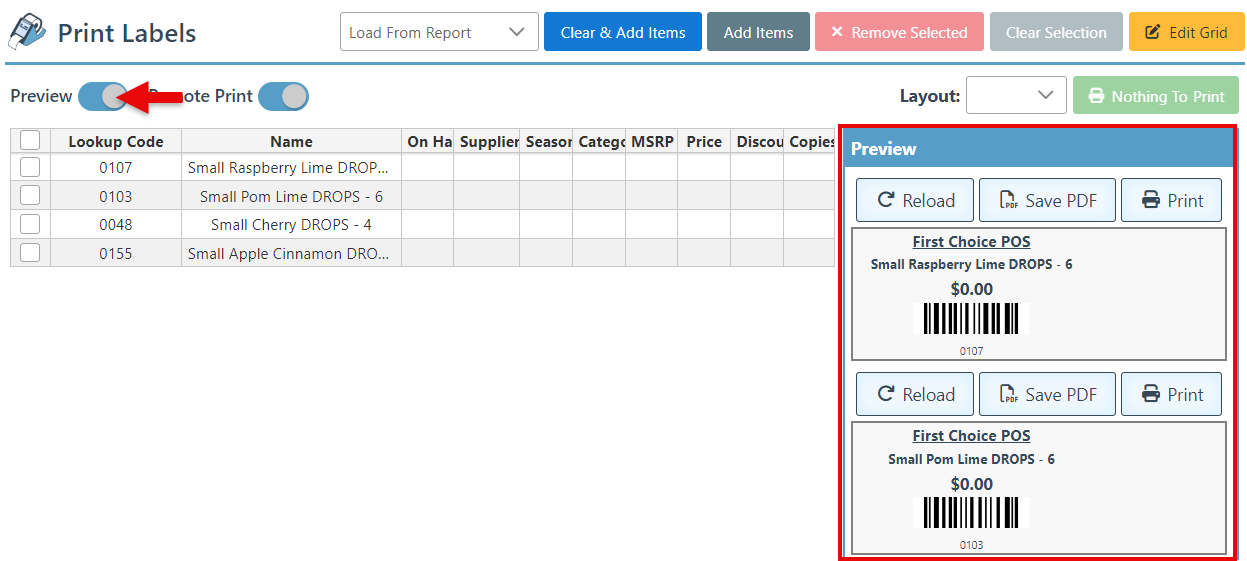
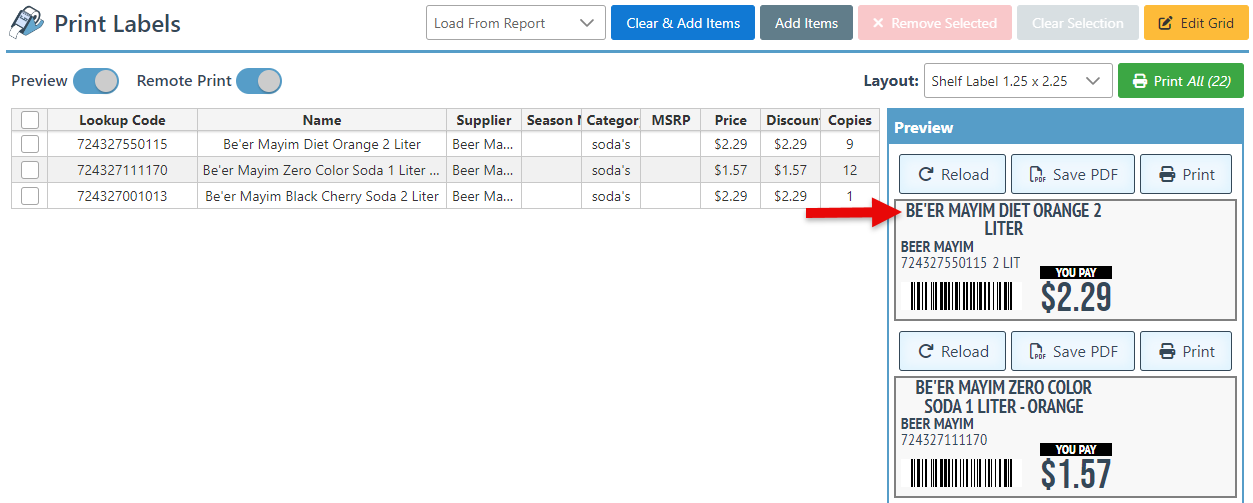
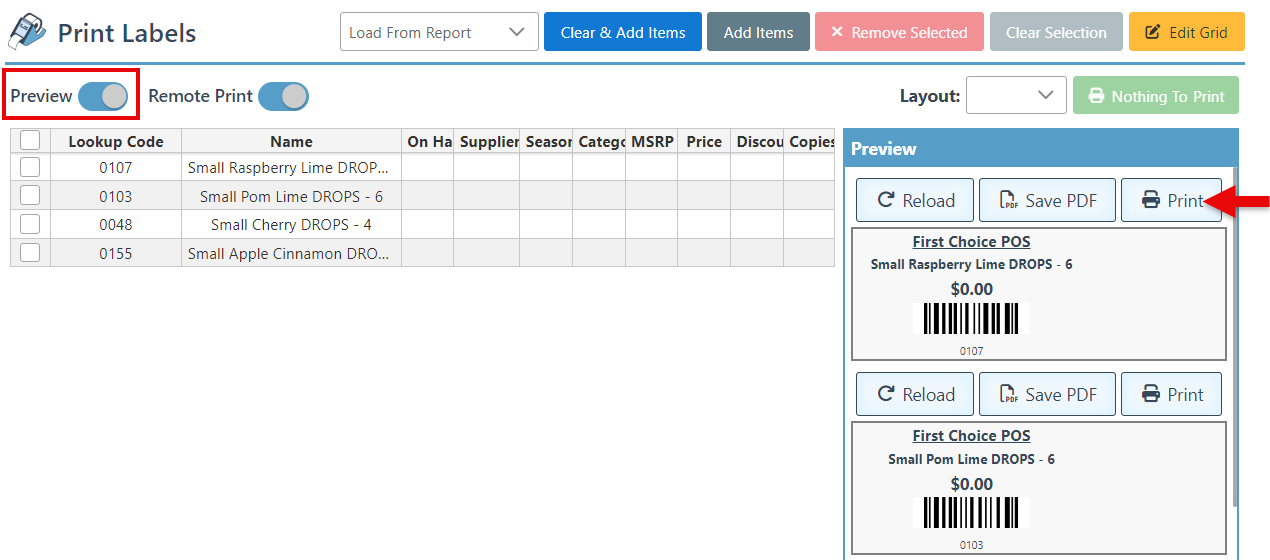
Activate “Preview” mode to add a panel on the right with a view of the label layout.
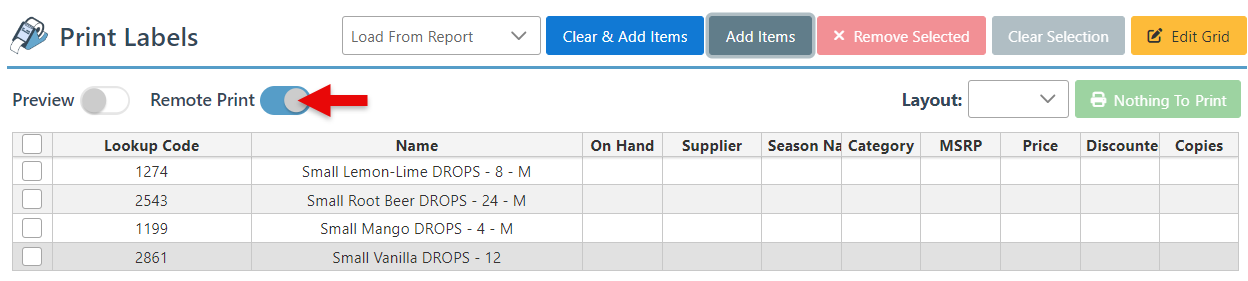
Select “Remote Print” to allow remote printers to print the selected labels.
Select the label size and type from the “Layout” dropdown menu. For more on how to set up and add Label Layouts to this dropdown, click here.
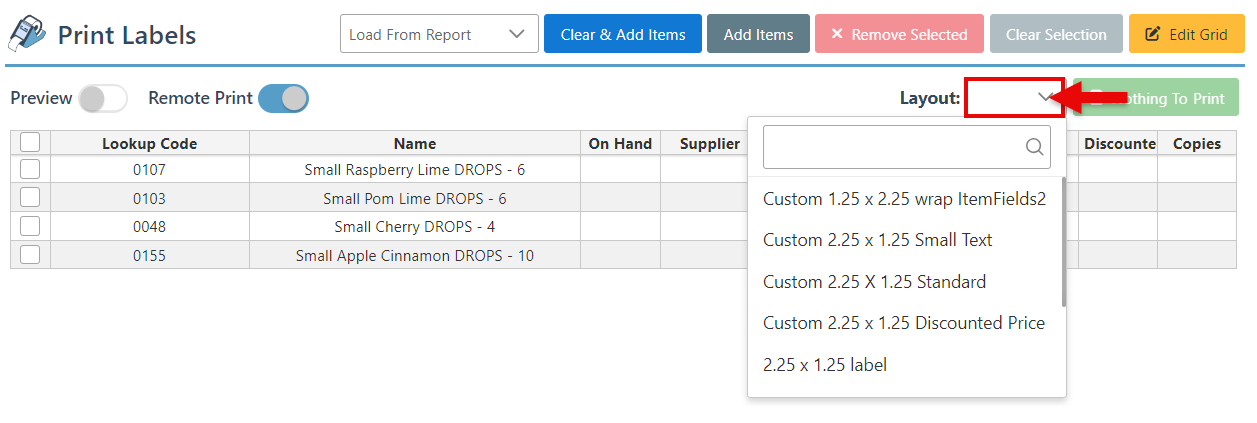
The layouts include the default item label as well as custom Item Shelf and Receiving Labels.
The Item Shelf label layout includes a bold header displaying the item name, an item barcode, and the current item price.
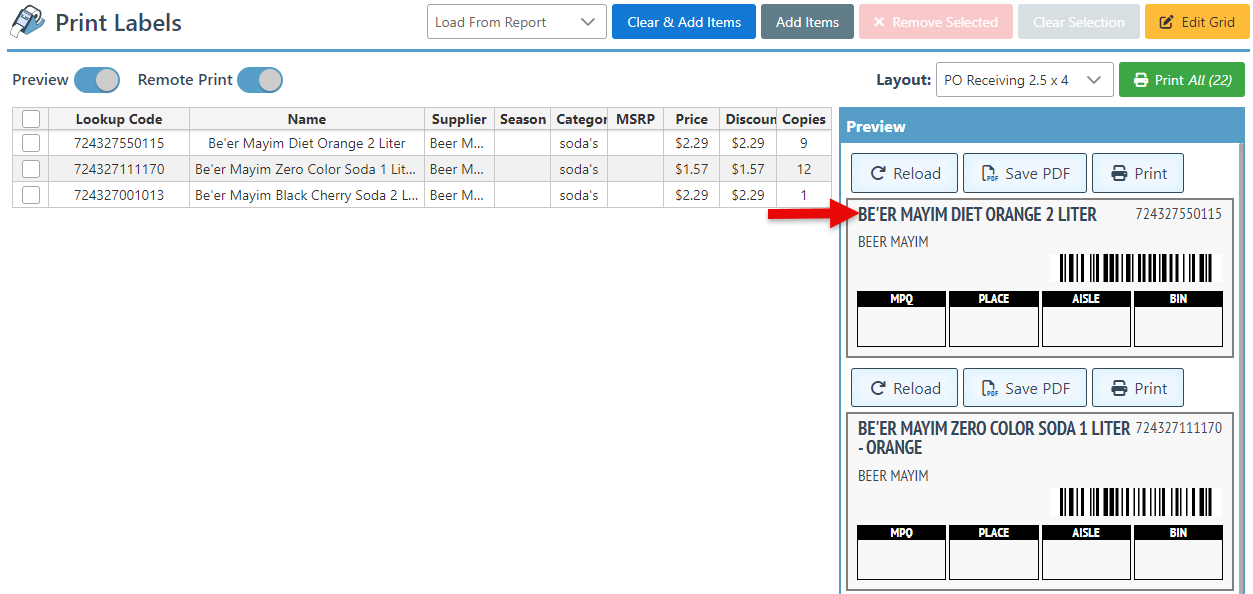
The Receiving item Label includes the item name header and specific item details relevant to inventory and placement, such as aisle, bin, and MPQ.
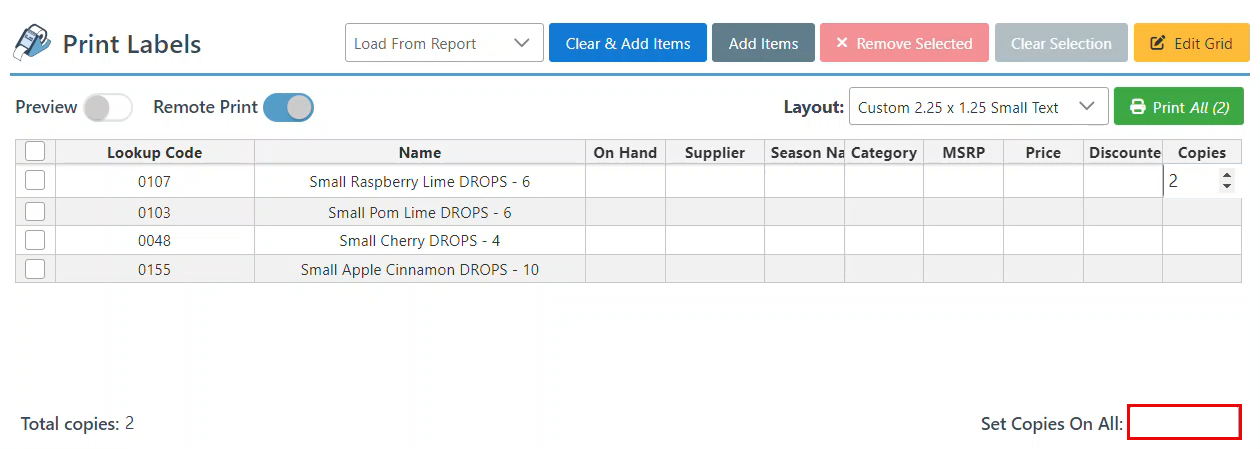
Select the number of copies for each label using the arrows provided.
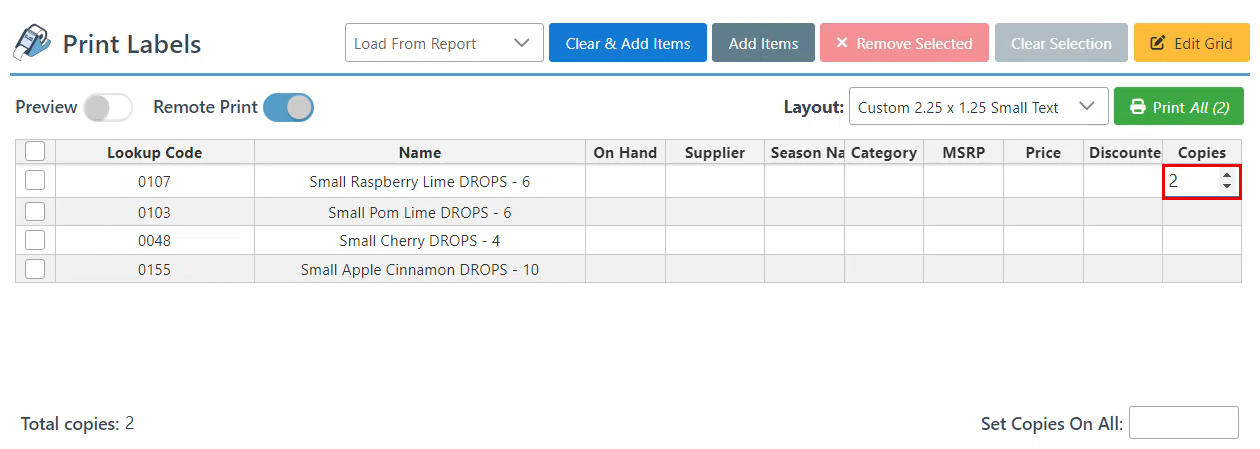
Enter a number in the bar at the bottom right to set the desired number of label copies for all items simultaneously.
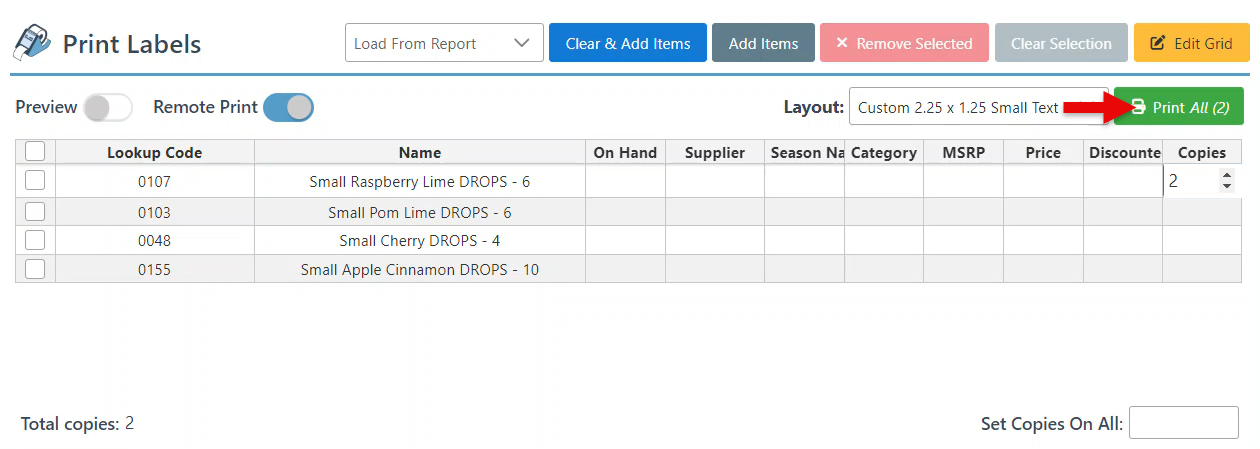
Click “Print All” to print the selected item labels.
Alternatively, turn on the “Preview” mode and click “Print” on specific item labels.
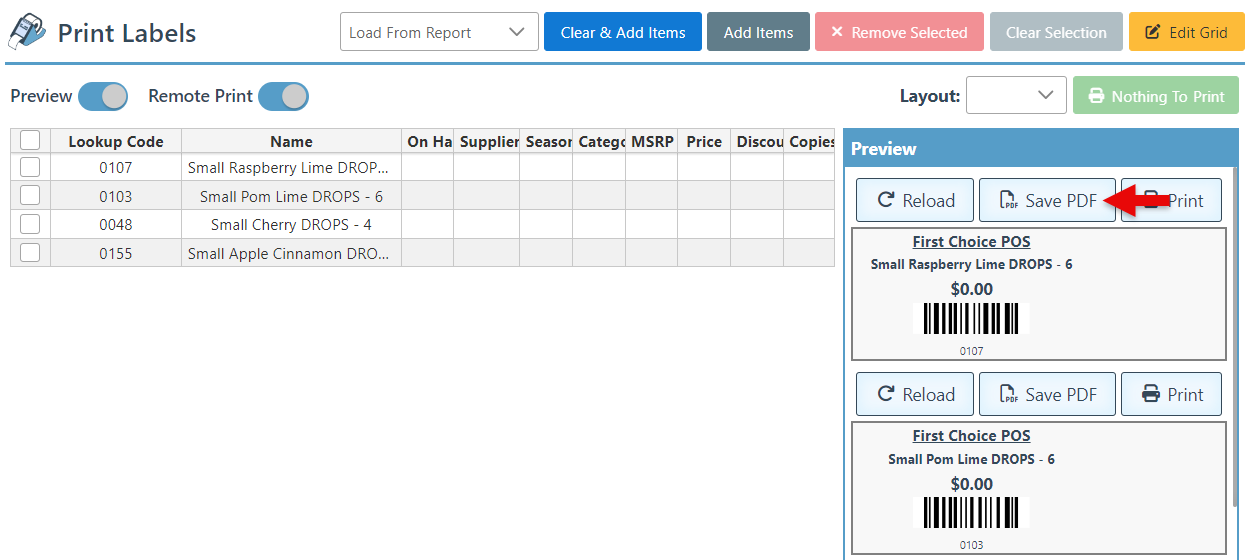
To print labels to PDF, click “Save PDF” in the header of a specific item label.
To cancel printing labels, close the POS system and cancel the documents in the queue.