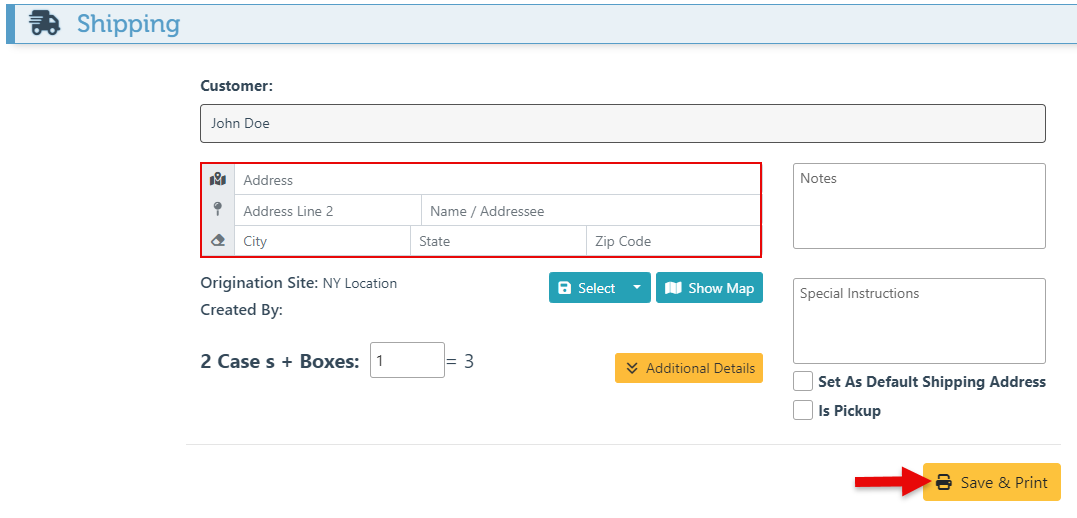
The "Manage Shipping" button provides access to previous transactions, allowing users to create and print shipping labels.
Follow the steps below to set up and use the “Manage shipping” button:
-
Log in to the frontend homepage.
-
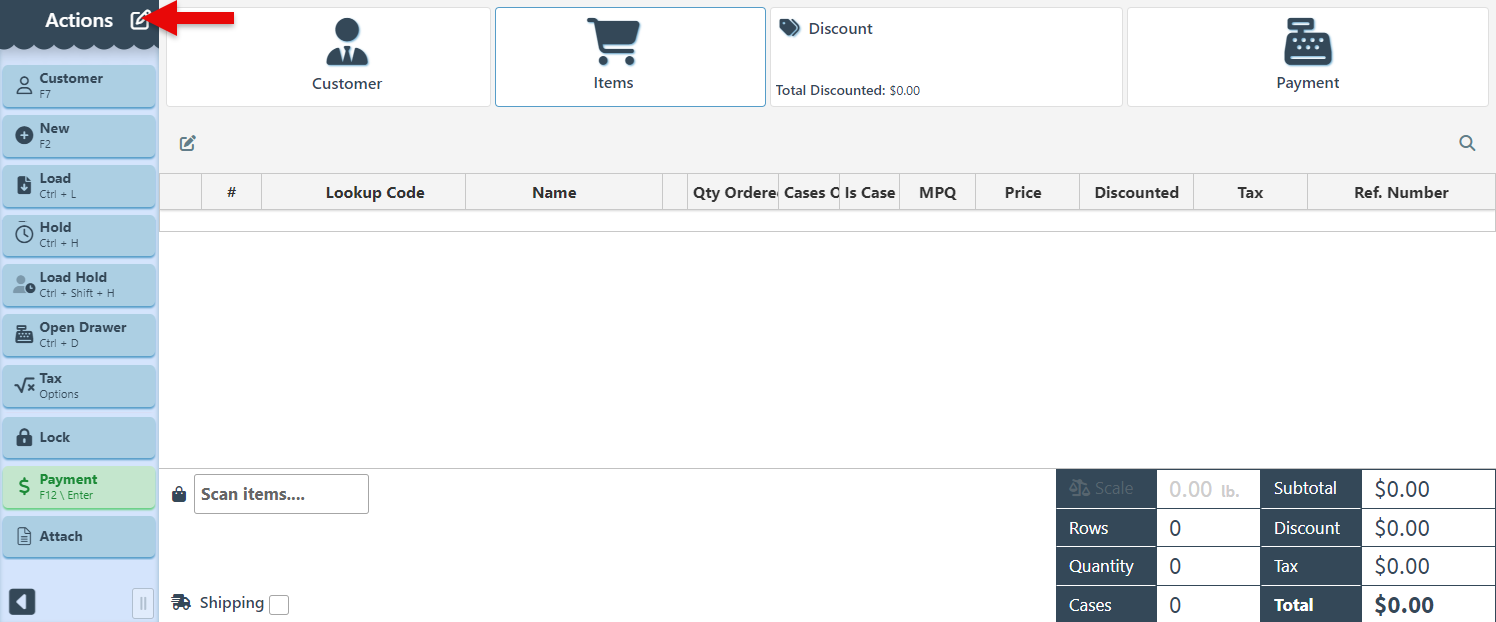
Click the “Panel Editor” icon.
-
Select the “Home” panel from the panel dropdown menu.

-
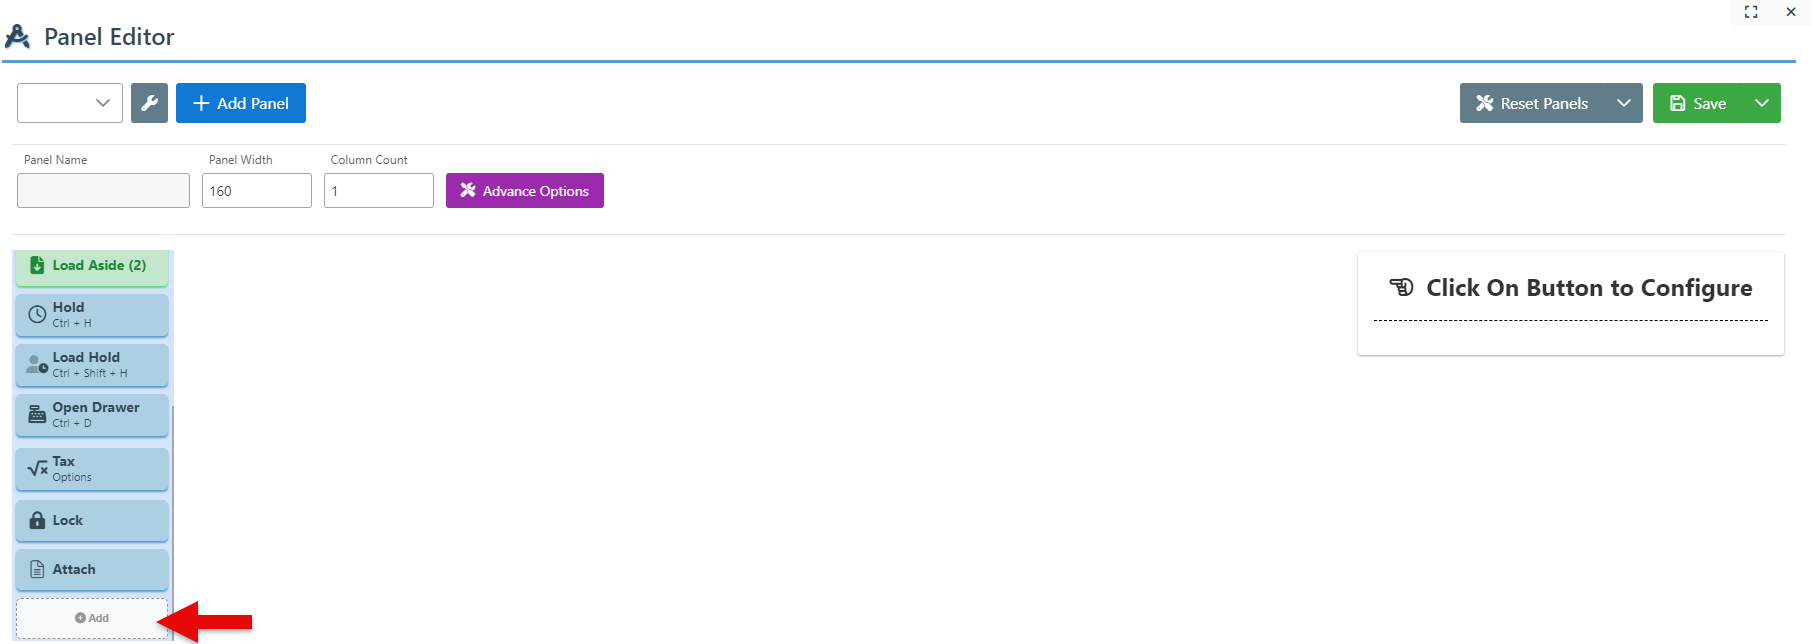
Click “Add” on a new button.
-
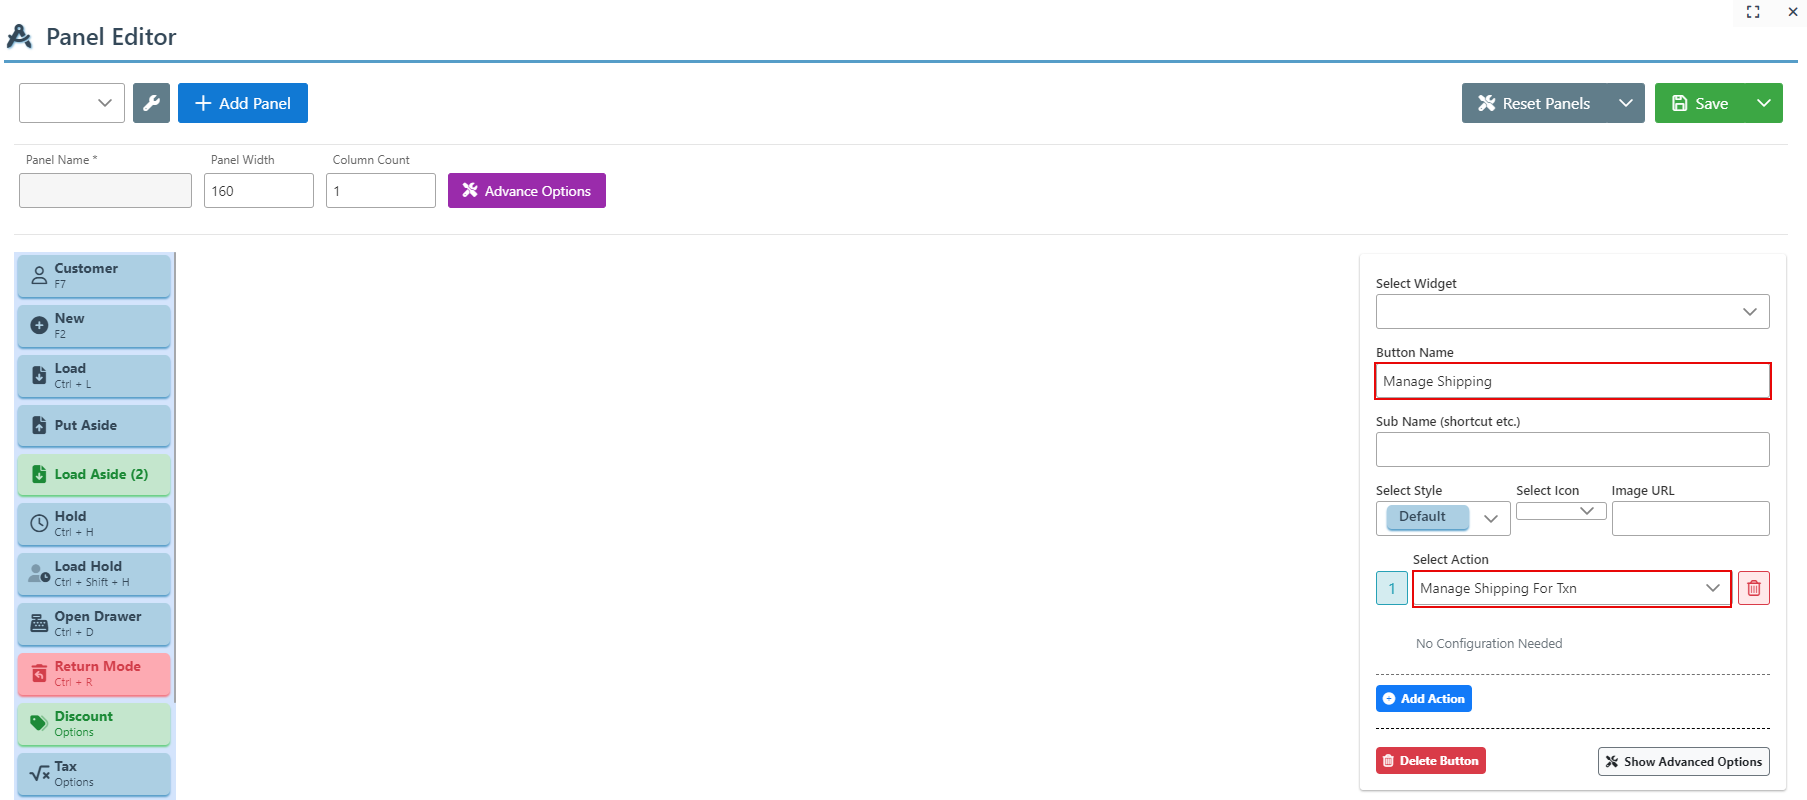
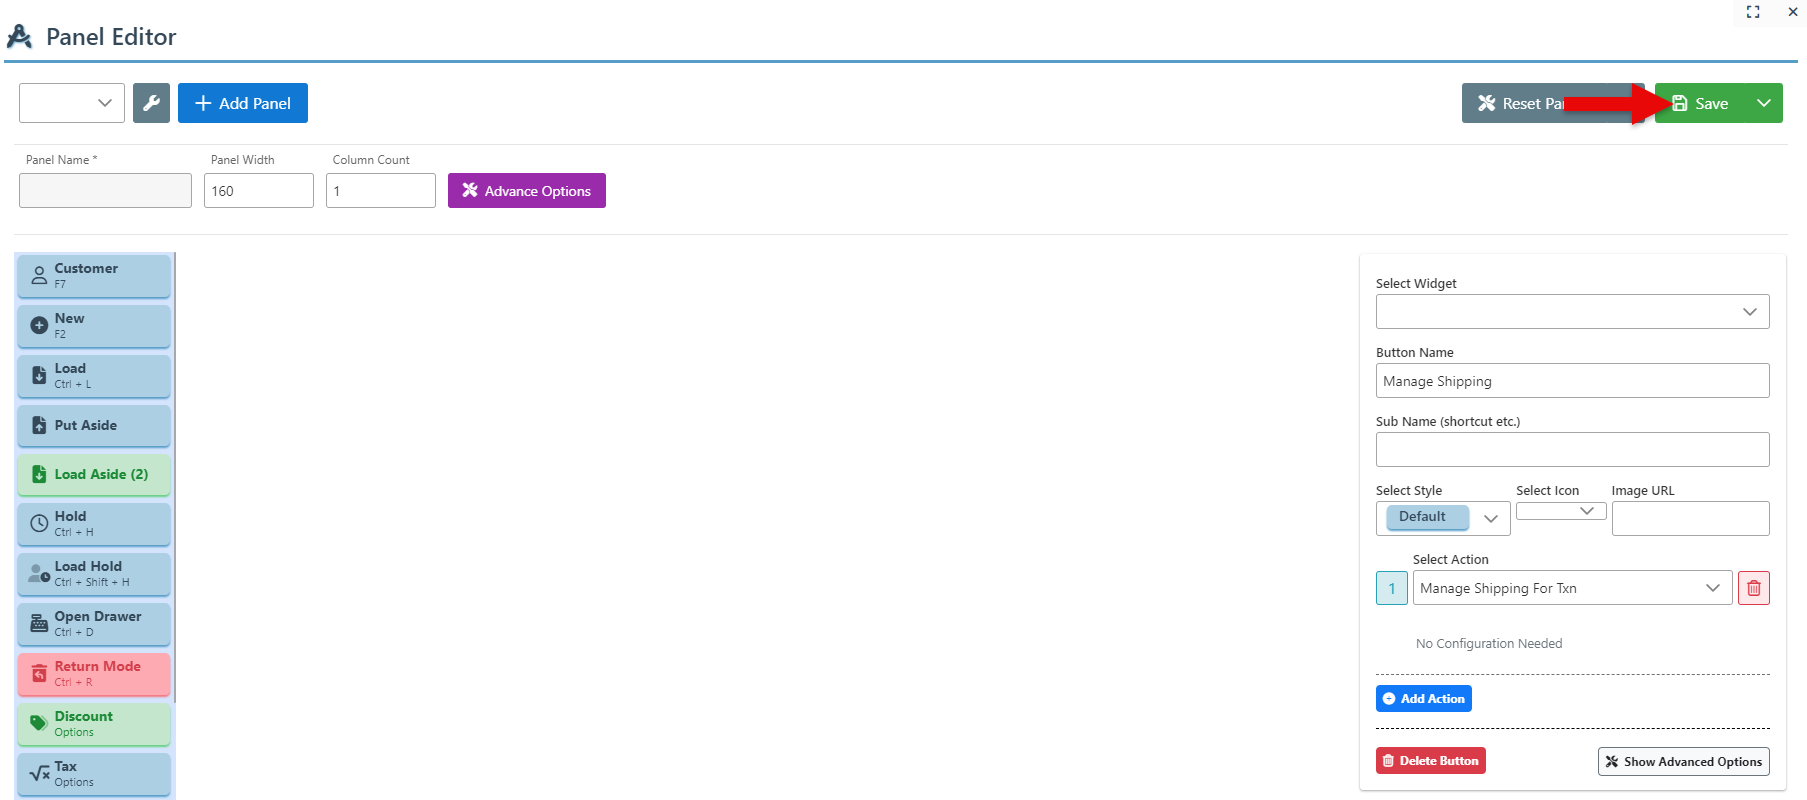
Enter “Manage Shipping” as the button name, and select “Manage Shipping for Txn” from the actions dropdown menu.
-
Click “Save” at the top right to save the new panel button.
-
Once the button has been set up, click the “Manage Shipping” button to load past transactions.
-
Click on the desired transaction. A shipping popup featuring address bars will appear. Enter shipping information and click “Save & Print” to print shipping labels.