Self Checkout - Admin Configurations
The following is a guide to the unique configurations available for self-checkout, enabling the customization and configuration of the checkout setup and display in accordance with specific business requirements and preferences.
Log in to the Self Checkout using a Manager Barcode or Pin.
Click the “Locked/ Unlocked” button at the top left to lock and close the Manager screen.

Toggle the Sound button to enable/ disable the checkout sounds.

Click the “Advanced” button to open the checkout configurations menu.

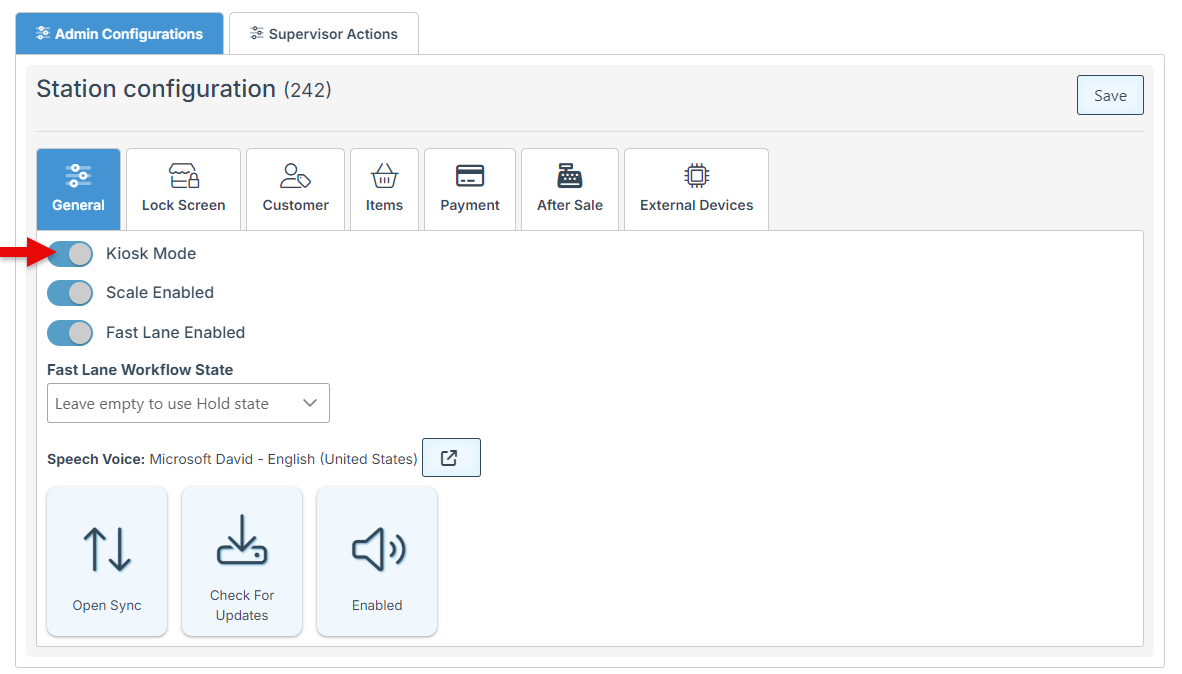
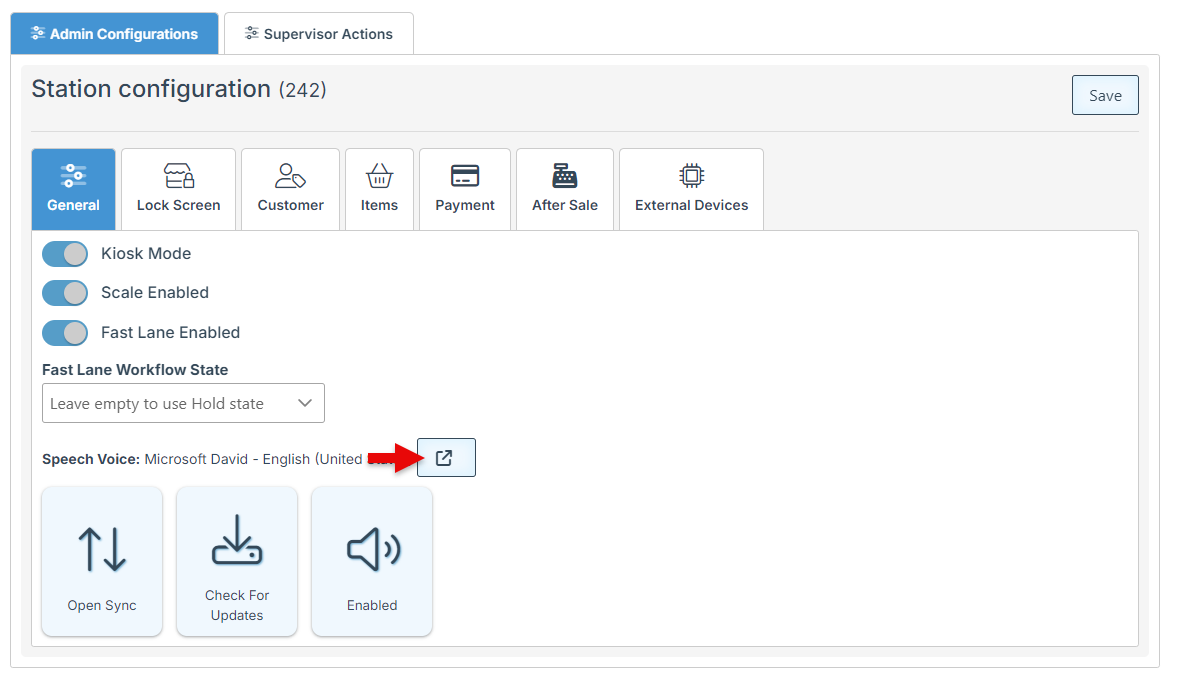
General Settings
Enable Kiosk Mode to view Self Checkout in full-screen mode.
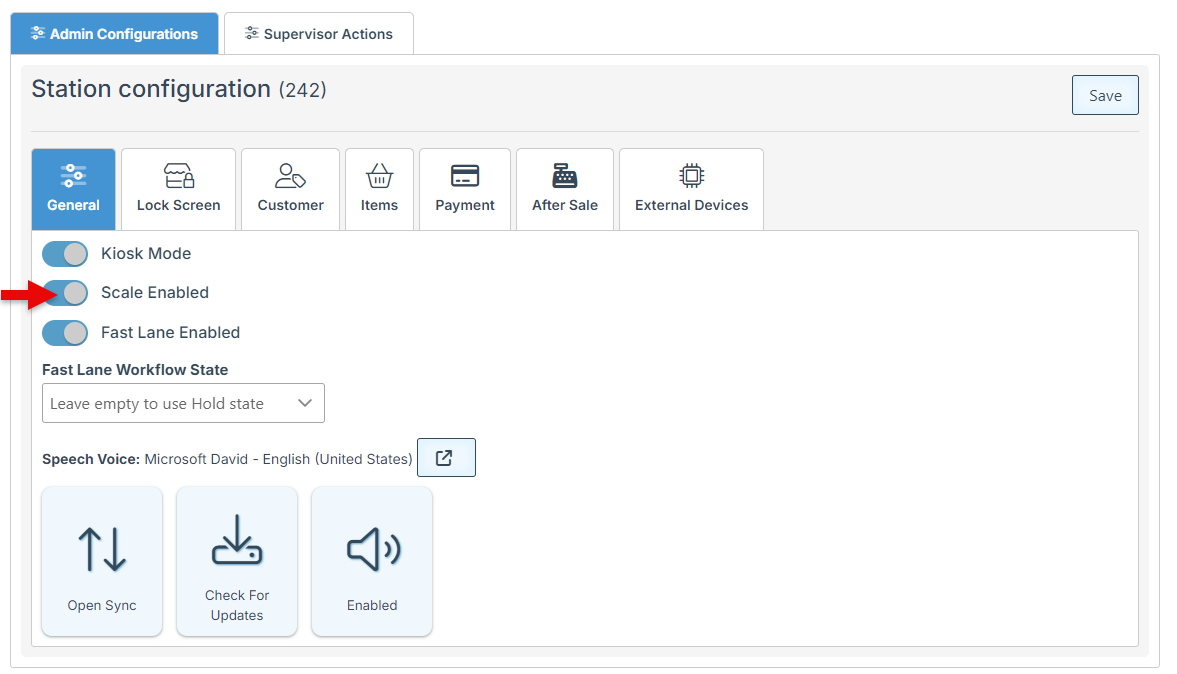
To Enable a scale to be used in sync with the self-checkout, select the Scale Enabled mode.
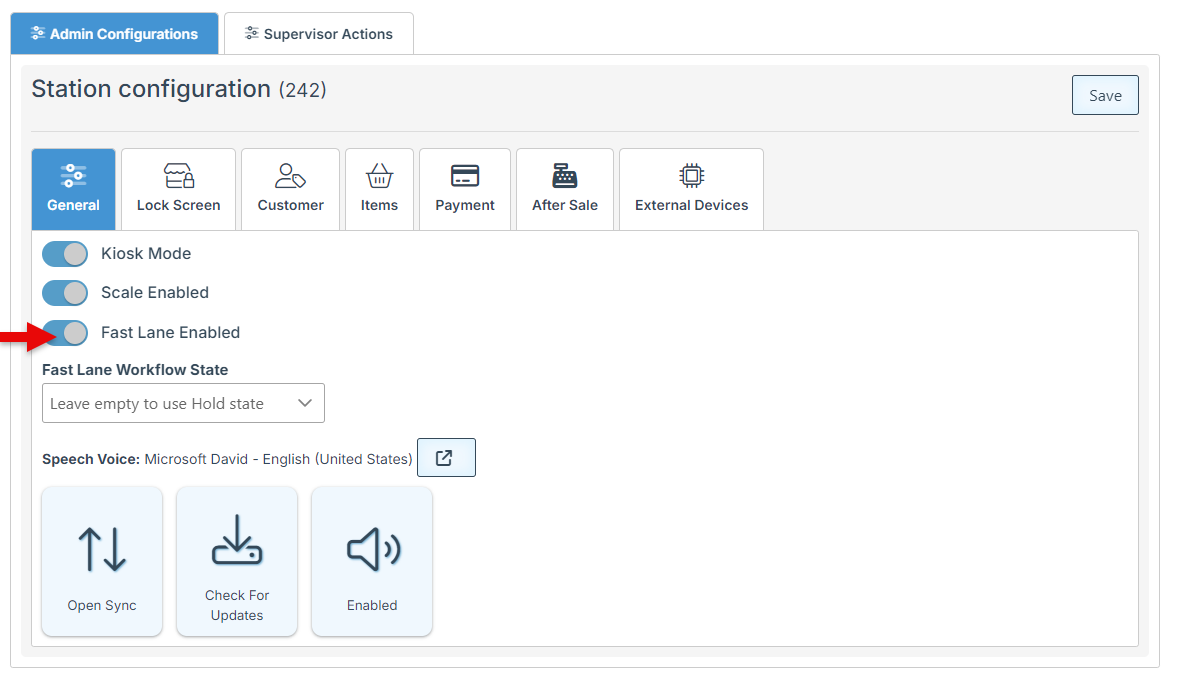
Enable Fast Lane to add an option on the customer’s checkout screen, allowing customers to choose an account and payment method, and proceed to print an order label. This label can then be attached to the cart for customer service checkout, pickup, and delivery while the customer leaves.
Click the Speech Voice redirect button to select the station instructor’s voice. A pop-up will appear, displaying the voice options to choose from.
Open “Sync” to synchronize the self-checkout data with other POS stations.
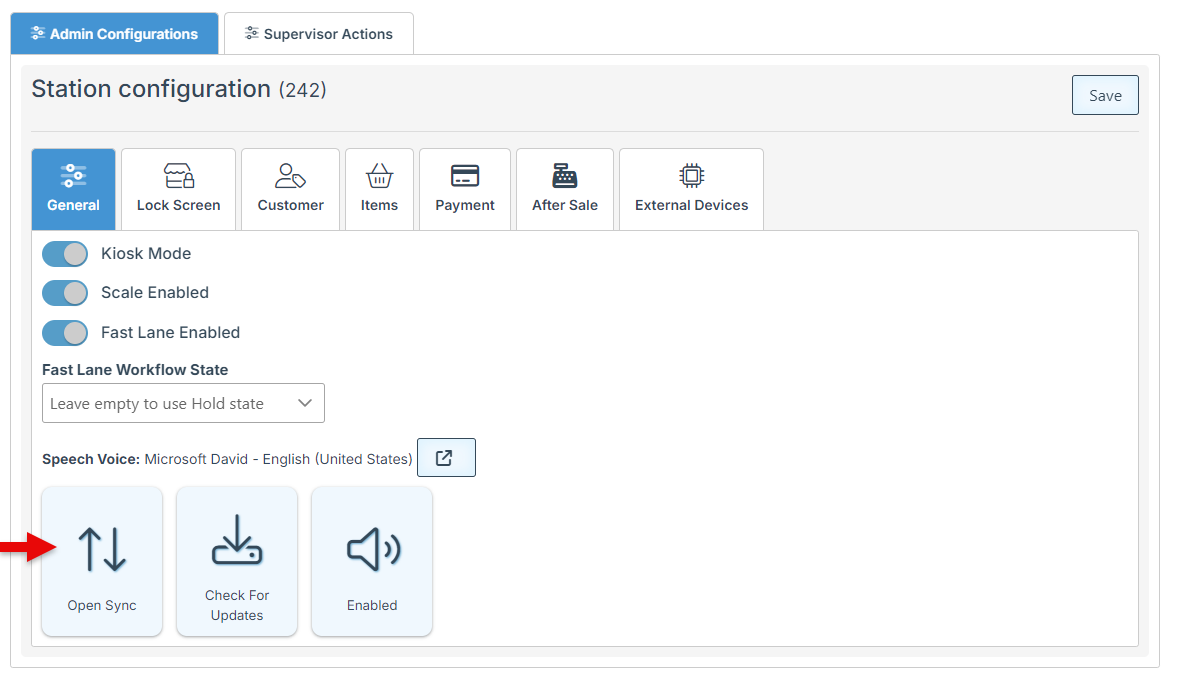
Click “Check for Updates” to view and install the latest version updates.
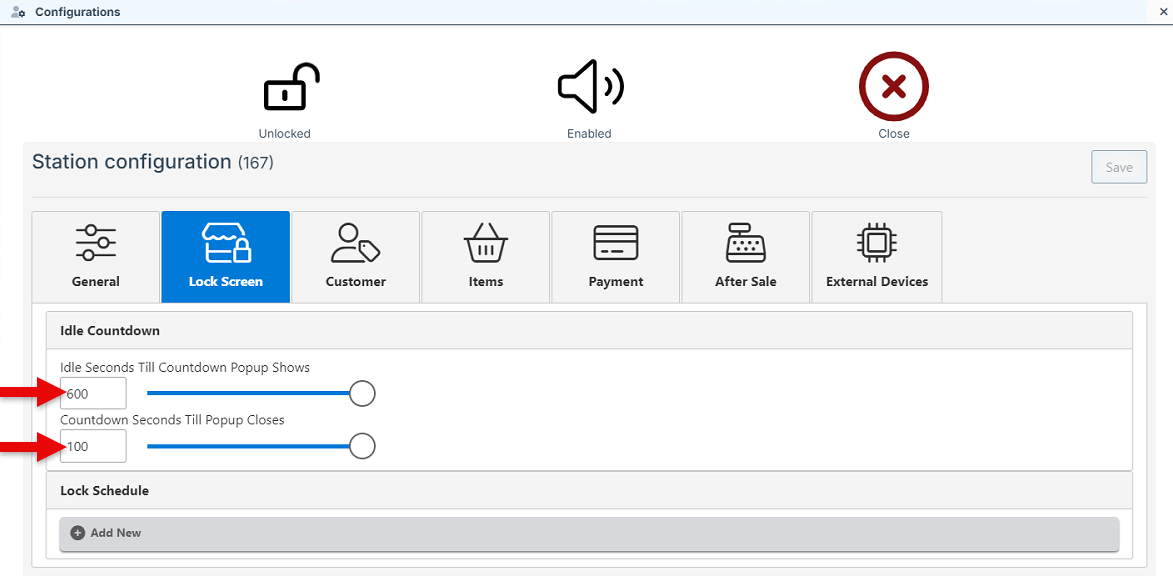
Lock Screen Settings
Use the designated bars to set the “Idle Seconds Till Countdown Appears” and the “Countdown Seconds Till Popup Closes.”
“Idle Seconds Till Countdown Appears” sets the number of seconds after which a popup will appear, prompting for confirmation of customer presence.
“Countdown Seconds Till Popup Closes” sets the countdown, after which the popup will close, and the screen will return to the homepage.
Lock Schedule Settings coming soon…
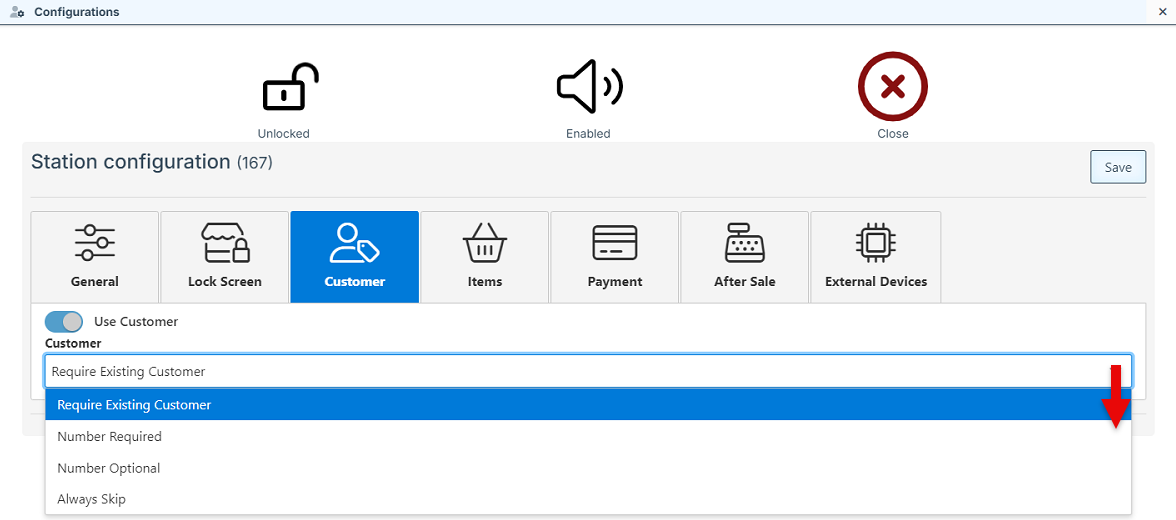
Customer Settings
Enable the “Use Customer” mode to enable the use of customer information/ accounts during checkout.
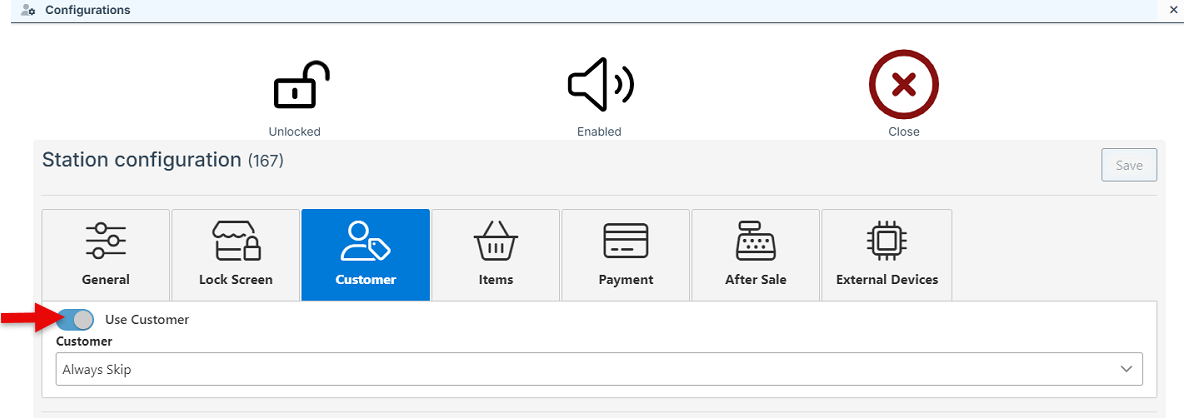
Once enabled, a dropdown menu featuring customer requirement options will appear. Options include;
“Require Existing customer,”- which will make customer login mandatory for proceeding with checkout.
“Number Required,”- will set a number entry to be required to enable checkout. Coming soon…
“Number optional”- will enable the option to check out by entering a number or using the guest checkout feature. Coming soon…
“Always Skip”- will automatically open to checkout, without the need to enter customer information.
Items Settings
Select the “Sections View” for the Item layout. (Disregarding all other Views, as they are currently unavailable.)
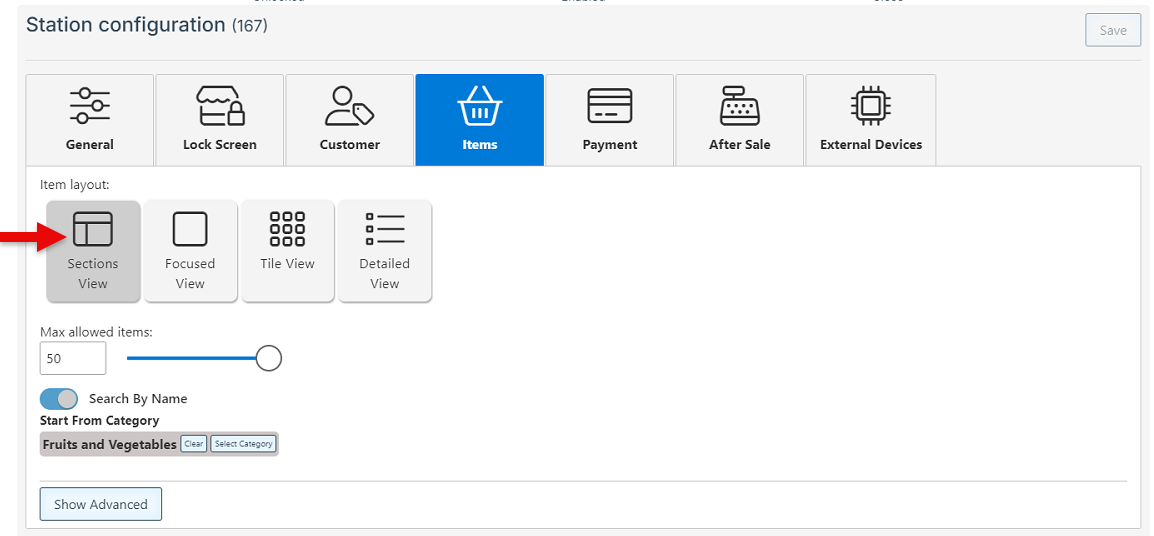
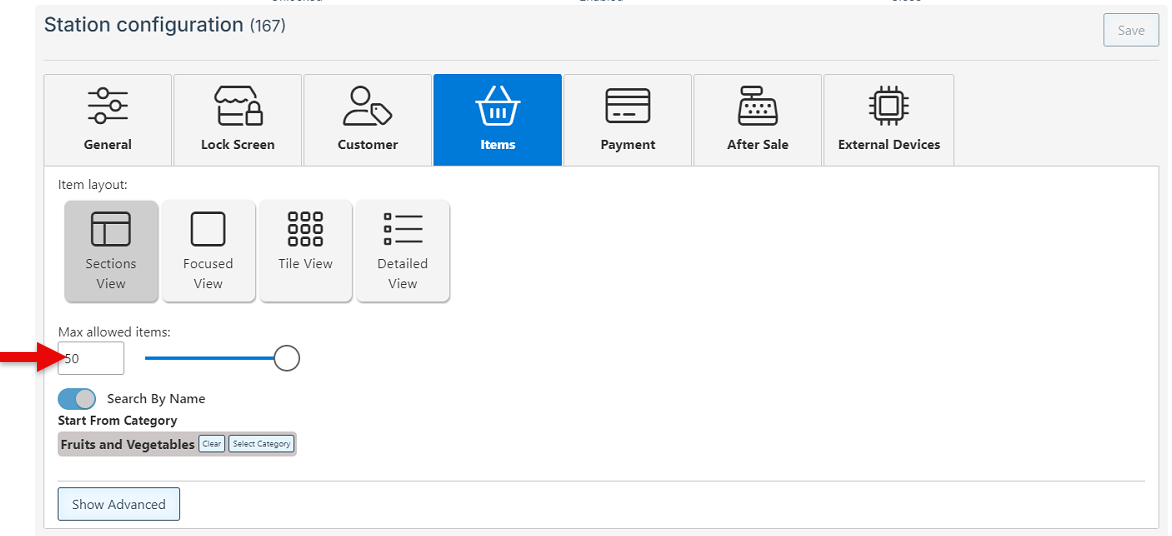
Select the maximum number of items to be allowed for a single purchase transaction.
Enable the "Search By Name" feature to allow searching for items by name. Then, click “Select Category” to select one or more categories from which items can be searched. Select a parent category to load all sub-categories automatically.

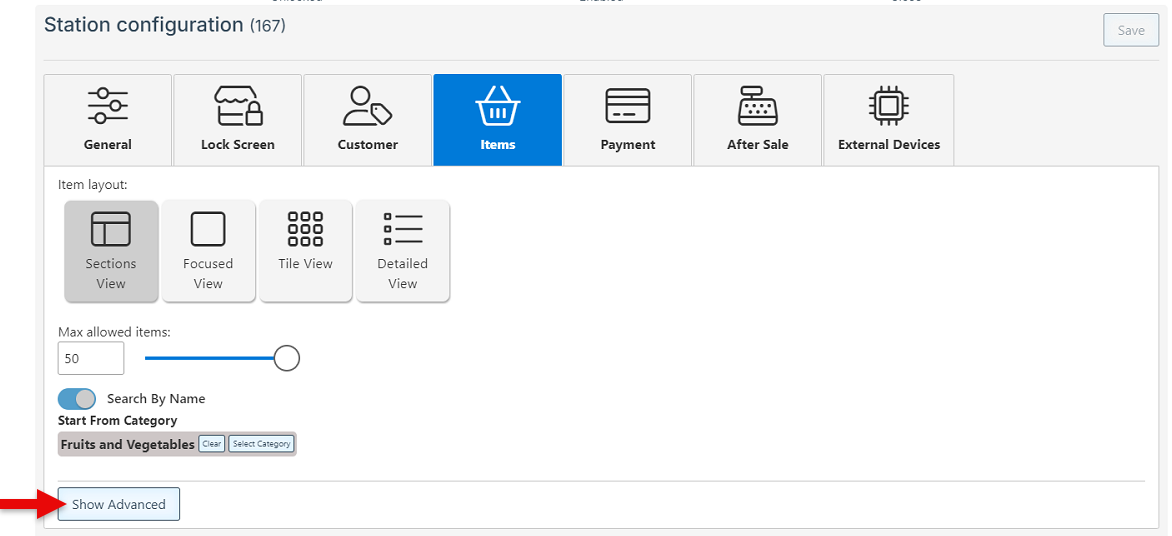
Click “Show Advanced” to set a scale and scale port type.
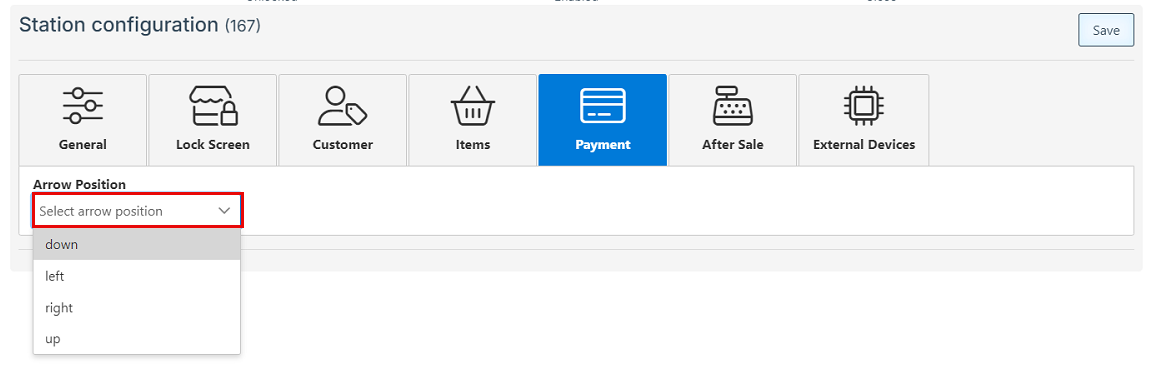
Payment Settings
Select the position of the arrow pointing to the card processor. This should be selected based on the location of the device.
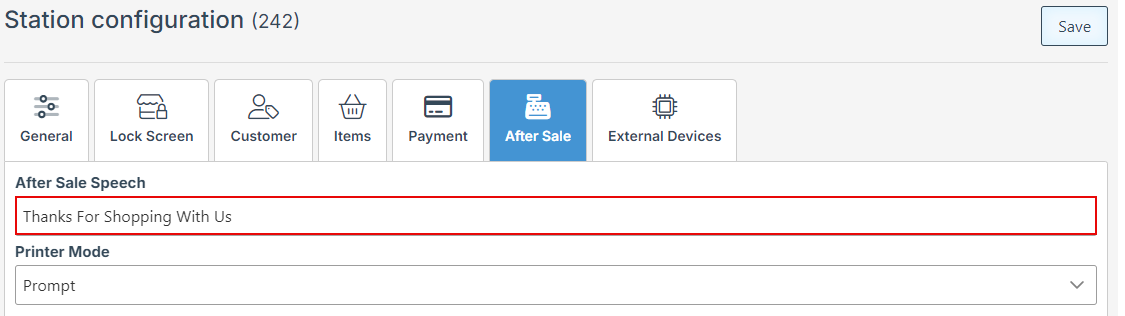
After Sale Settings
Enter Text in the “After Sale Speech” field to anounce a custom after sale message.
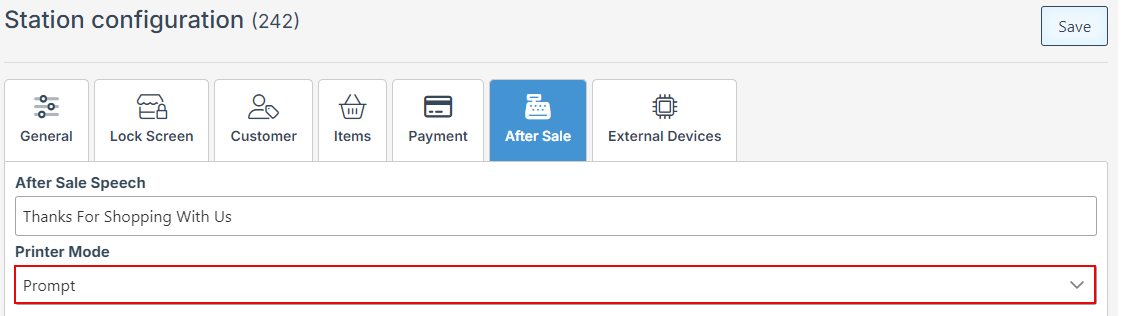
Select a Printer mode from the dropdown menu.
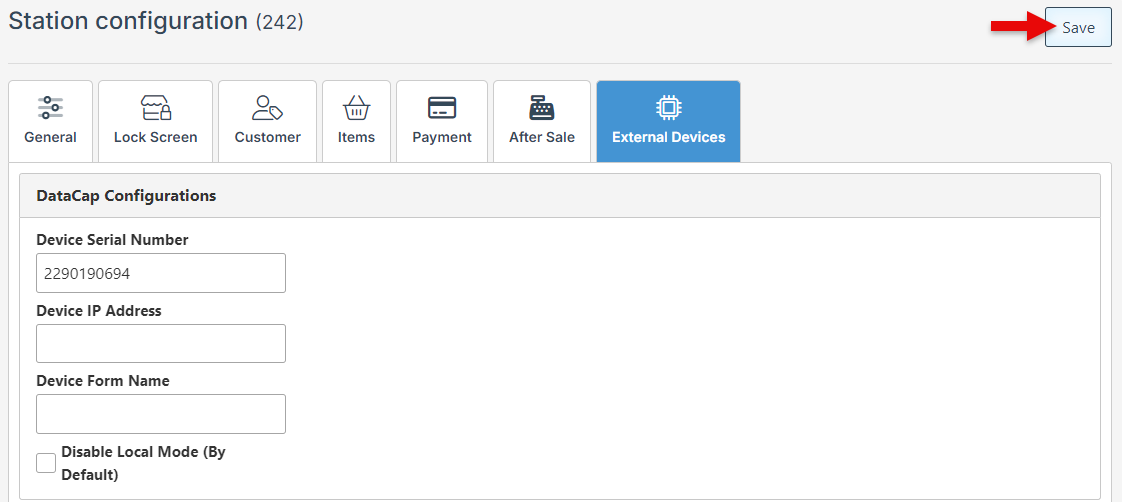
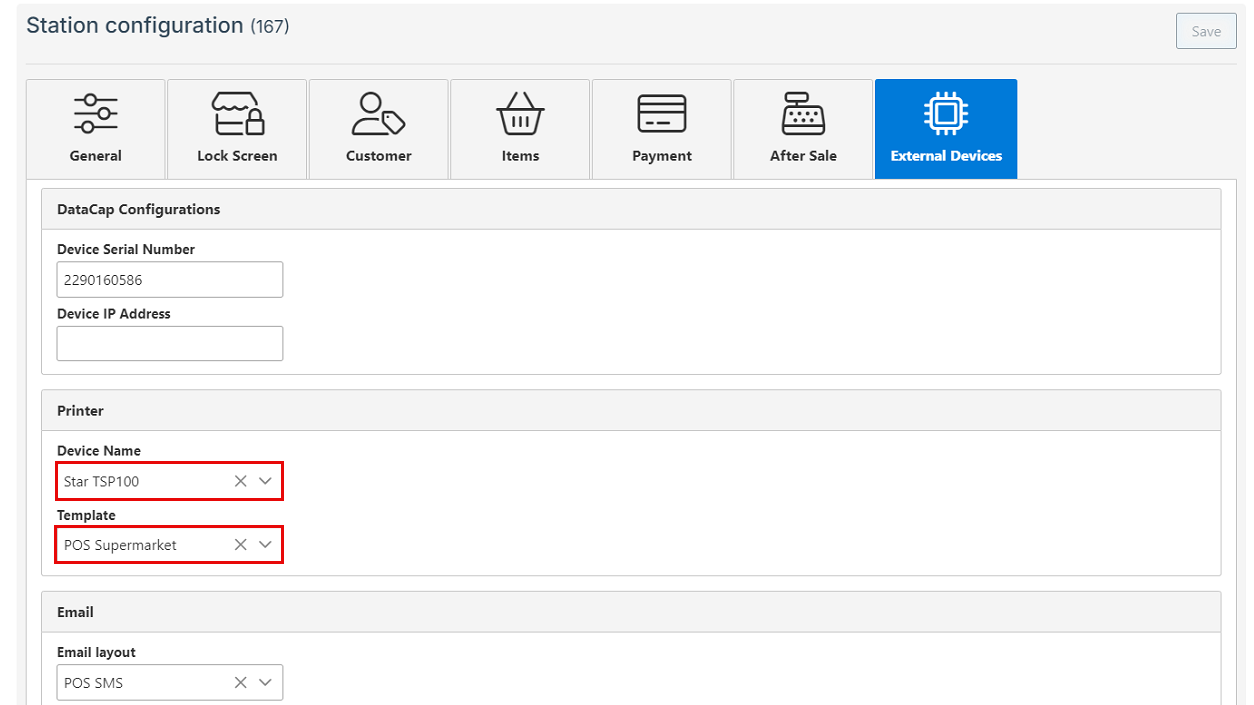
External Devices
Enter the payment processing device serial number in the designated bar.
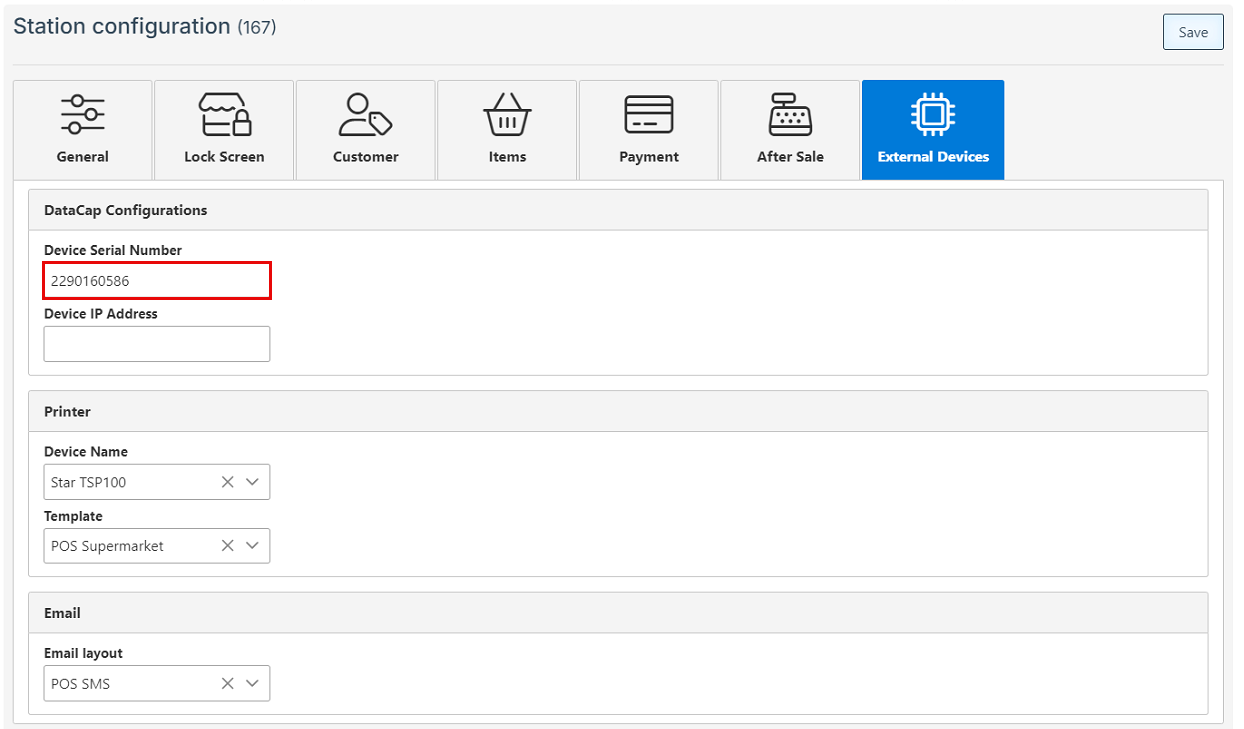
Select a printer from the dropdown menu to set as the default; and select the preferred receipt template from the dropdown menu.
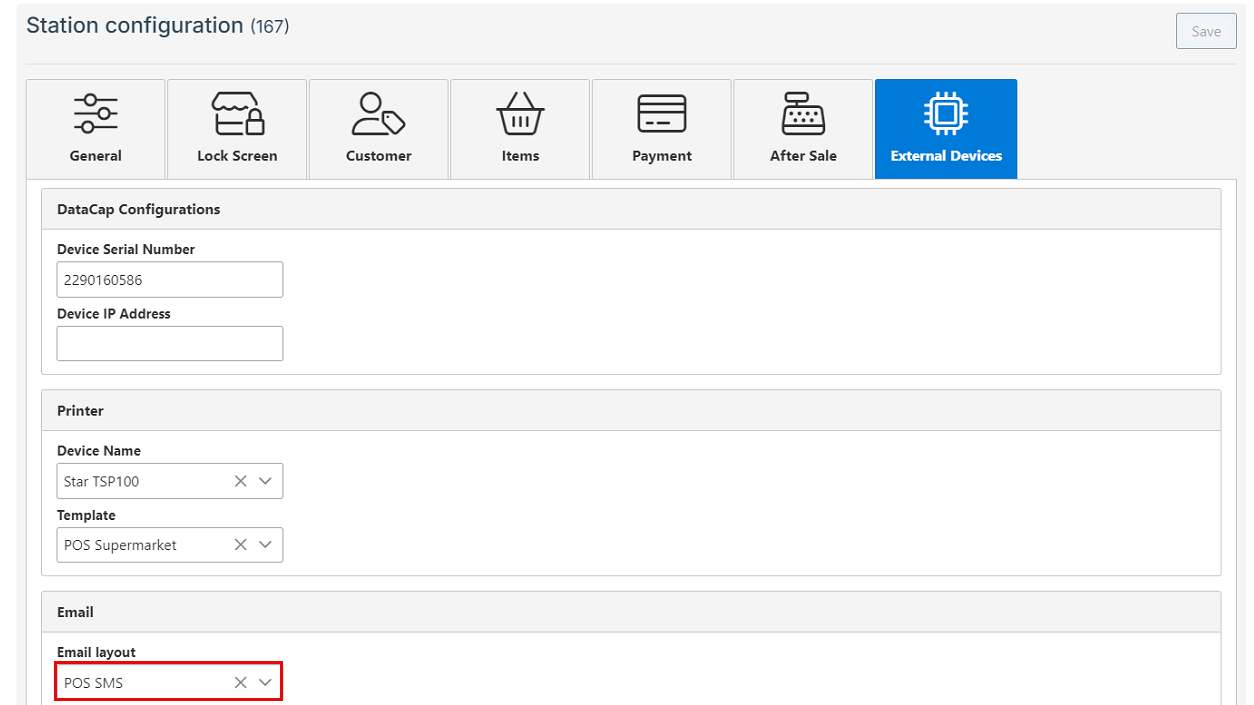
Select a receipt layout to be set as the default email receipt layout.
Click “Save” at the top right to save new configurations.