Create a Purchase Order
Follow the steps below to create a Purchase Order:
The Purchase Order page layout can be customized based on the business needs, allowing bars and icons to be displayed or hidden as neccassary. To set the Purchase Order page layout, click here.
Log in to app.firstchoicepos.com
Click ”Transactions” in the Main Navigation on the left, and select “Create Purchase Order” from the scrollable dropdown.
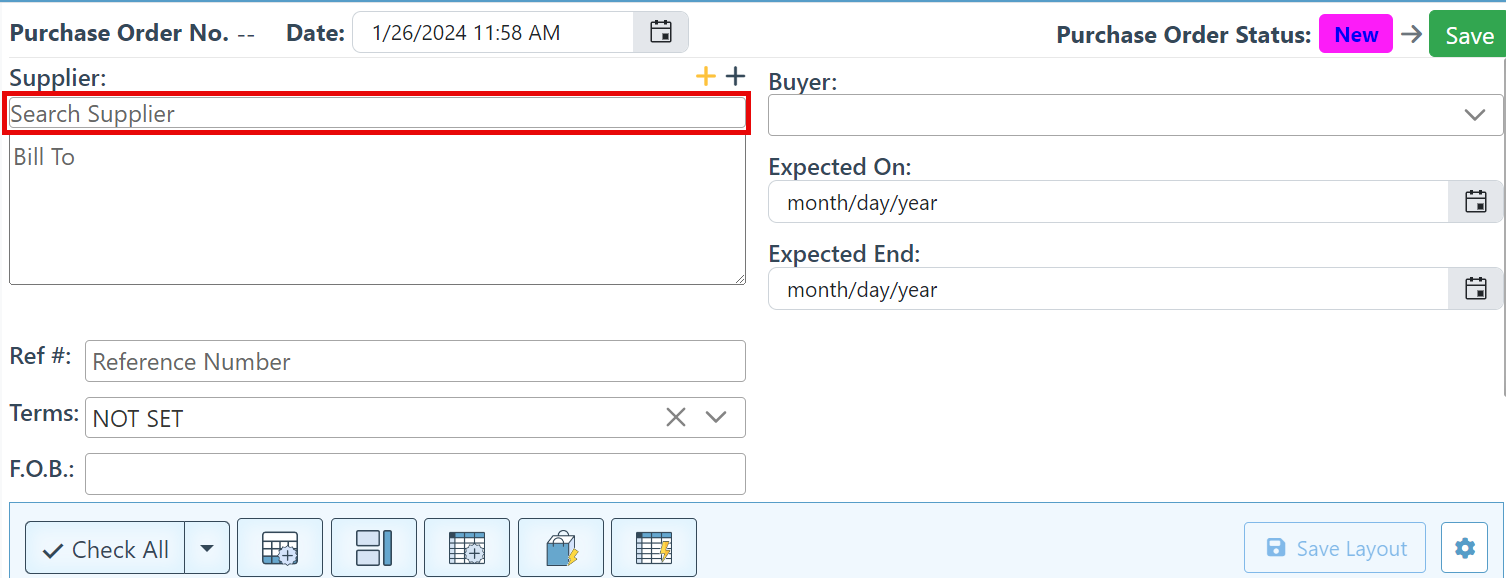
Search and select the Supplier name in the supplier bar.
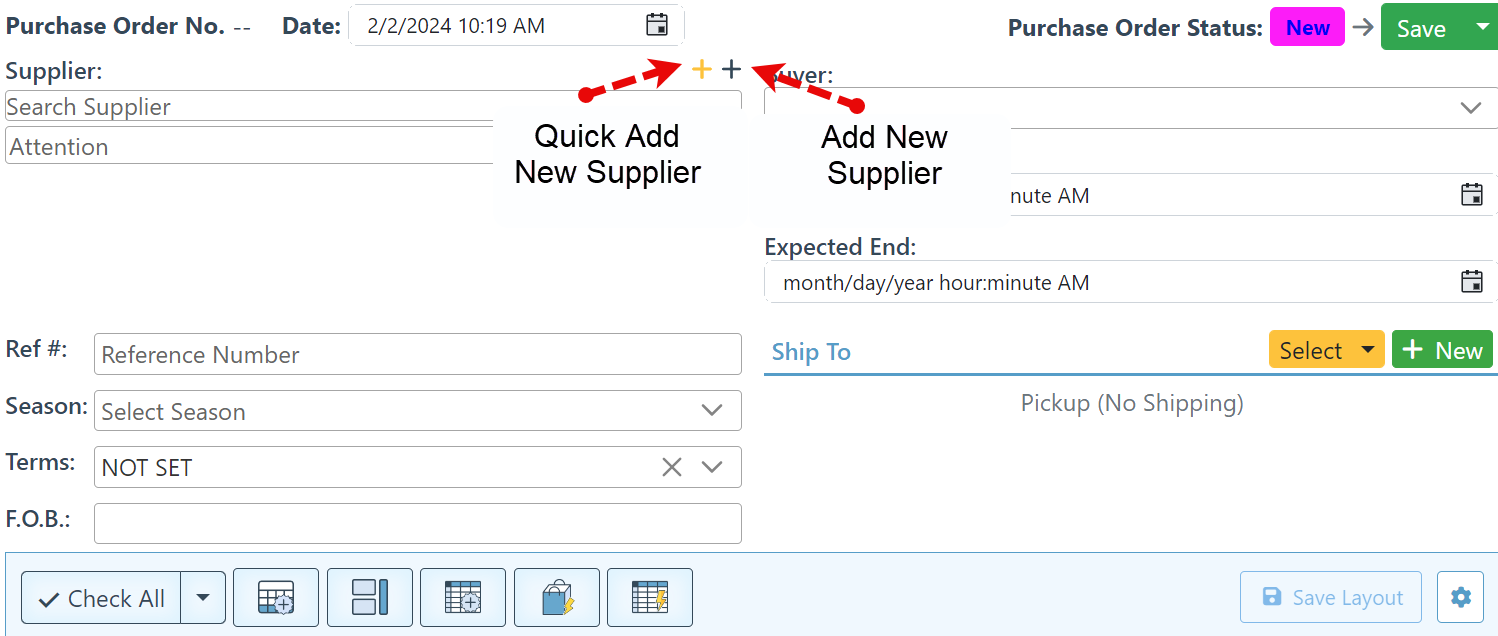
To add a new supplier, click on the "+" icon.
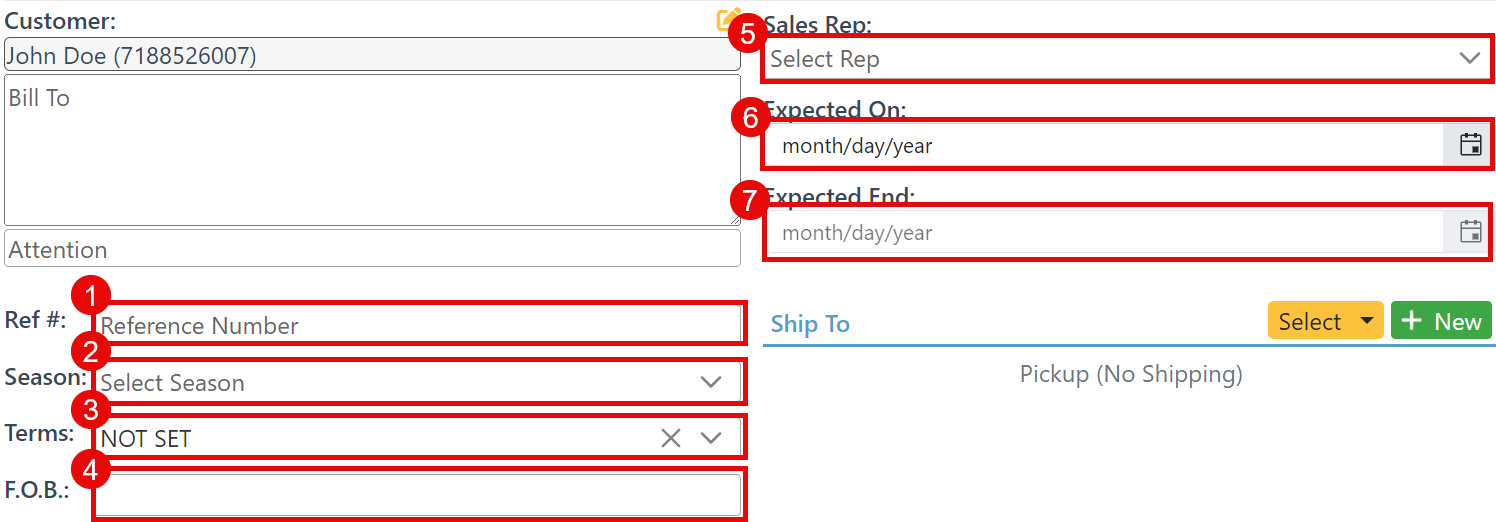
Select and enter applicable invoice details: 1-Reference number, 2-Season, 3-Invoice Term, 4-F.O.B., 5- Sales Rep, 6-Expected on, 7- Expected end.
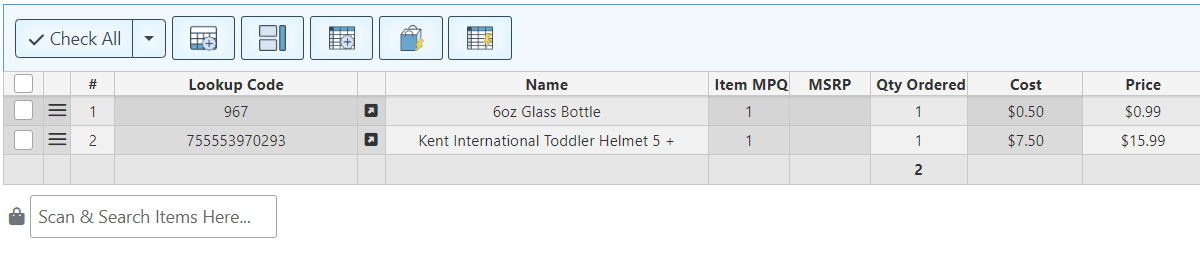
Add items and specify their quantity in the invoice. For more detailed instructions on how to add items, Click here.
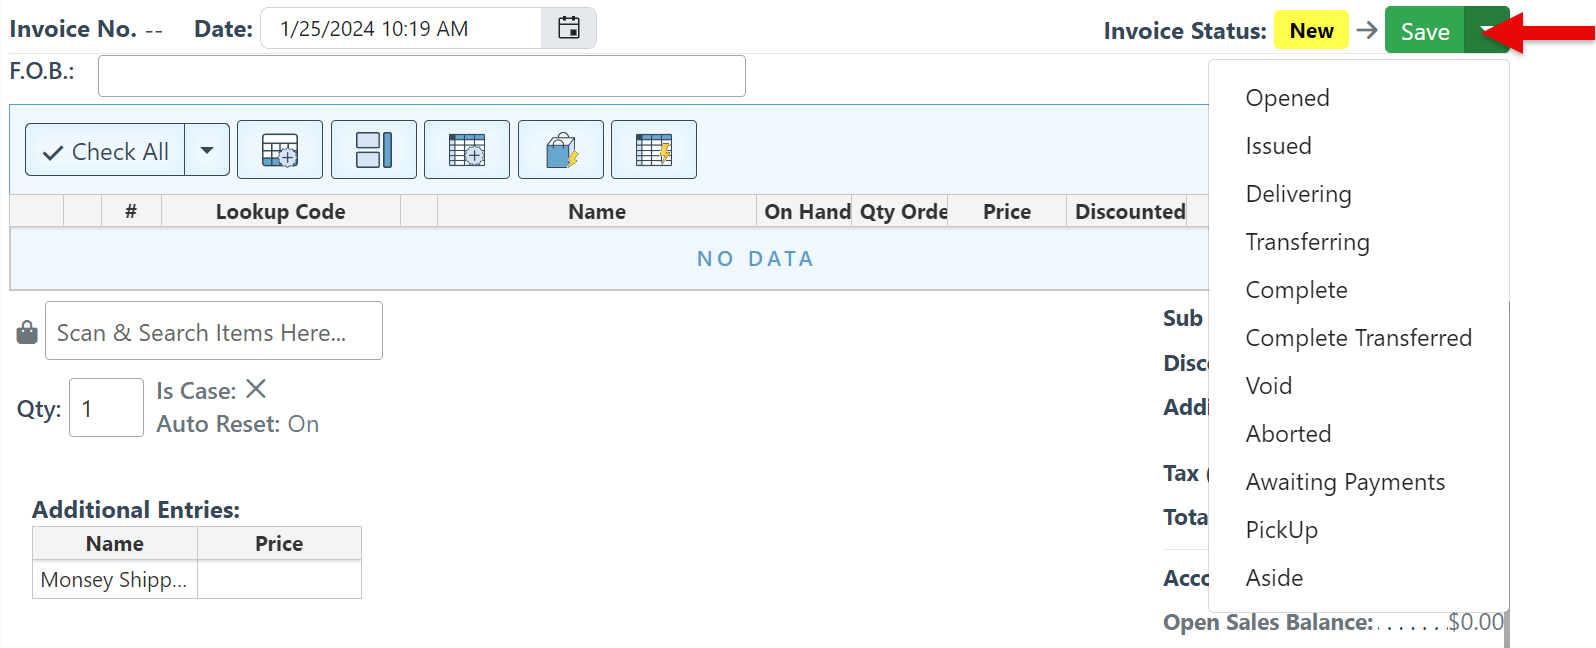
In the “Save” dropdown menu, change the invoice status to delivery, transferring, or complete. For more information on the status of the purchase order, click here.
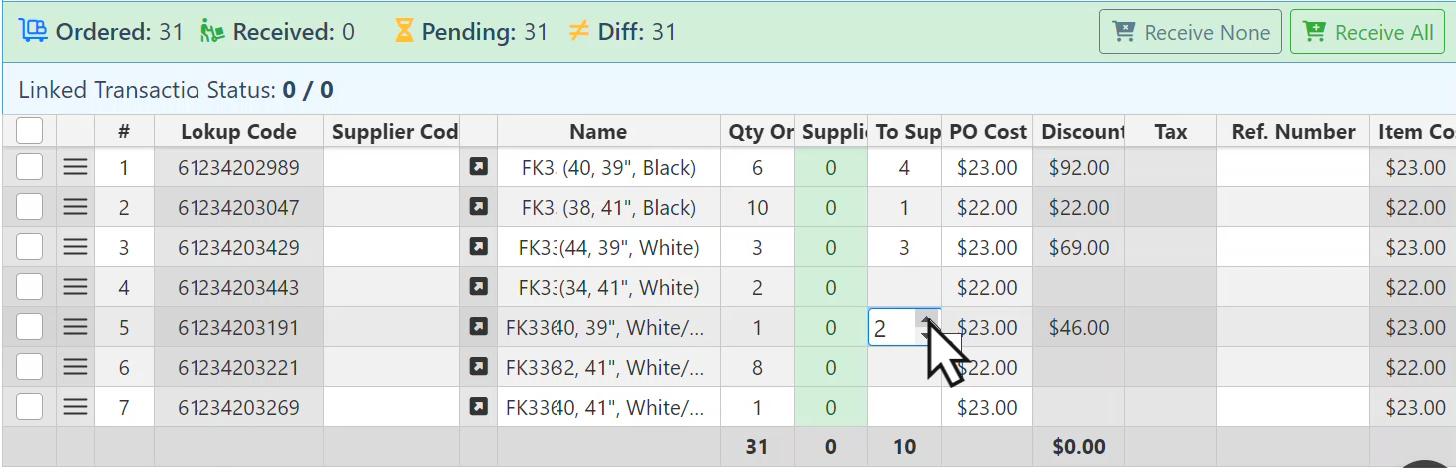
In the grid, enter the number of items already supplied by clicking the arrows in the “To Supply” column item space.
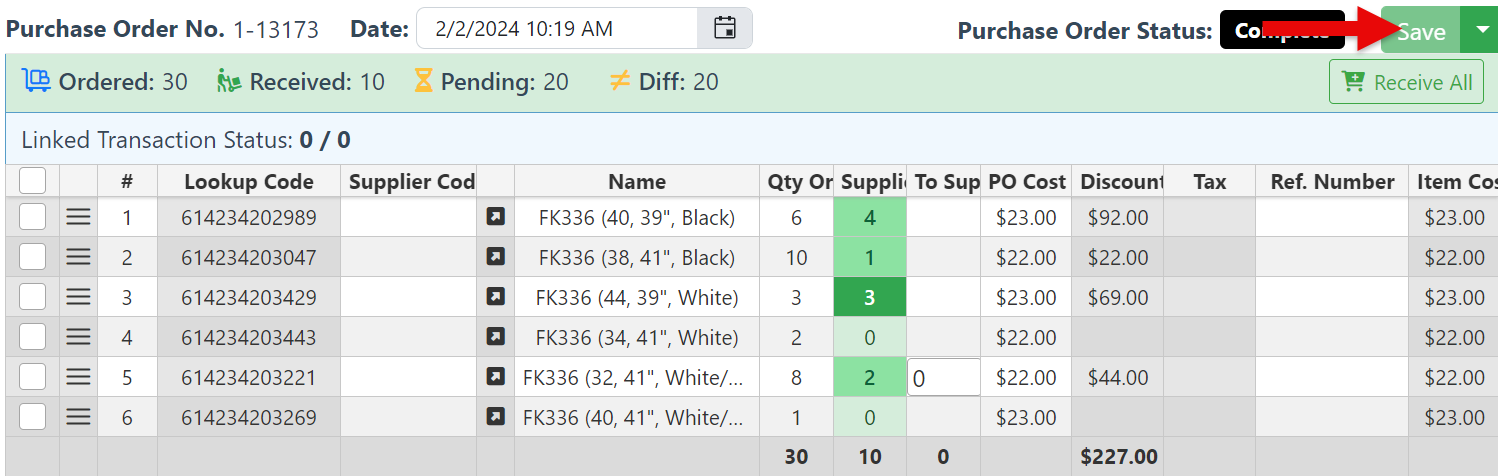
Click “Save” at the top right; the items will be moved to the “Supplied” column, and the order total will update according to the items supplied.
Below is a guide on the various actions to manage and share purchase order details:

Click the “Manage Shipments” icon to view the status and manage the purchase order shipments.
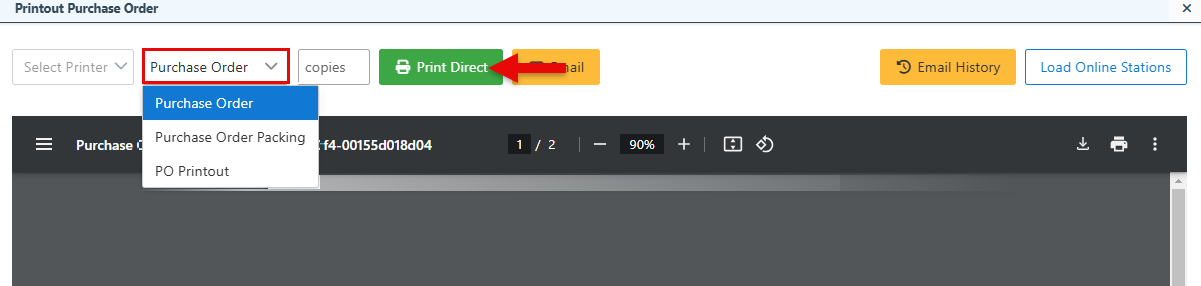
Click the “Print” button to print the purchase order. Select a purchase order printout type from the dropdown menu and click “Print Direct.”
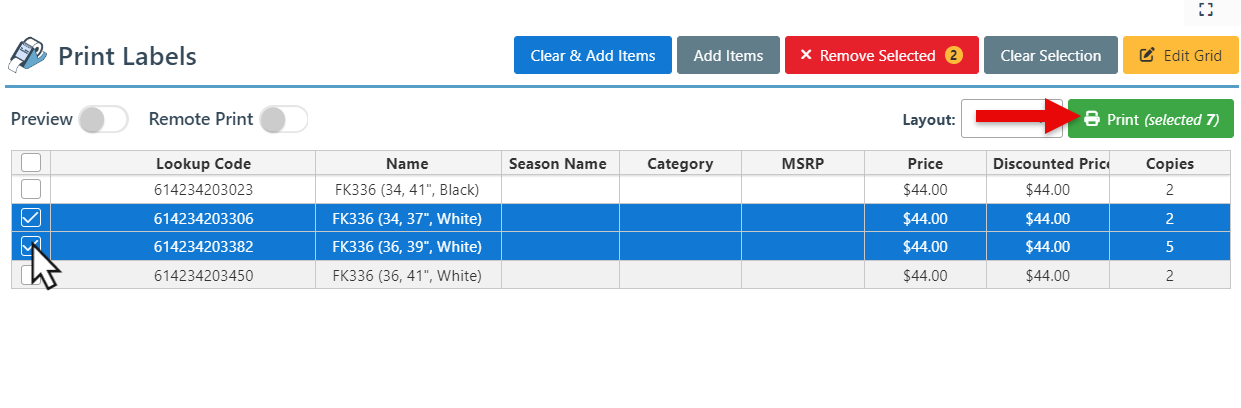
Click the “Print Labels” icon to print labels for items in the purchase order. On the popup, select items and click “Print” at the top right of the page.
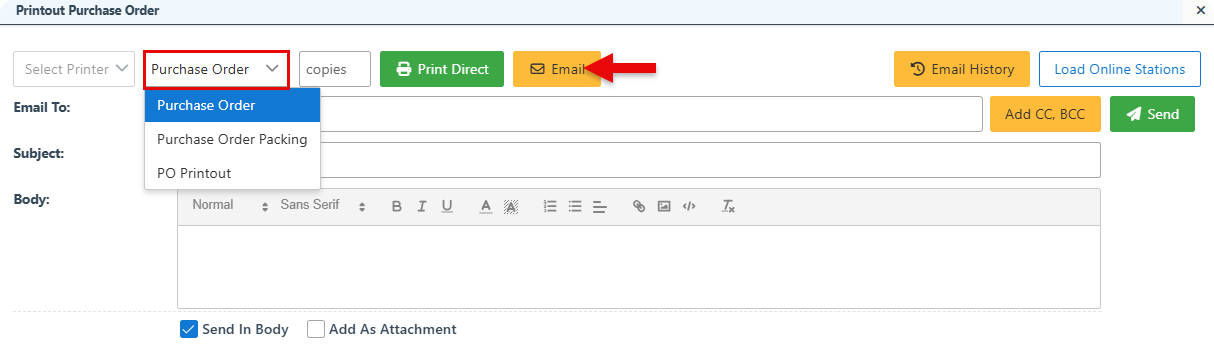
Click the “Email” icon to email the Purchase Order. On the popup, select a purchase order printout type in the bar dropdown, and click “Email.” Finally, enter the email address, subject, and body in the Email heading bars and click “Send.”
Click the “History” icon to see transaction history.