Below is a guide on the different options available to return items during checkout. Items added to the transaction as a return will be displayed in red for enhanced clarity.
-
Log in to the POS.
-
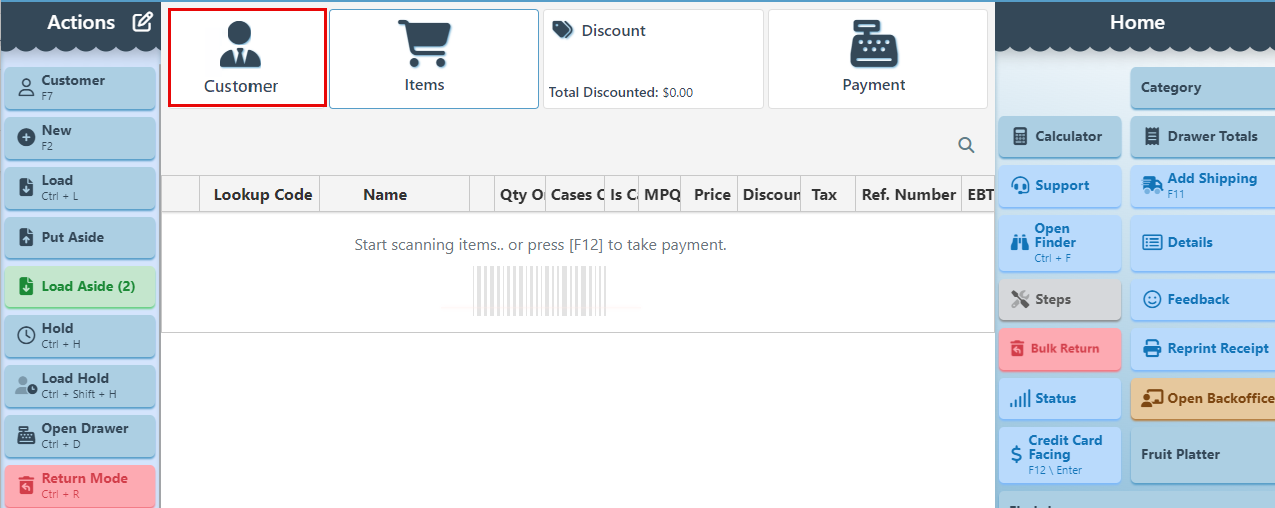
Search and select a customer in the customer tab.
-
To set an entry that has already been scanned as a return, click the “Replace Entry With Return” button.
-
To scan an item to be returned, switch to return mode by clicking the “Return Mode” button and proceed to scan items.
-
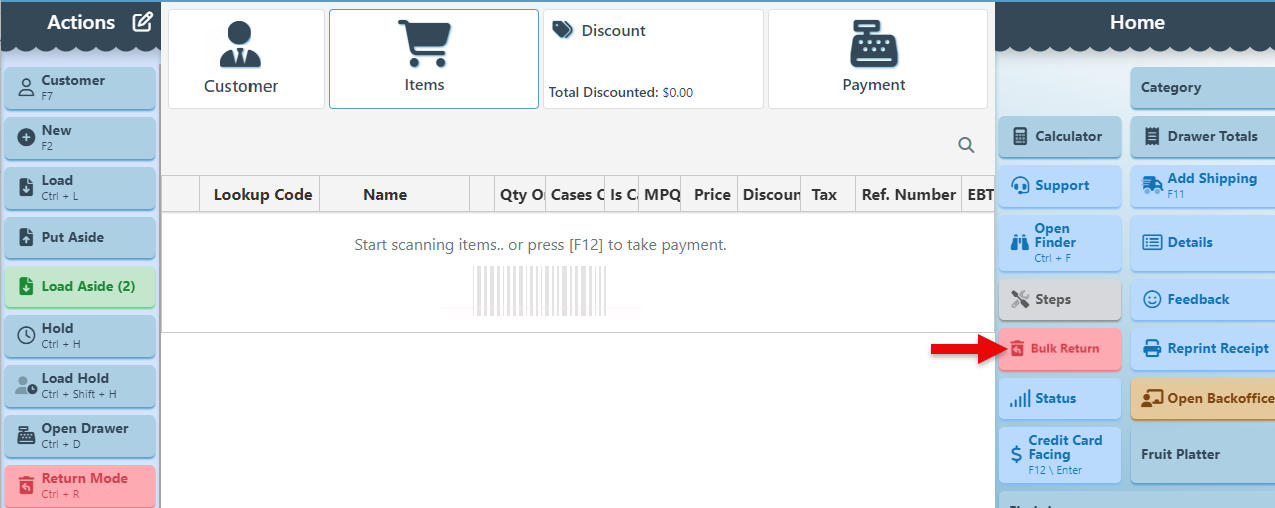
To process a bulk return, click the “Bulk Return” button on the Home Panel. This feature allows multiple items to be returned at once, making the return process easier and more efficient.
-
Follow either of the options below to add items to the returns list:
Select specific Items:
-
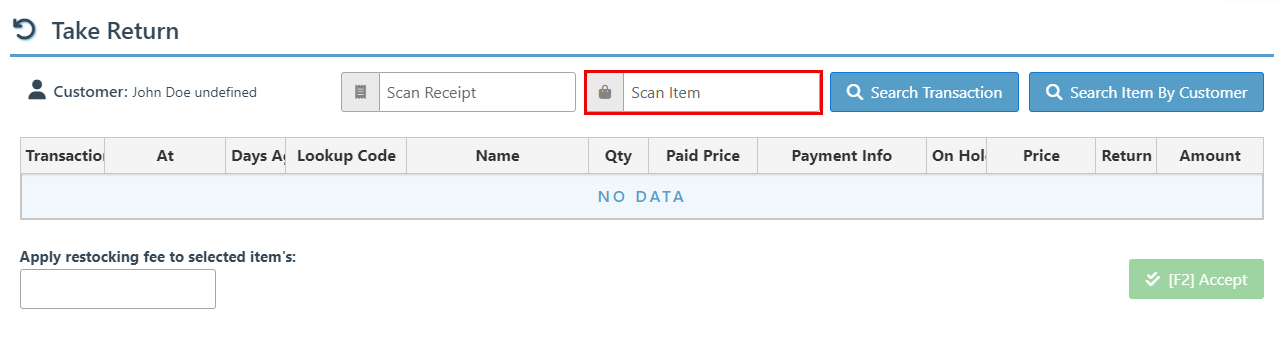
Use the scanning bar to scan and add items to the returns list.
-
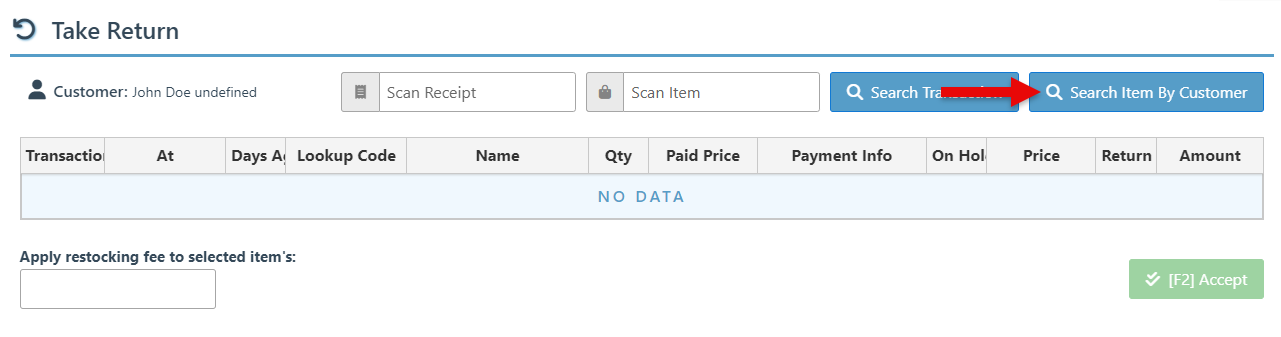
Click “Search Items By Customer” to open a list of all items purchased by the customer from where items can be selected.
Add items by transaction:
-
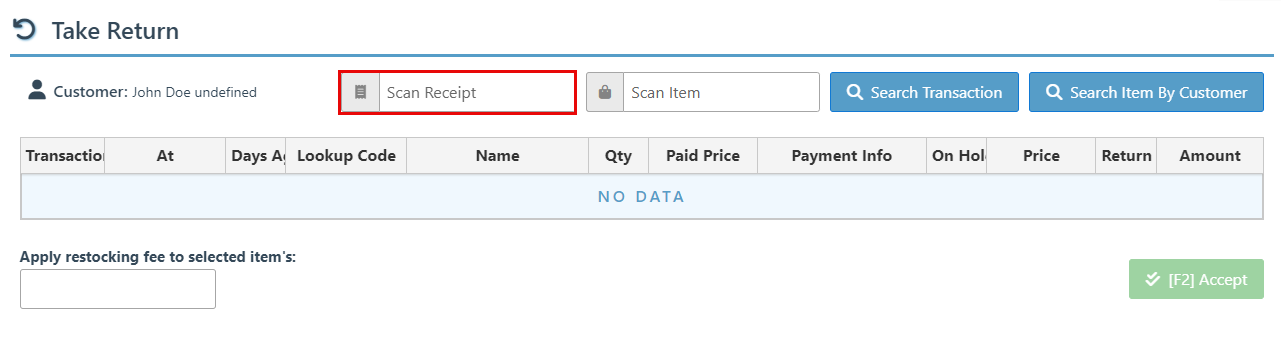
Scan a transaction in the receipt scanner bar to load the transaction from which items can then be selected for return.
-
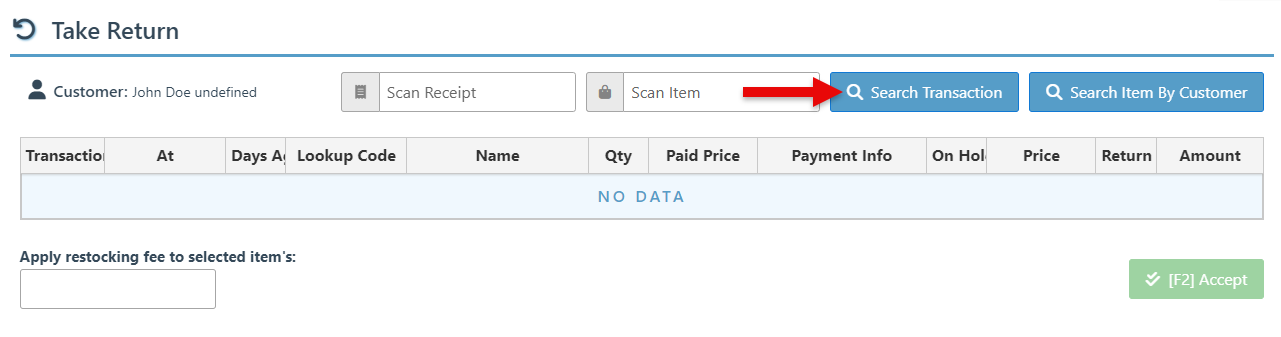
Click “Search Transaction” to open a customer transactions list from where a transaction can be selected. Once the transaction loads, items can be selected for return.
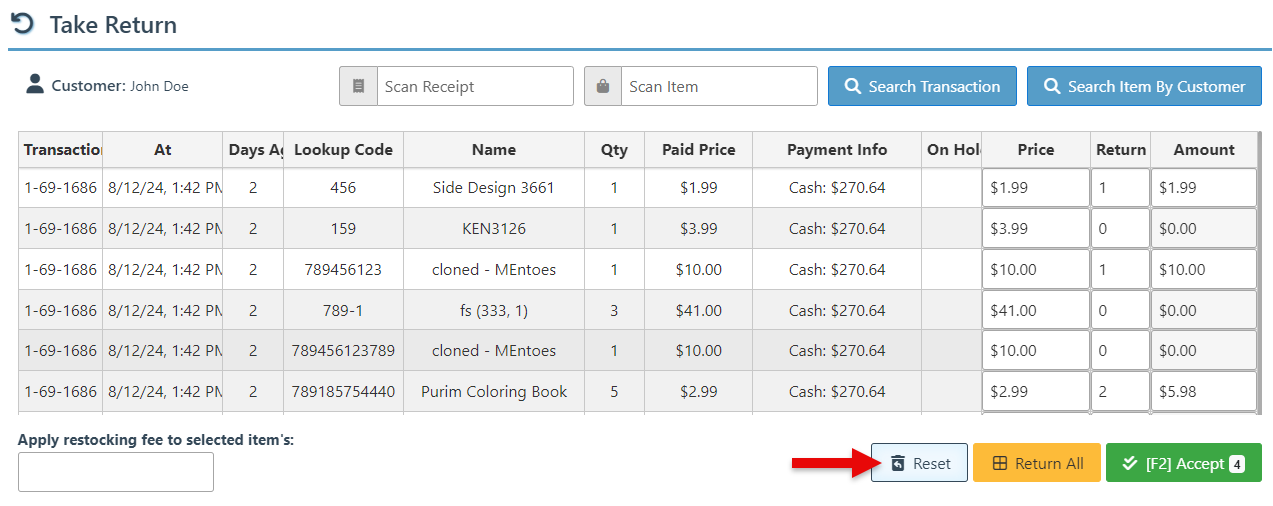
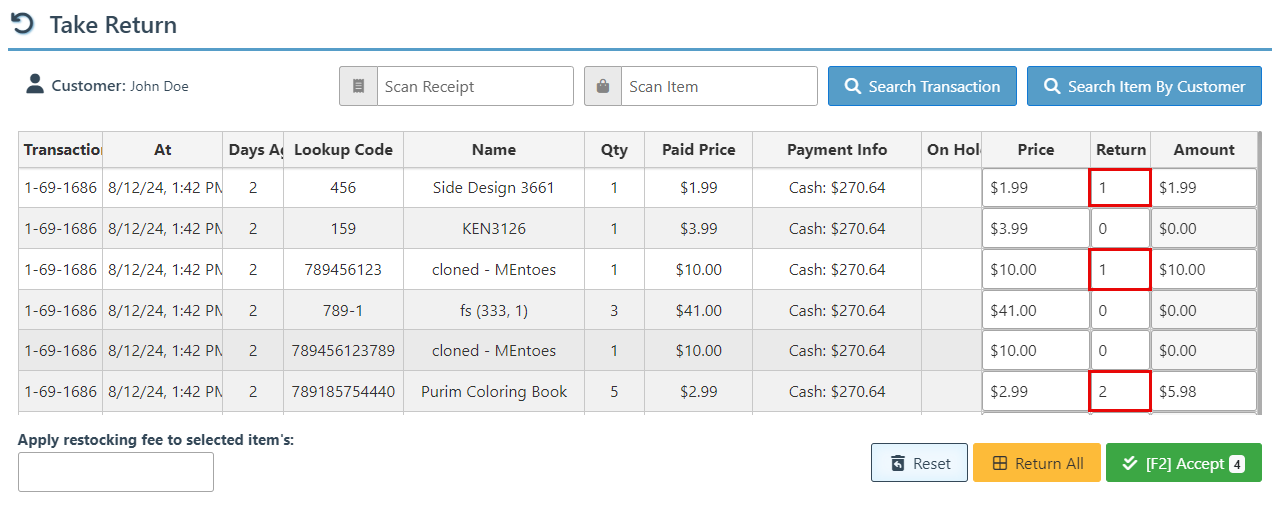
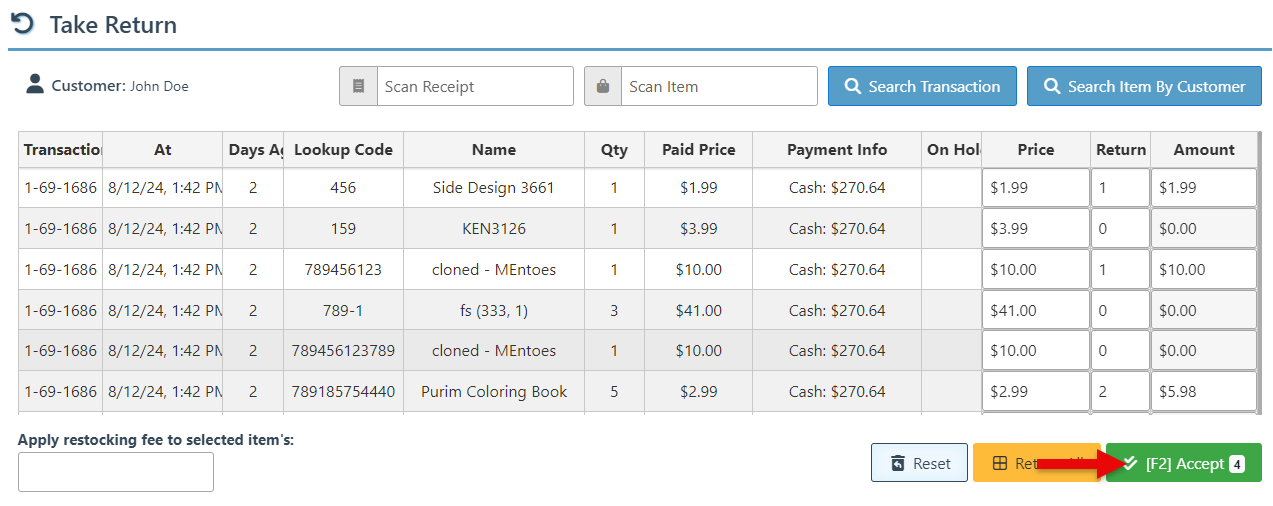
This is used to return multiple items bought in a single transaction. Once a transaction has been selected, all items purchased in the transaction will load, and the return quantity will be set to 0 by default. To return the item, increase the value in the return field to a minimum of 1. Only items with a return value will be selected for return.
-
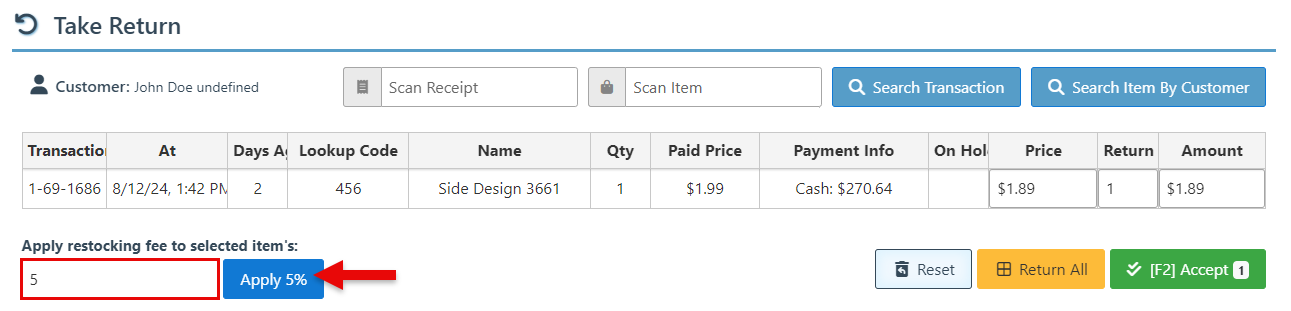
Enter a Value in the “Apply restocking fee” field and click “Apply %” to apply a percentage return fee for each item. The button value will automatically update based on the entered value.
-
Click “Search by Transaction” or “Search by Customer” again to return items from multiple transactions simultaneously.
-
Click “Accept” to add the selected return items to the checkout transaction.
-
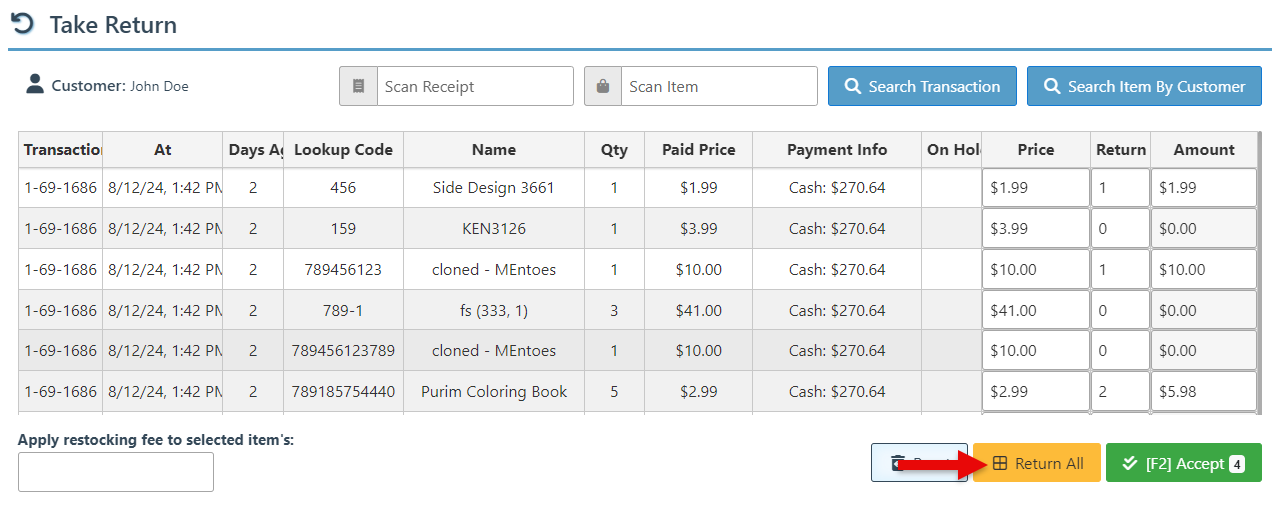
Click “Return All” to add all items currently on the returns list (even those not selected) to the checkout transaction for return.
-
Click “Reset” to clear the list and restart selecting items.