Add the EBT Icon to the Frontend
Follow the steps below to set the Food Stamps icon to appear automatically for Food Stampable items. The process includes setting items as “Food Stampable” and adding the Food Stamps column to the checkout layout.
Open to the POS.
Click the “Open Backoffice” button to be redirected to the backend.
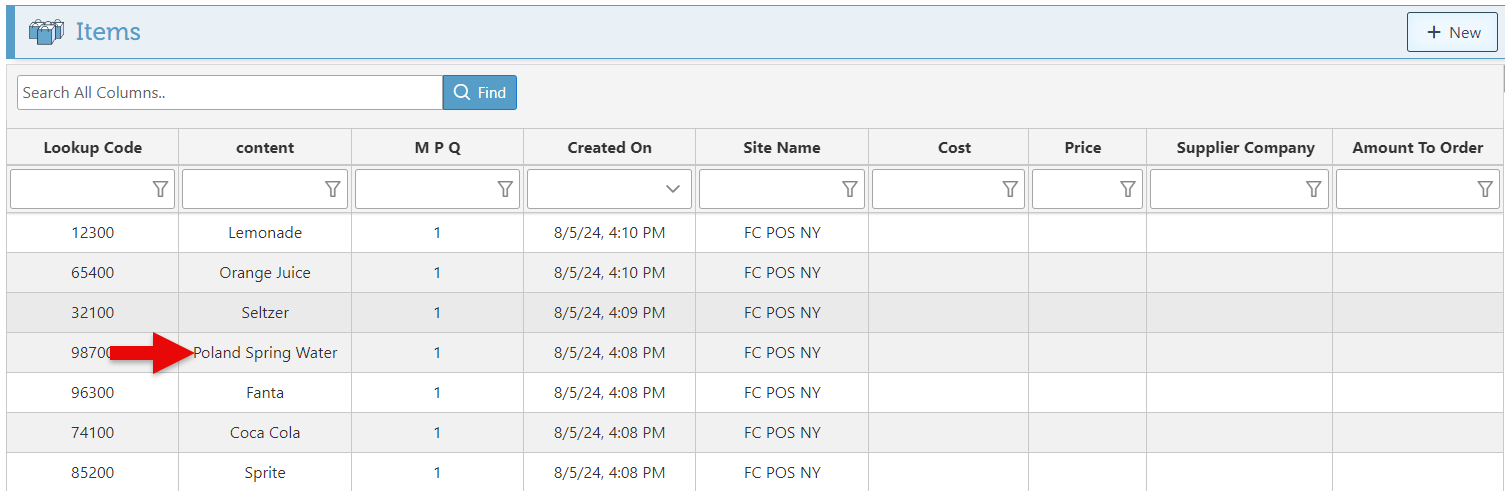
Click “Items” in the Main Navigation menu and select “Items” from the scrollable dropdown menu.
Select the relevant item from the appearing list.
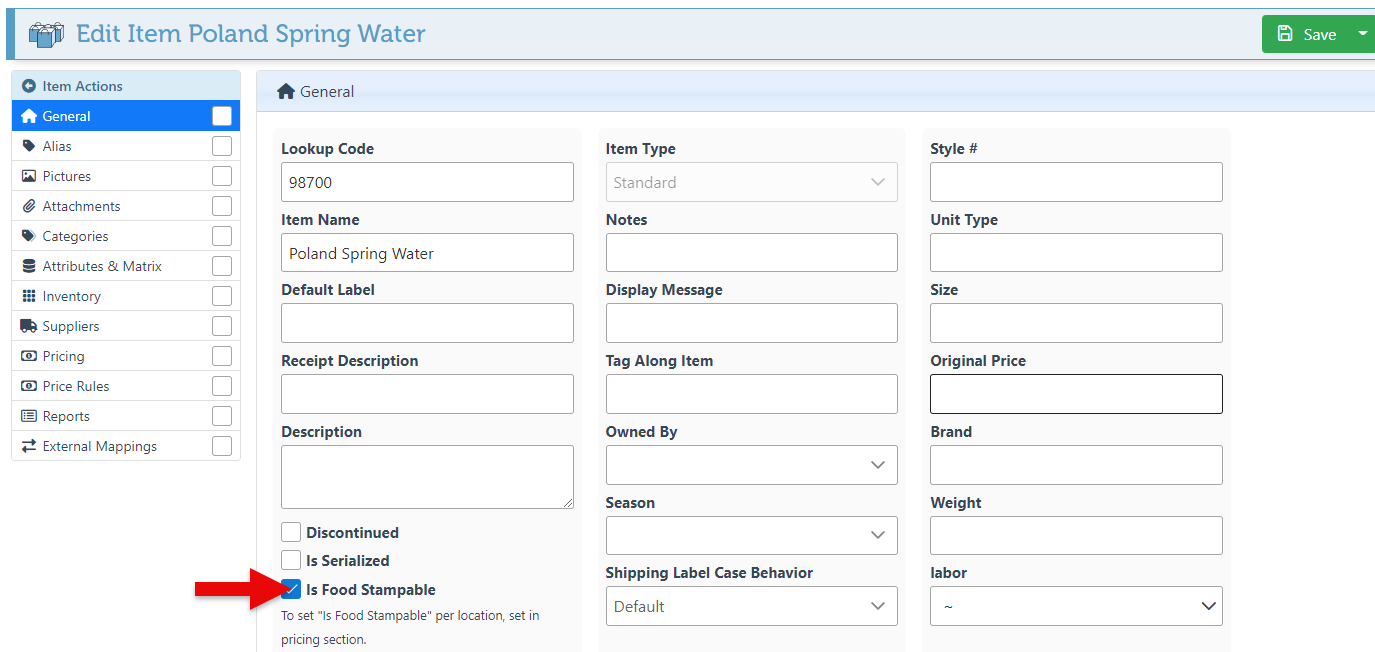
Select the “Is Food Stampable” checkbox to allow payment of the item using food stamps.
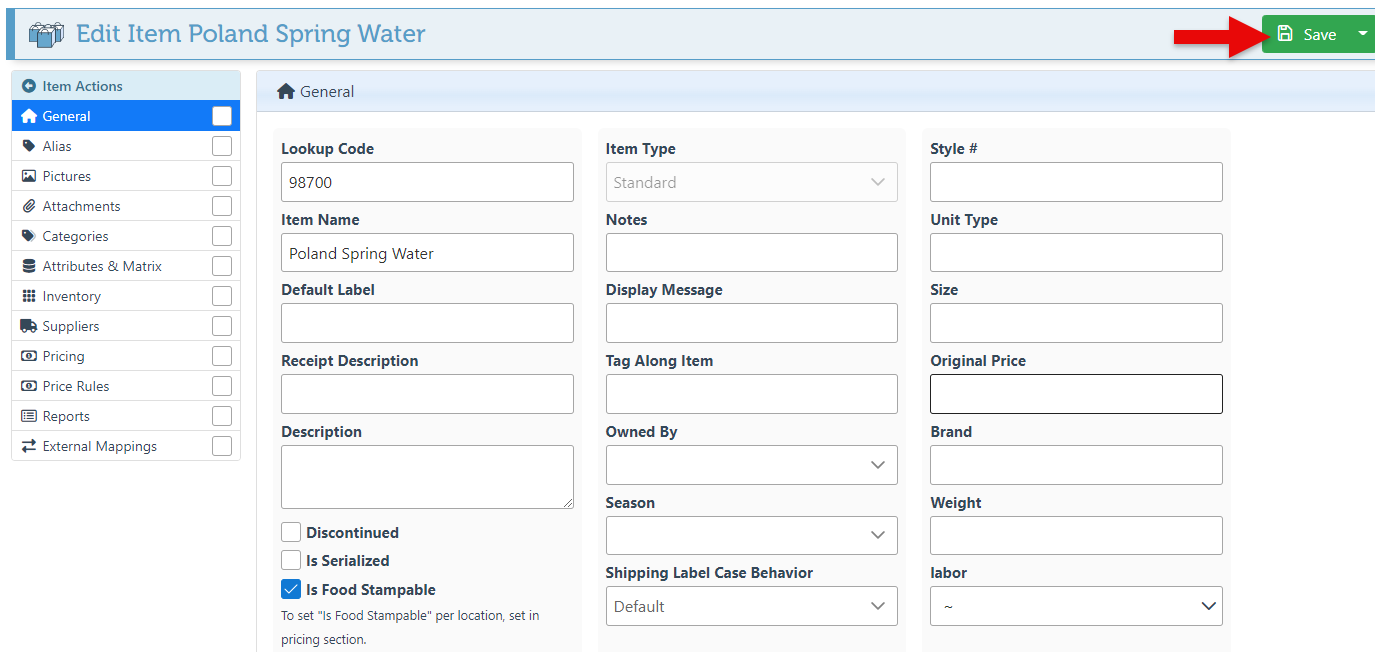
Click “Save” at the top right to save the new settings.
Click the “Back to POS” button at the top right to return to the POS.
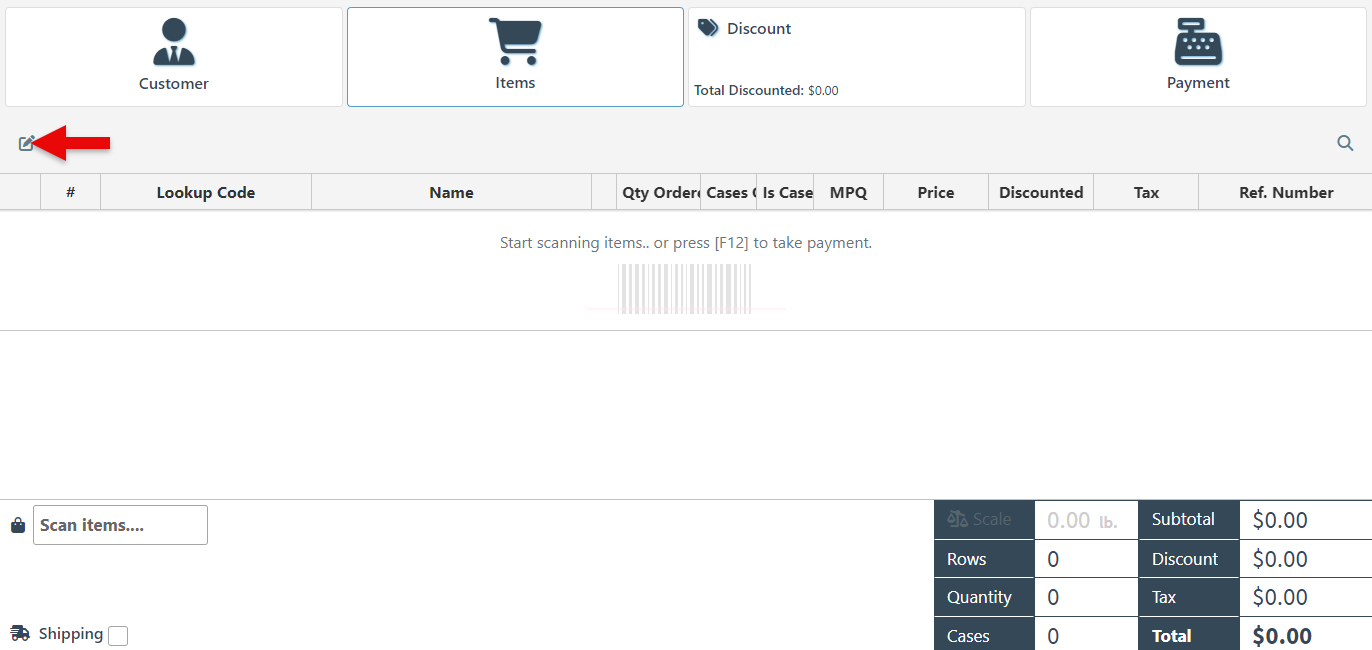
Click the “Manage Columns” icon.
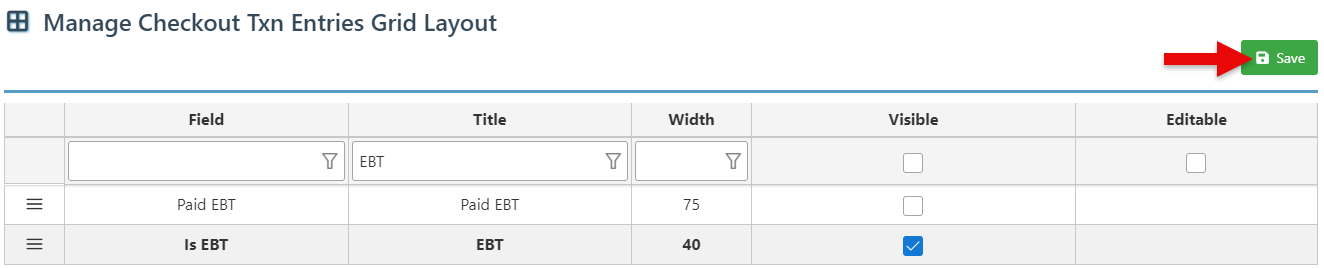
Select the “Is EBT” checkbox to add the column to the checkout layout.

Click “Save” at the top right.
Proceed to scan items, and food stampable items will appear with the EBT icon.
